Brassie, Bead Head Two Toned
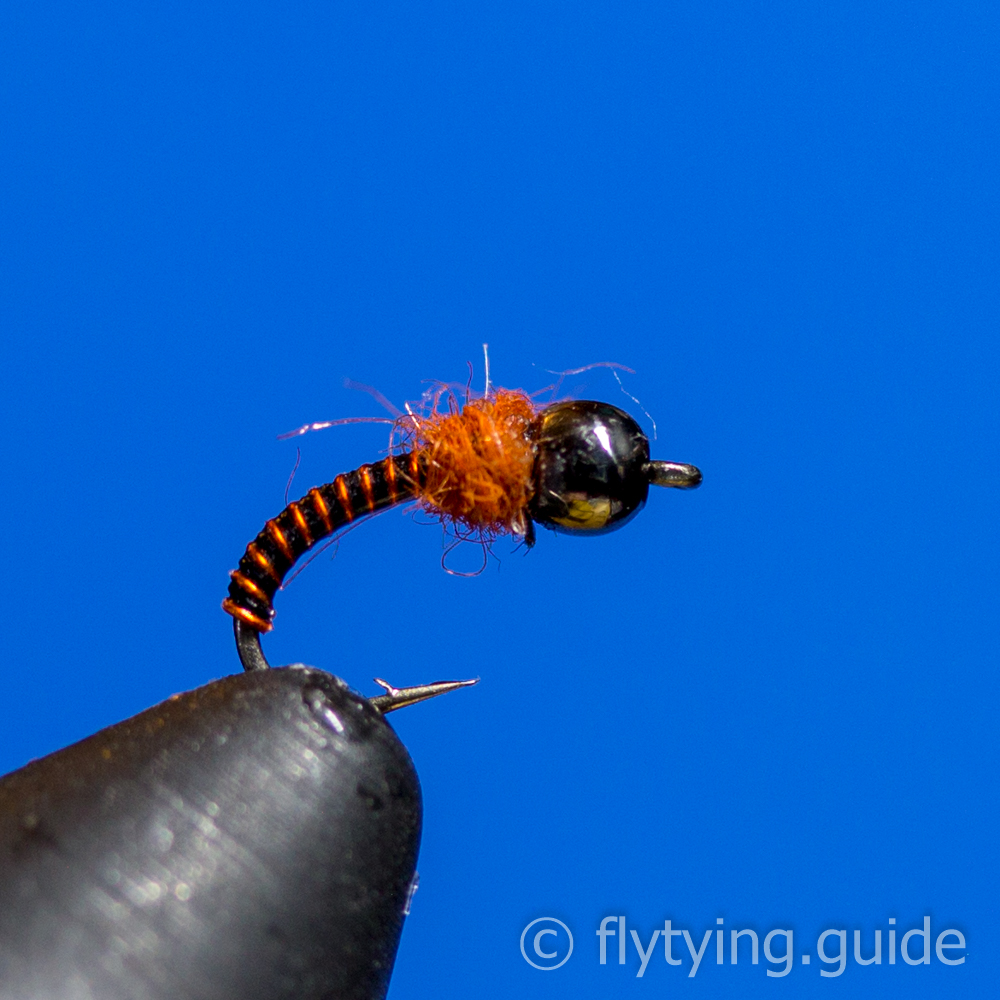
A variation to the classic pattern, two contrasting colors of wire are wrapped at the same time to add to the ribbing effect. A small band of orange dubbing is used to create a small thorax behind the bead to finish out the fly. Experiment with other colors, you can even add another color of wire or add another existing colors to create a wider band for one of the colors.
- Submitted By: Fly Tying Guide
Materials
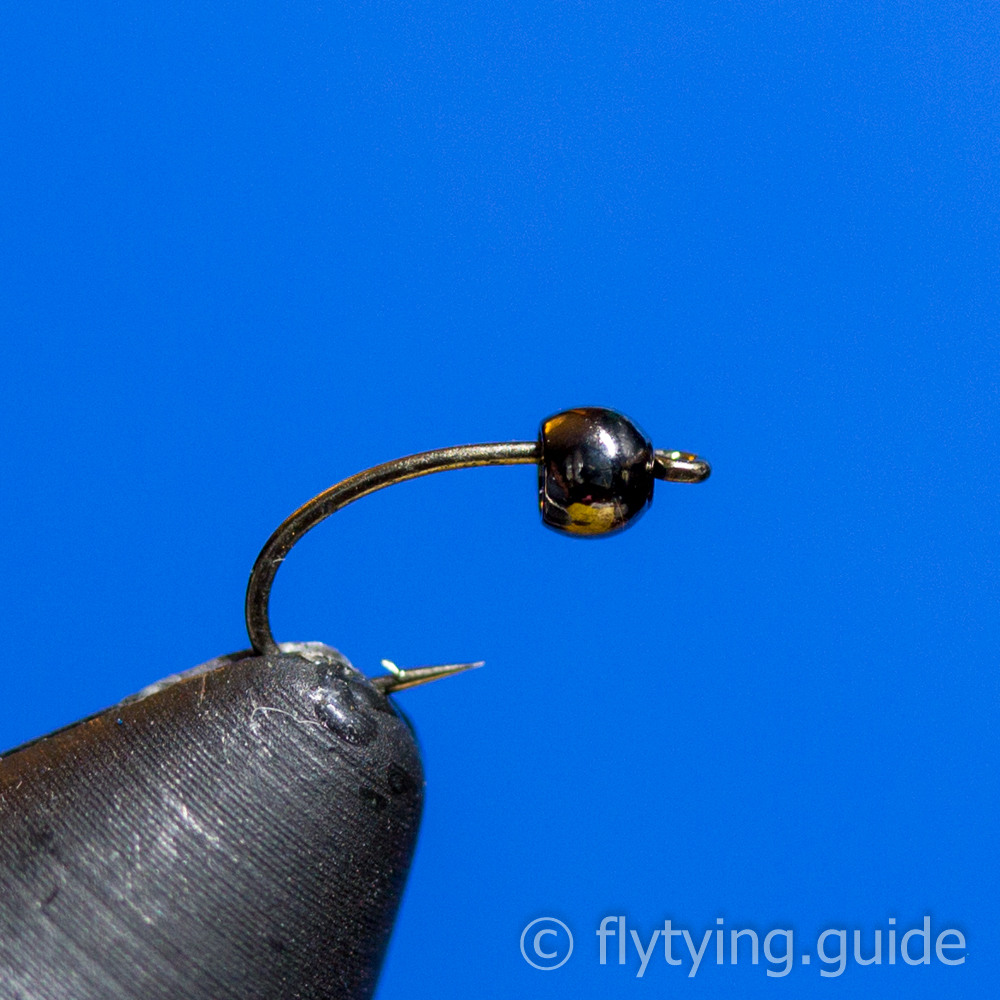
1
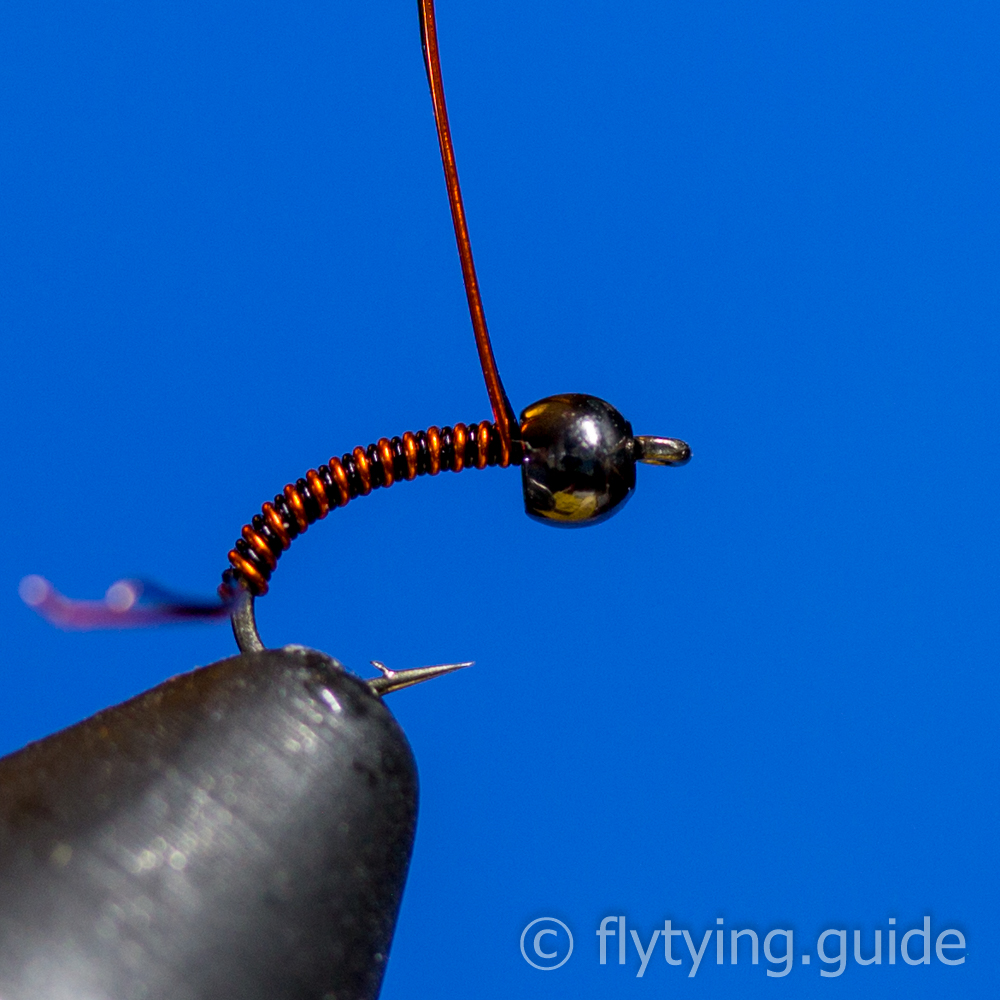
Slide a bead on the hook and then place it in the vise.
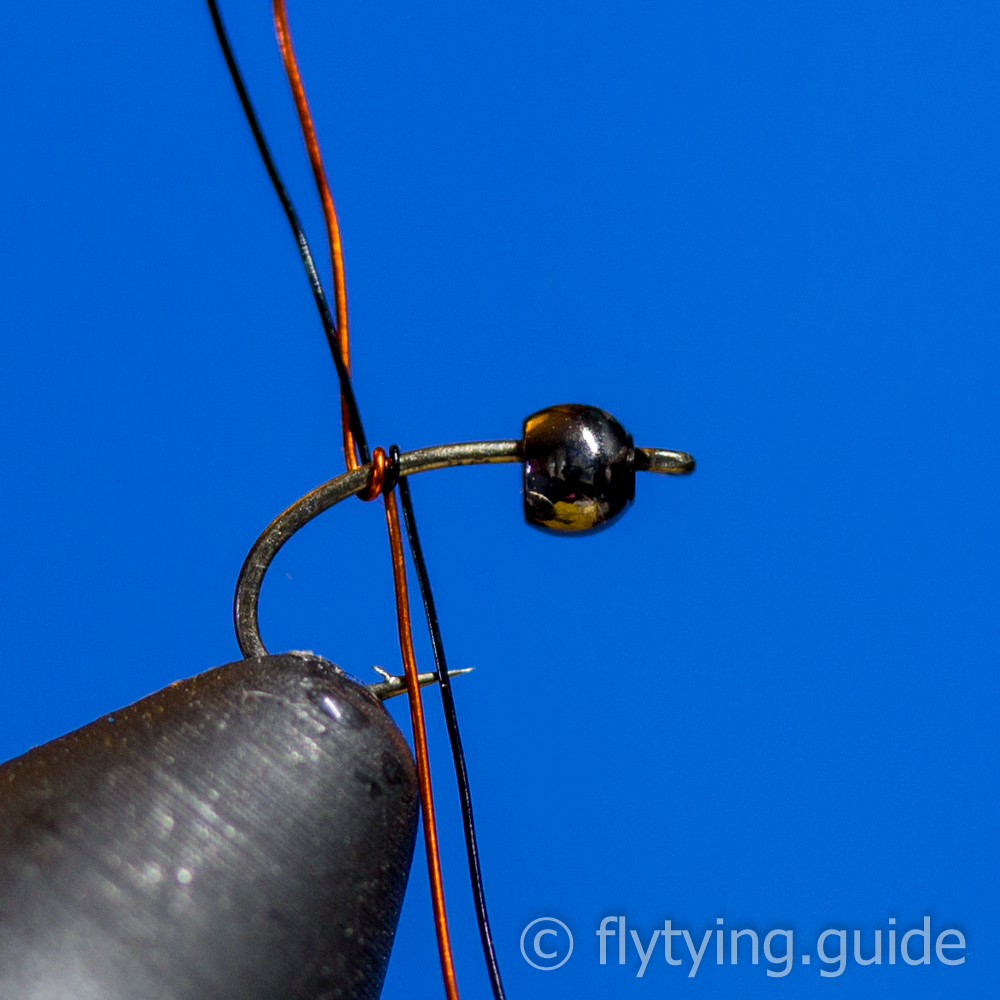
2
Prepare the wires by snipping off similar lengths of two contrasting colors. Start the wires by taking a single wrap about the middle of the shank, wrap both wires at the same time treating them as if they were just a single wire while wrapping.
3
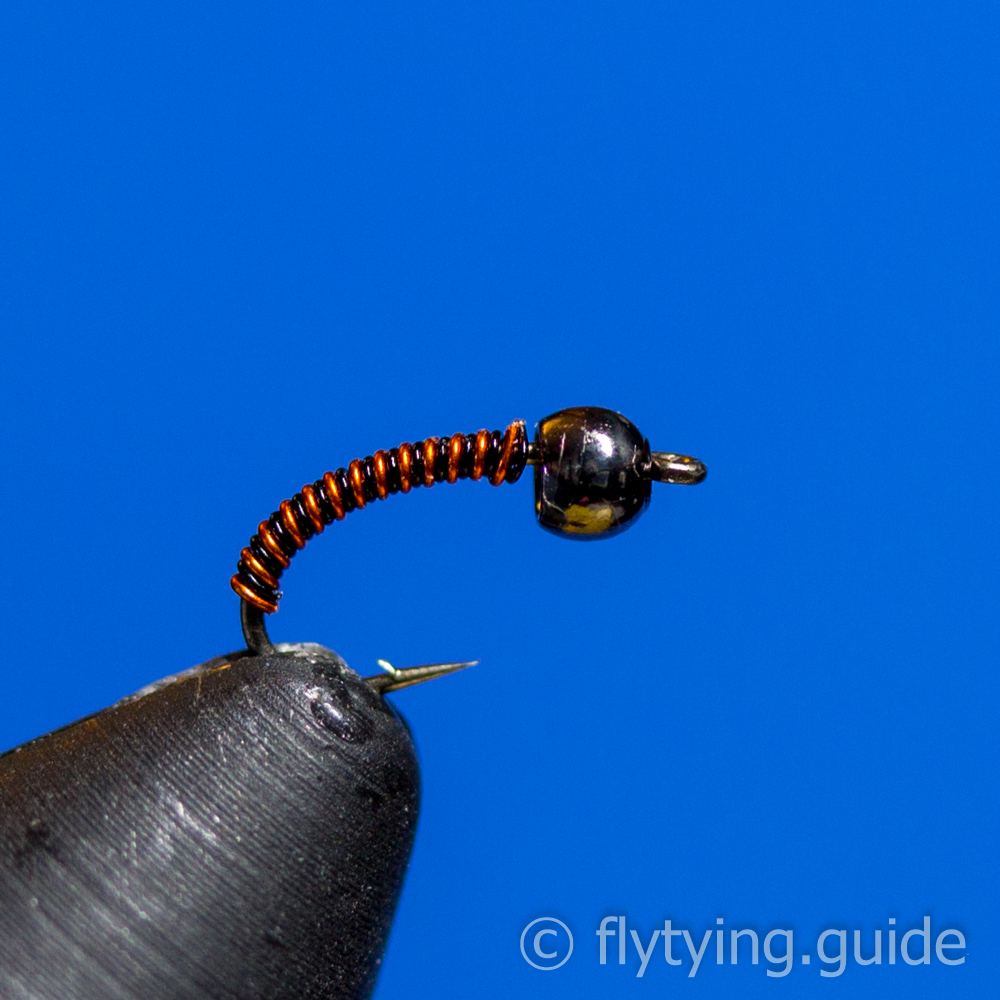
Gently pull the ends of the wires to tighten it on the hook shank, and then begin taking wraps towards the eye being careful to not allow the two wires to twist and overlap each other. If you are having difficulty gripping the tag ends of the wires, using a pair of hackle pliers might be easier.
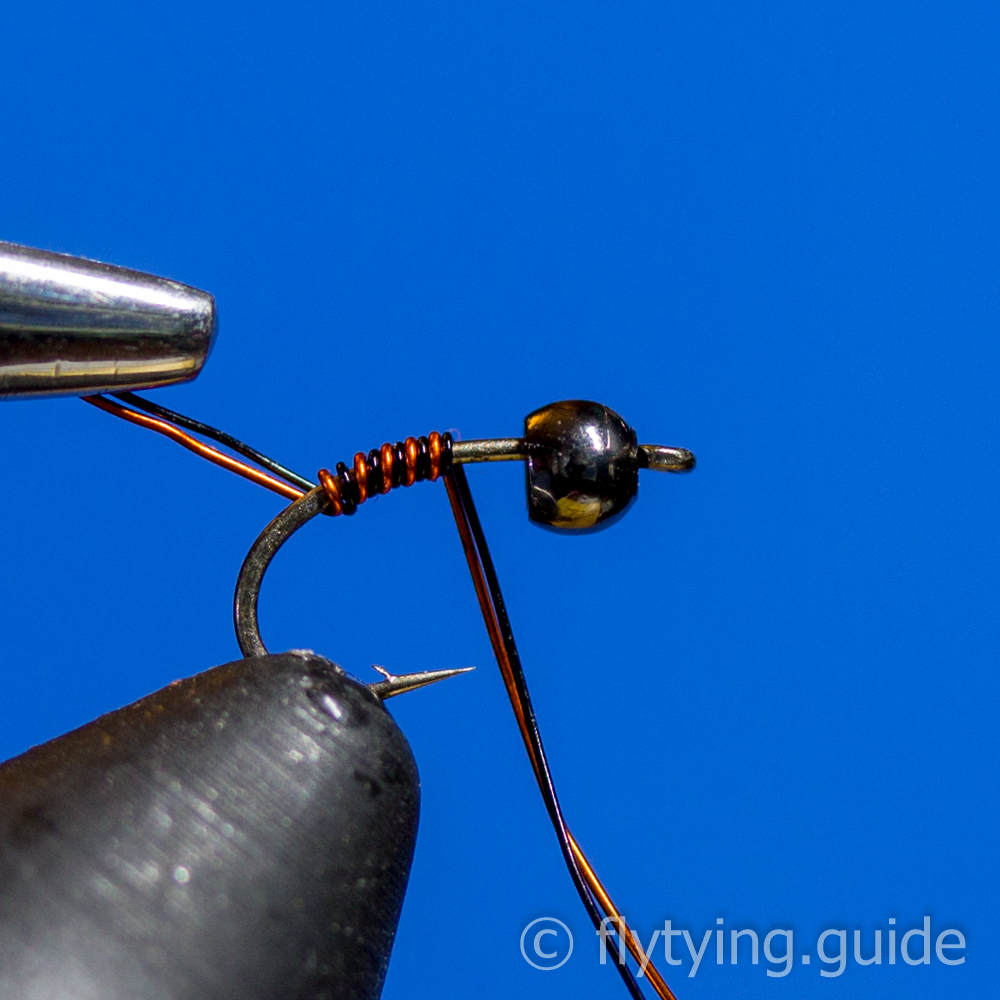
4
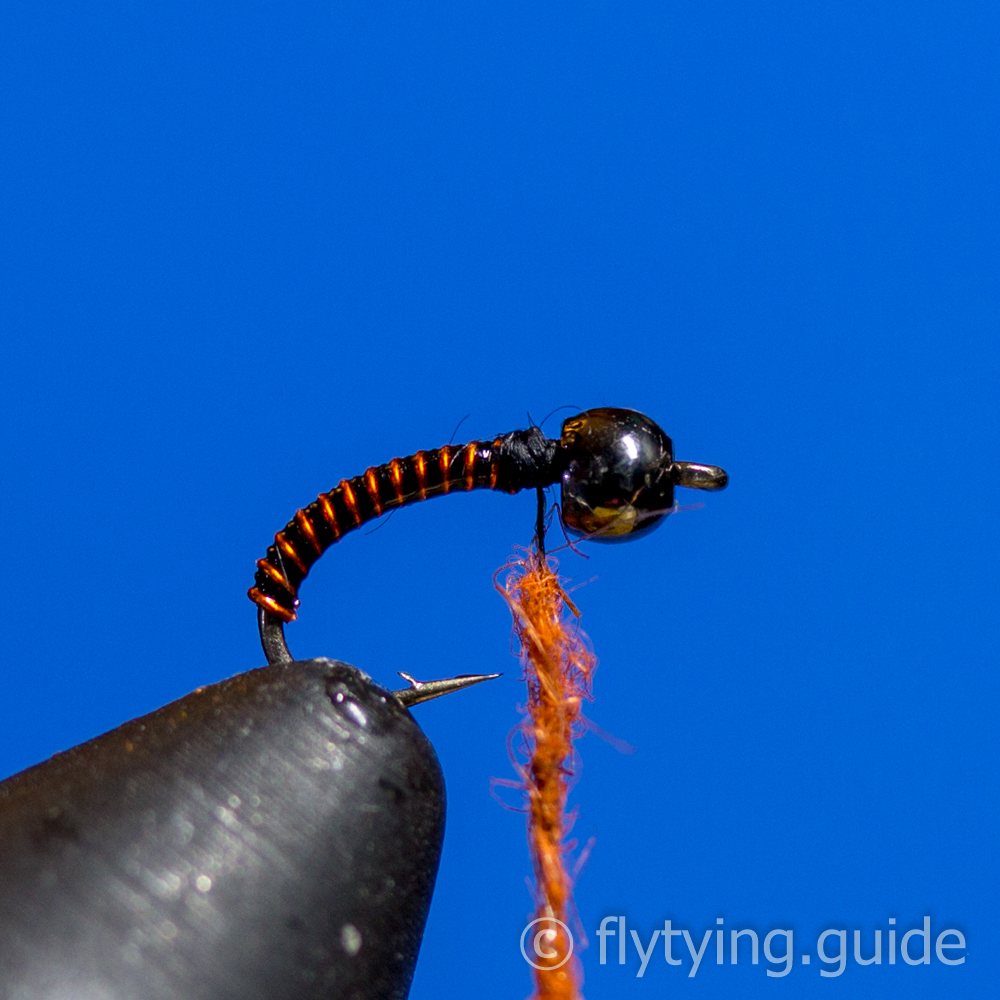
Continue wrapping the wires, as you near the bead use your thumbnail to push the wire wraps back along the shank until they are about a quarter way down the bend. This is easier than avoiding the hook point while wrapping and also helps to eliminate any gaps in the wraps. End the wraps just behind the bead.
5
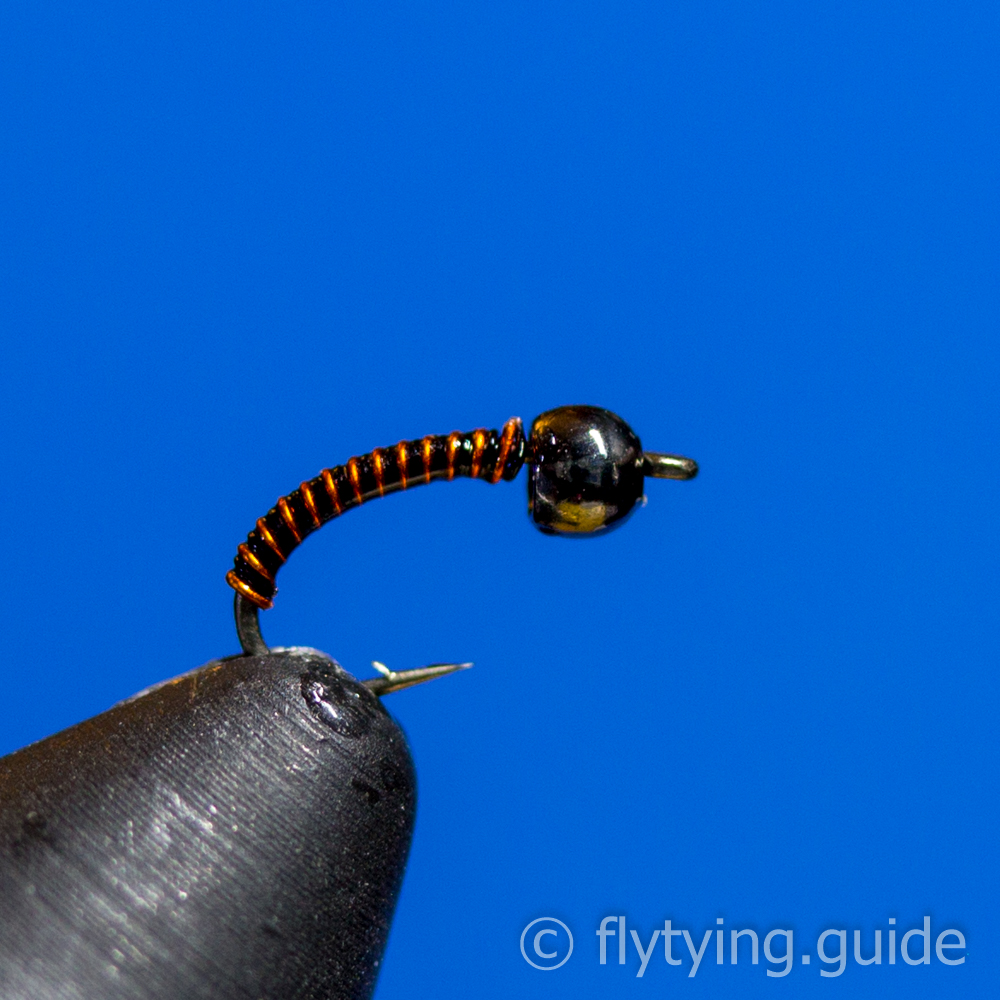
Using a old pair of scissors or an exacto knife, snip off the wire close to the shank and then use your thumbnail or something hard like the flats of your scissors to press the ends of the wire down so it sits flush on the hook shank.
6
An optional step, I like to coat my wire with a thin UV resin before continuing. This really helps lock things in place and adds a little durability to the fly.
7
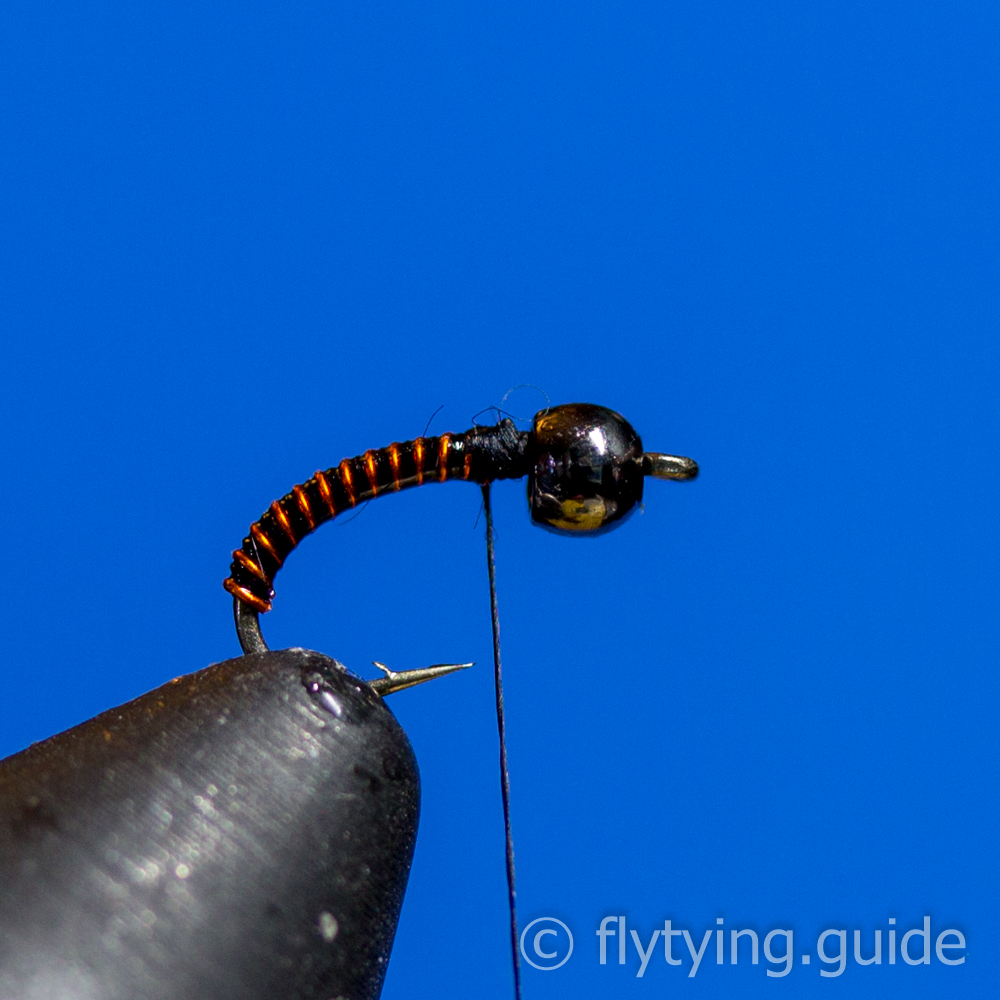
Start the thread directly behind the bead.
8
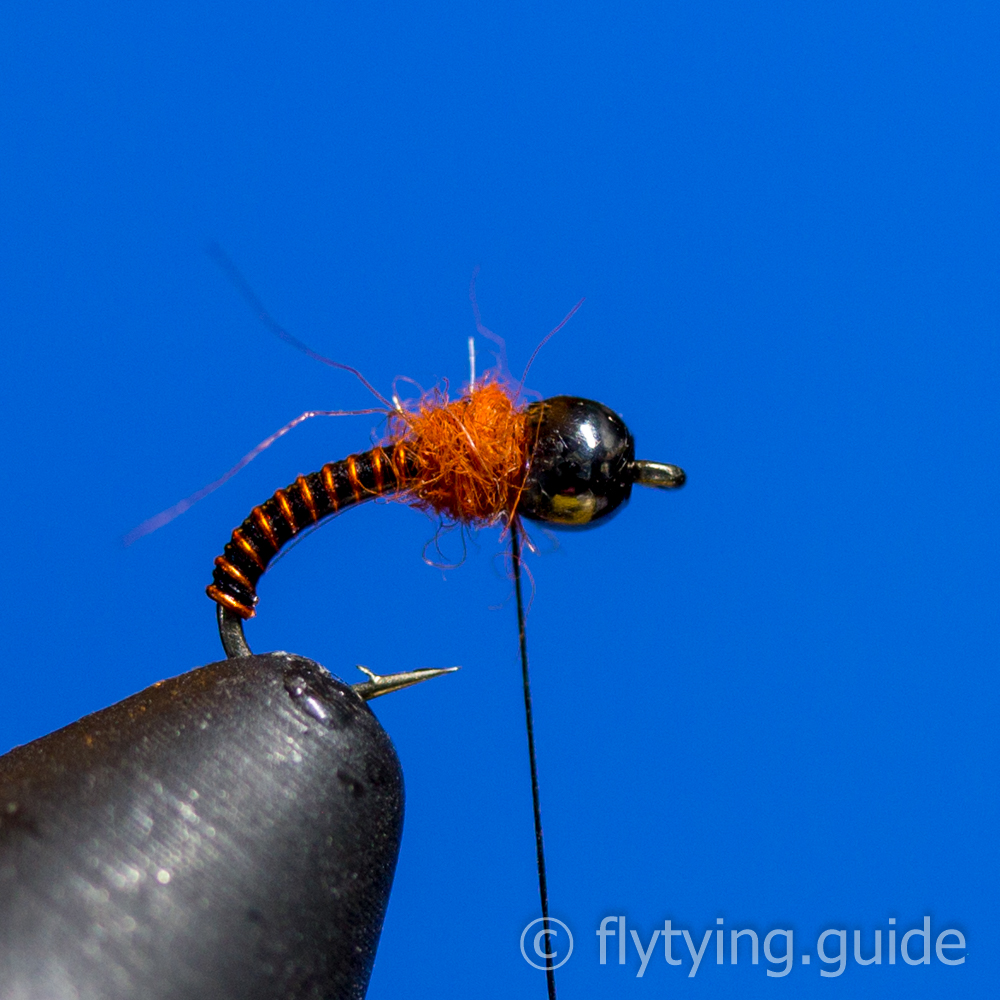
Create a small dubbing noddle on the thread.
9
Create a small dubbing ball directly behind the bead to both lock it in place, and form a small thorax.
10
Whip finish directly behind the bead. Applying a small amount of head cement to the thread will help secure its tag end.