Brassie, Bead Head Two Toned Ribbed
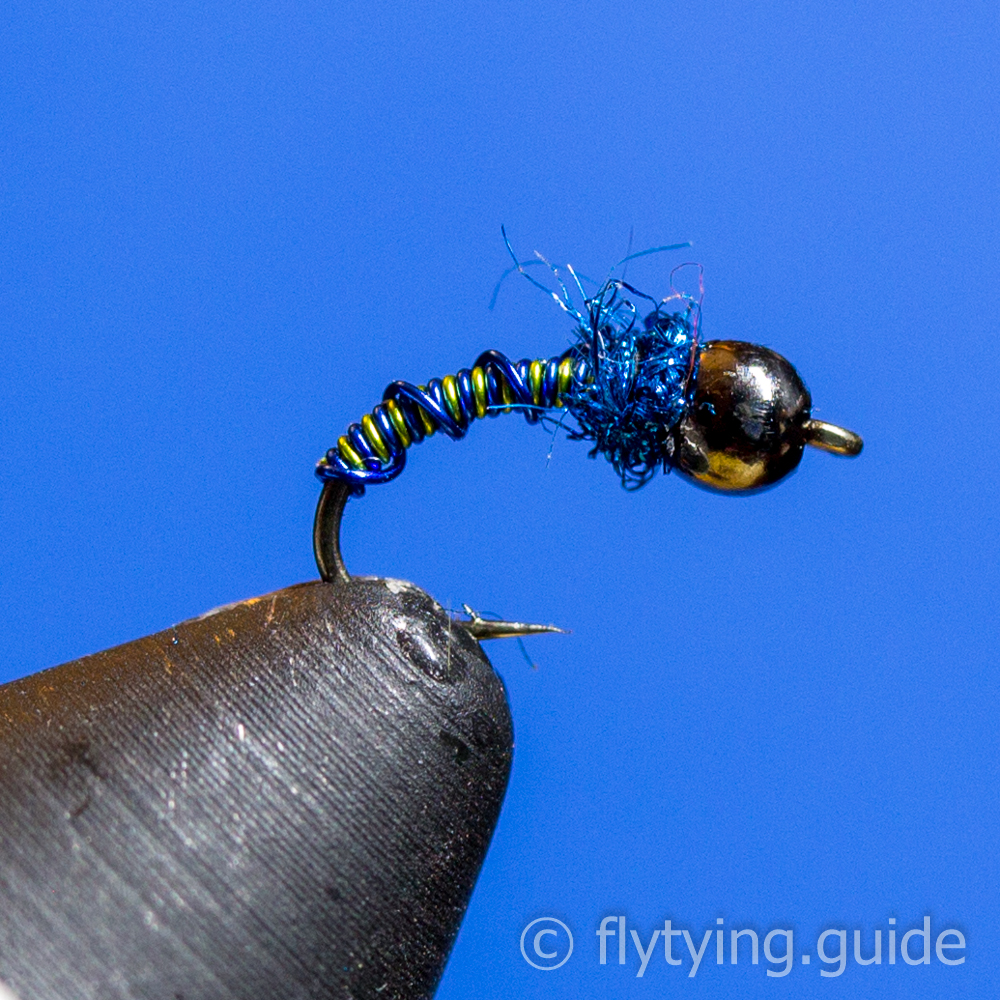
Combining all the other brassie variations into one pattern, we wrap two contrasting color wires and then wrap one of the tag ends back along the body as a rib. A bead has been added for additional weight and a small ball of blue dubbing finishes out the fly.
- Submitted By: Fly Tying Guide
Materials
1
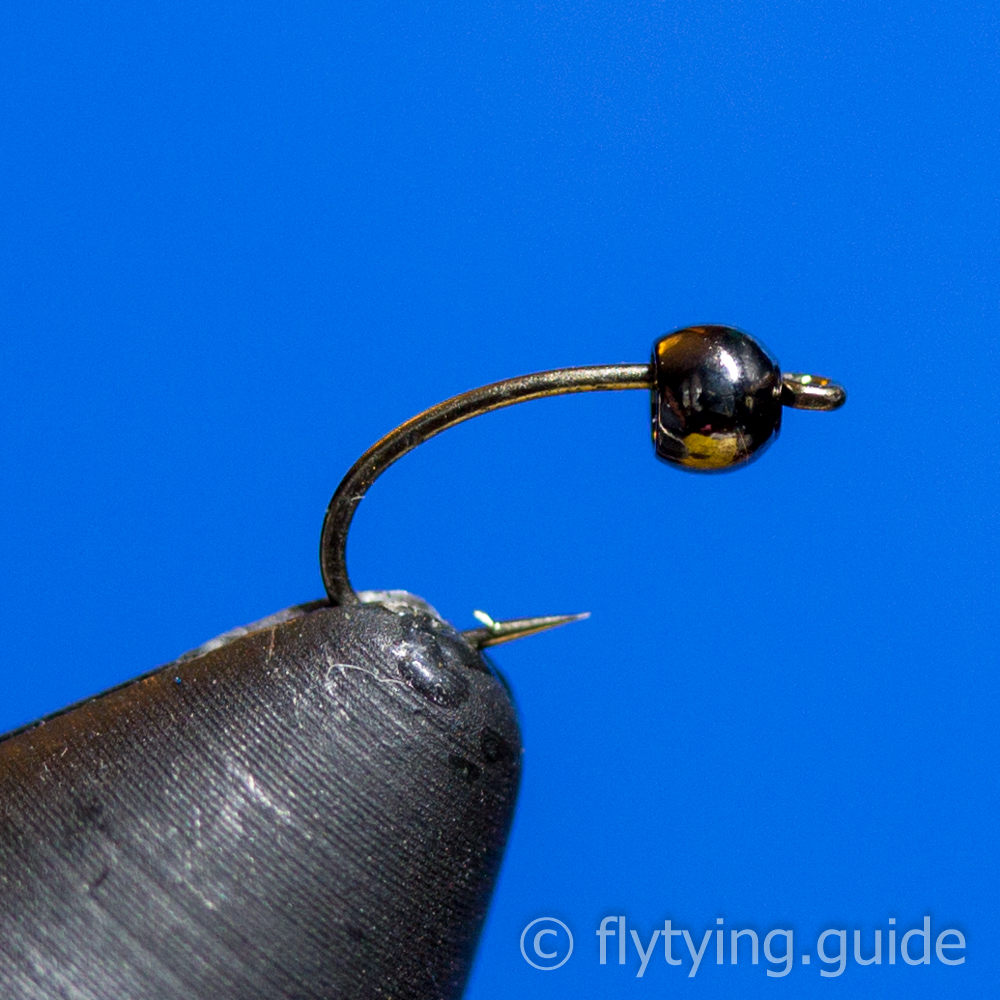
Slide a bead on the hook and then place it in the vise.
2
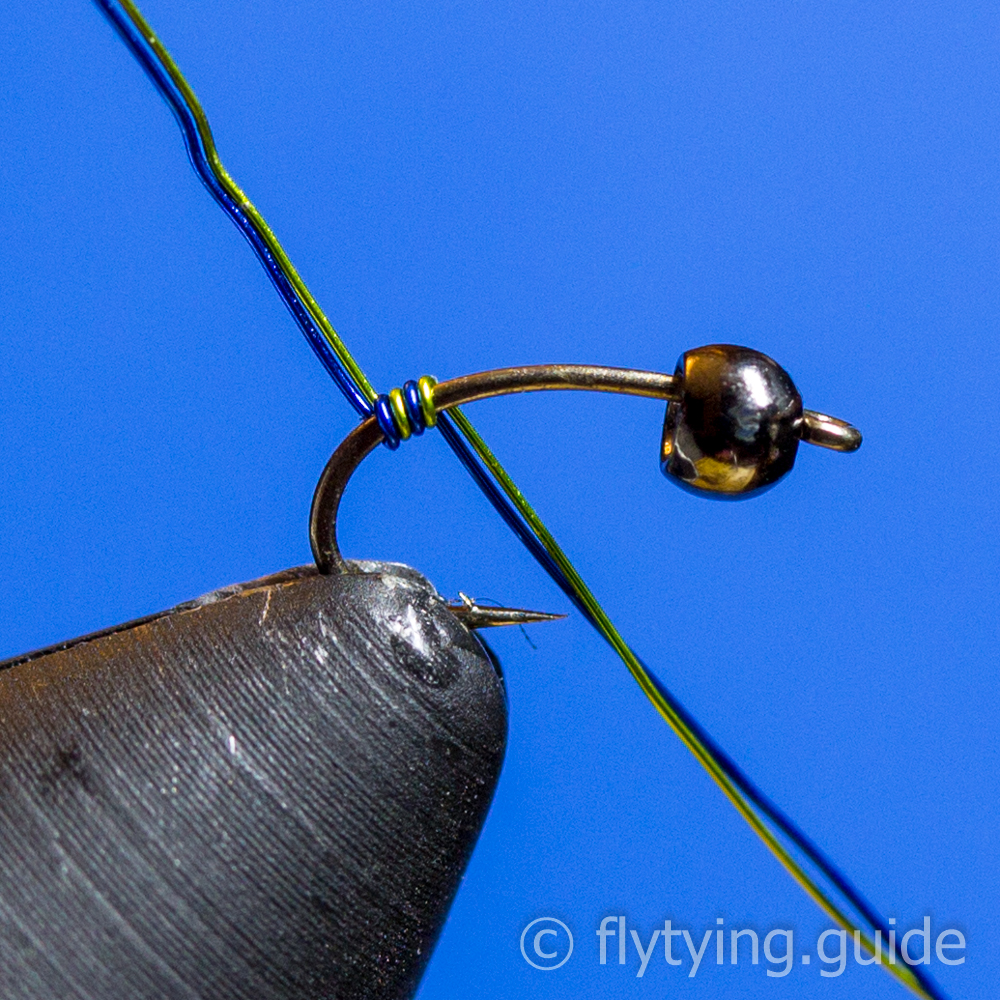
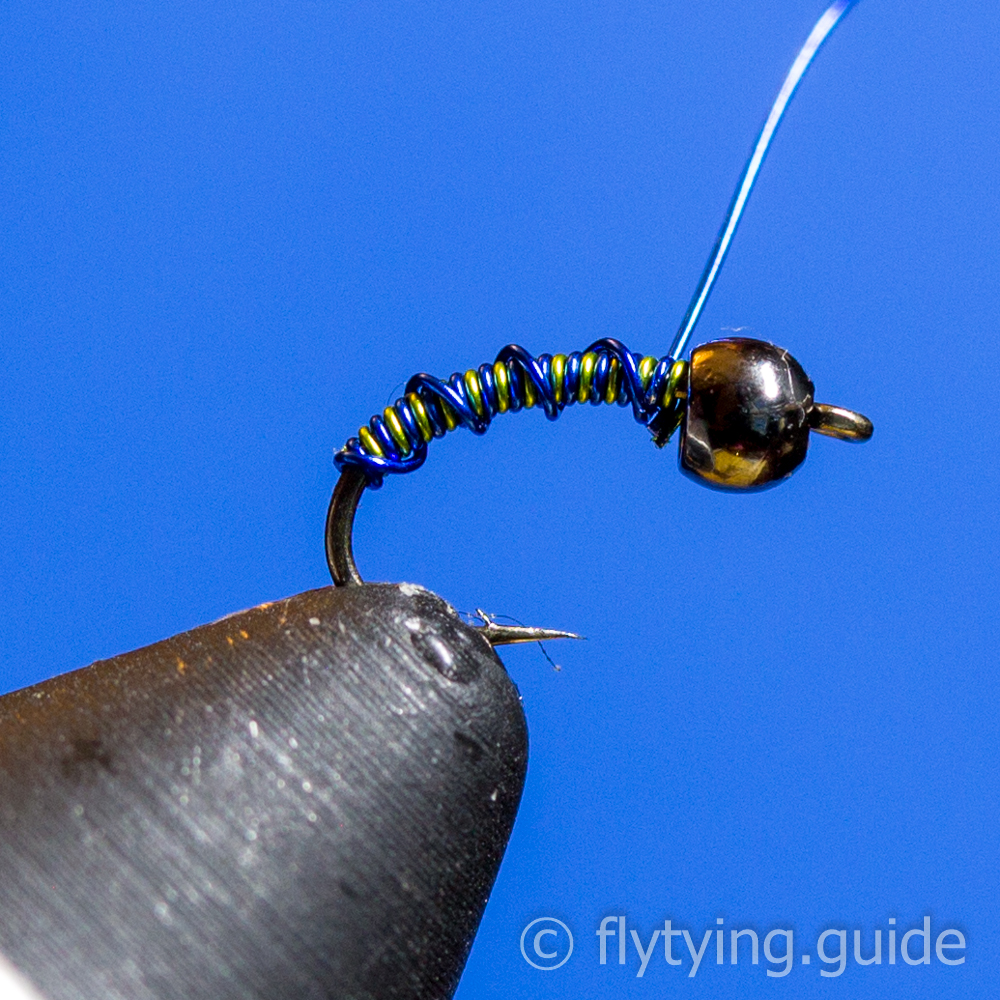
Prepare the wires by snipping off similar lengths of two contrasting colors. Start the wires by taking a single wrap about the middle of the shank, wrap both wires at the same time treating them as if they were just a single wire while wrapping. Leave a long enough tag end on the wires so you will be able to wrap it back along the body once it is formed.
3
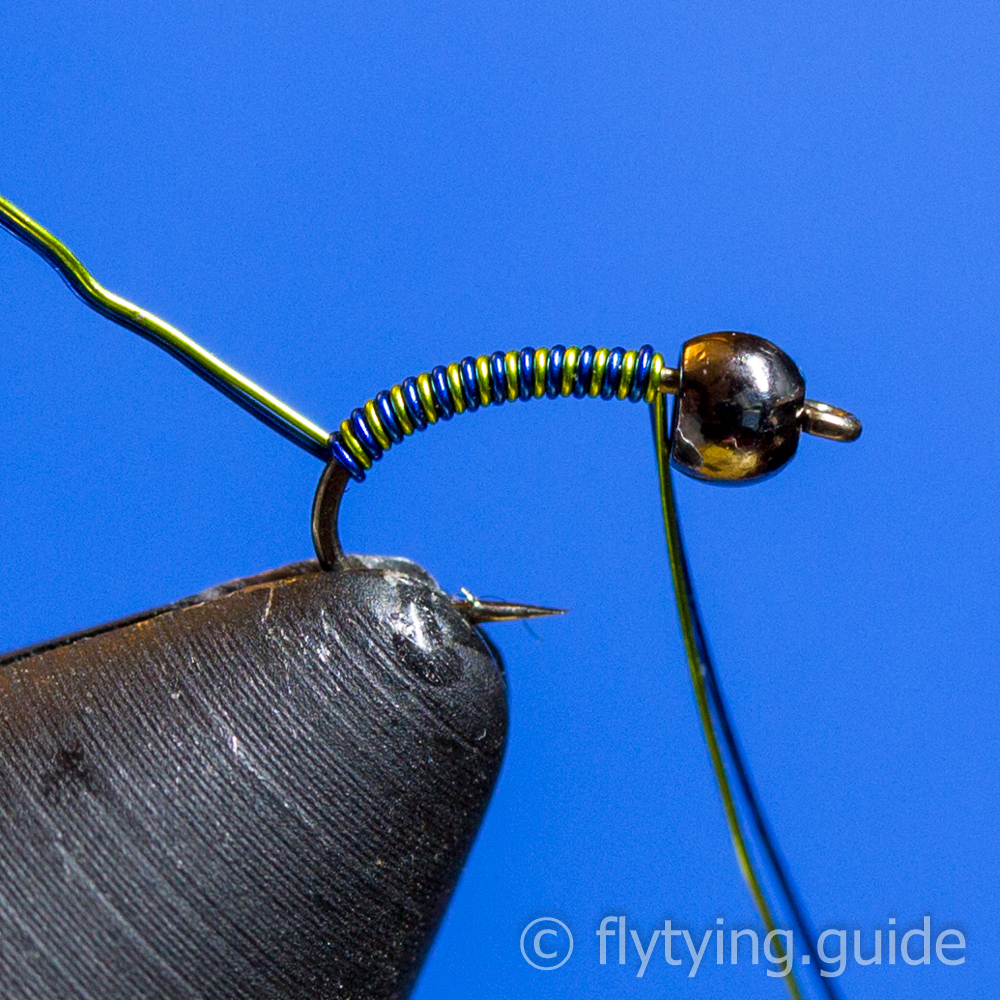
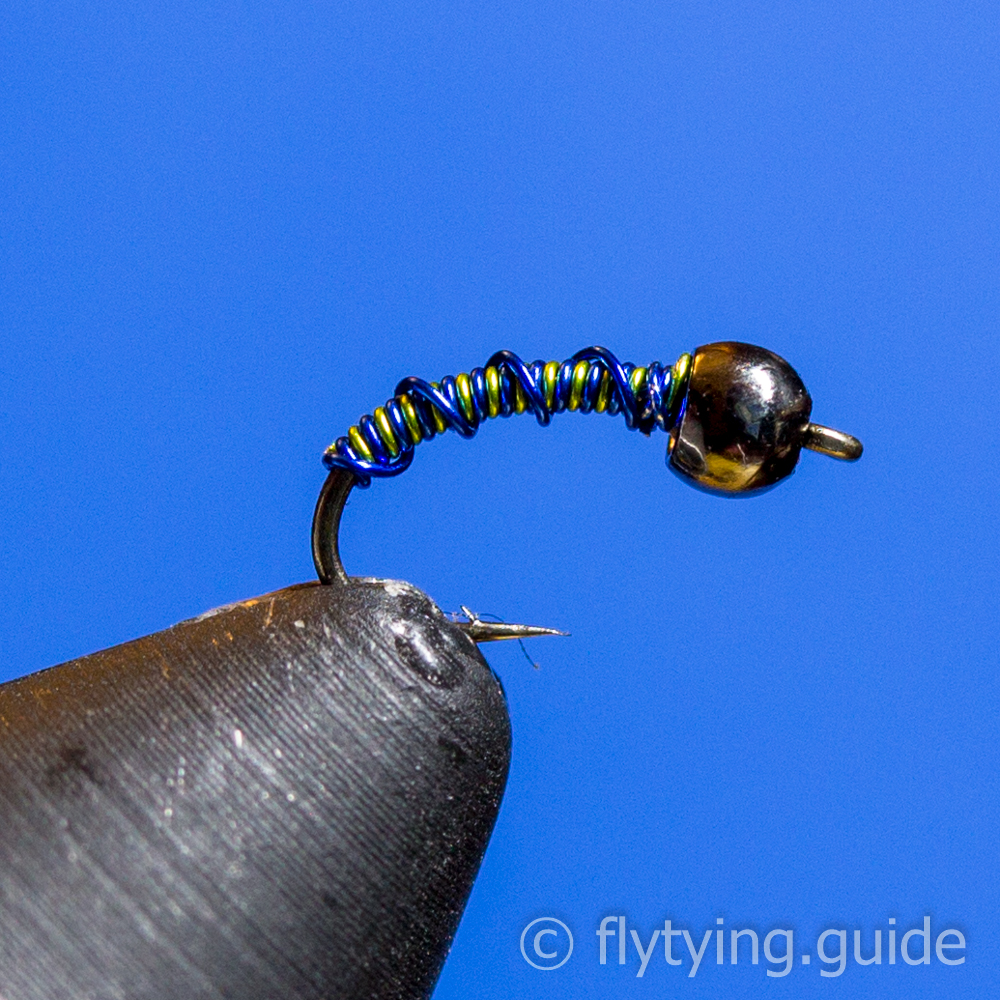
Continue wrapping the wire, as you near the bead use your thumbnail to push the wire wraps back along the shank until they are about a quarter way down the bend. This is easier than avoiding the hook point while wrapping and also helps to eliminate any gaps in the wraps. End the wraps just behind the bead.
4
Using a old pair of scissors, snip off all of the wires close to the shank except for the tag end you plan to wrap as a ribbing. Use your thumbnail or something hard like the flats of your scissors to press the ends of the wire down so it sits flush on the hook shank.
Wrap the remaining tag end back along the body in even open wraps until just behind the bead.
Wrap the remaining tag end back along the body in even open wraps until just behind the bead.
5
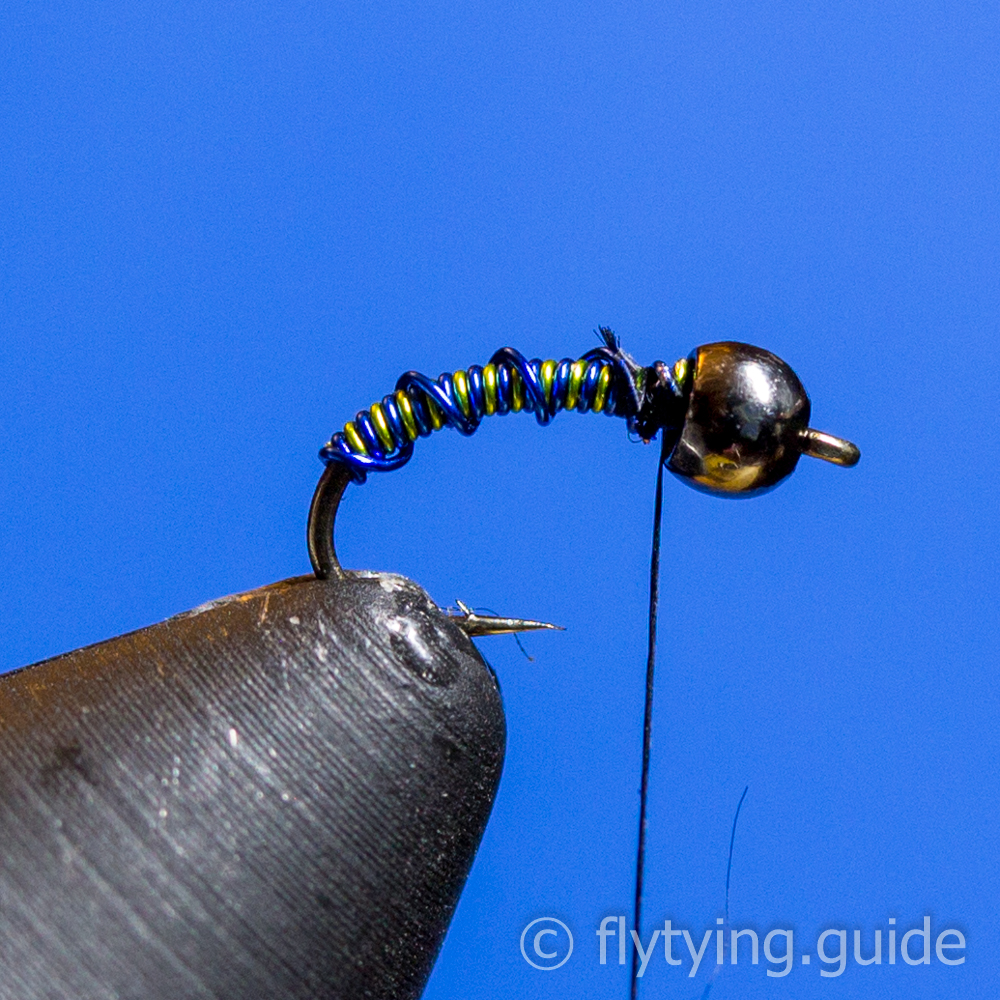
Remove the excess tag end of wire and flatten against the hook shank.
6
Start the thread directly behind the bead.

7
Create a small dubbing noddle on the thread.

8
Create a small dubbing ball directly behind the bead to both lock it in place, and form a small thorax.
9
Whip finish directly behind the bead. Applying a small amount of head cement to the thread will help secure its tag end.