Fat Albert
The use of the hook shank as a prominent feature, along with the distinct segment bands help differentiate this foam fly from others. Three layers of foam keep the fly floating and five pairs of legs provide lots of action on the water.
- Submitted By: Fly Tying Guide
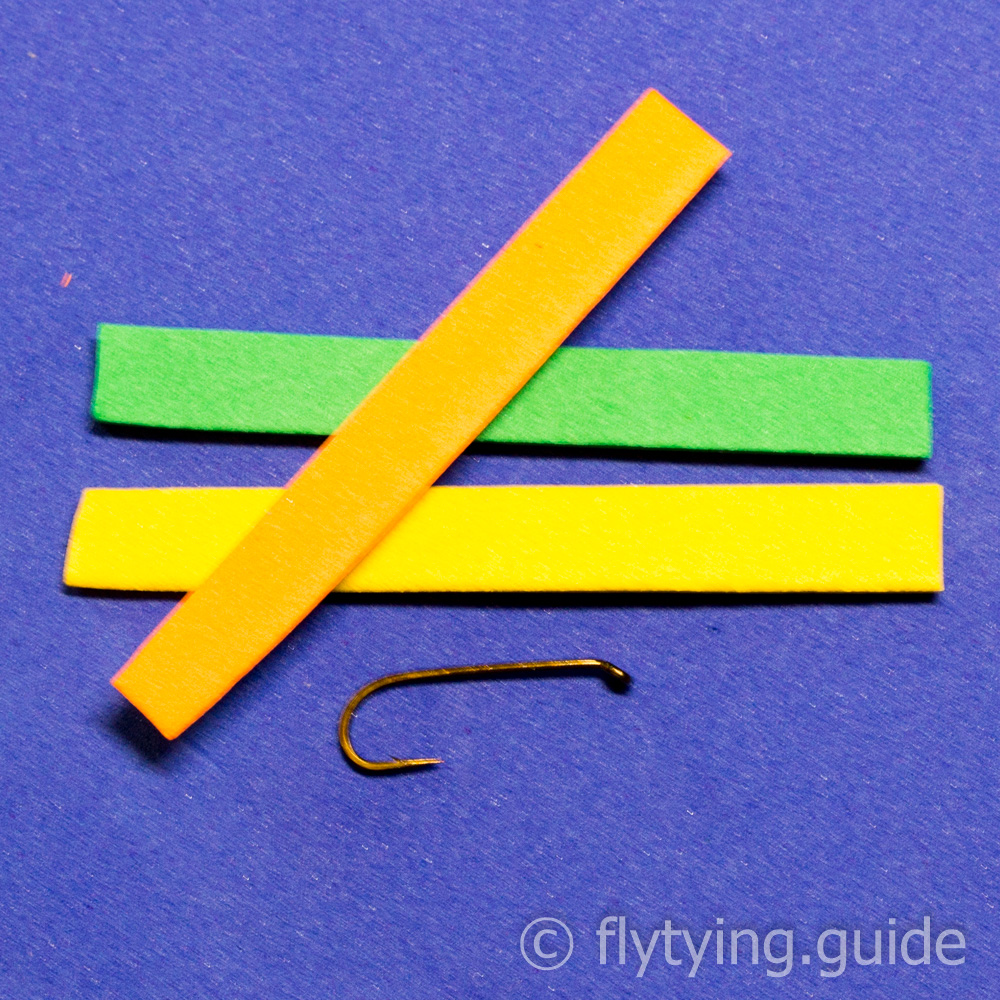
Materials
1
Prepare the foam by cutting off strips equal to the hook gap in width and at least 2-3 times the overall hook length.

2
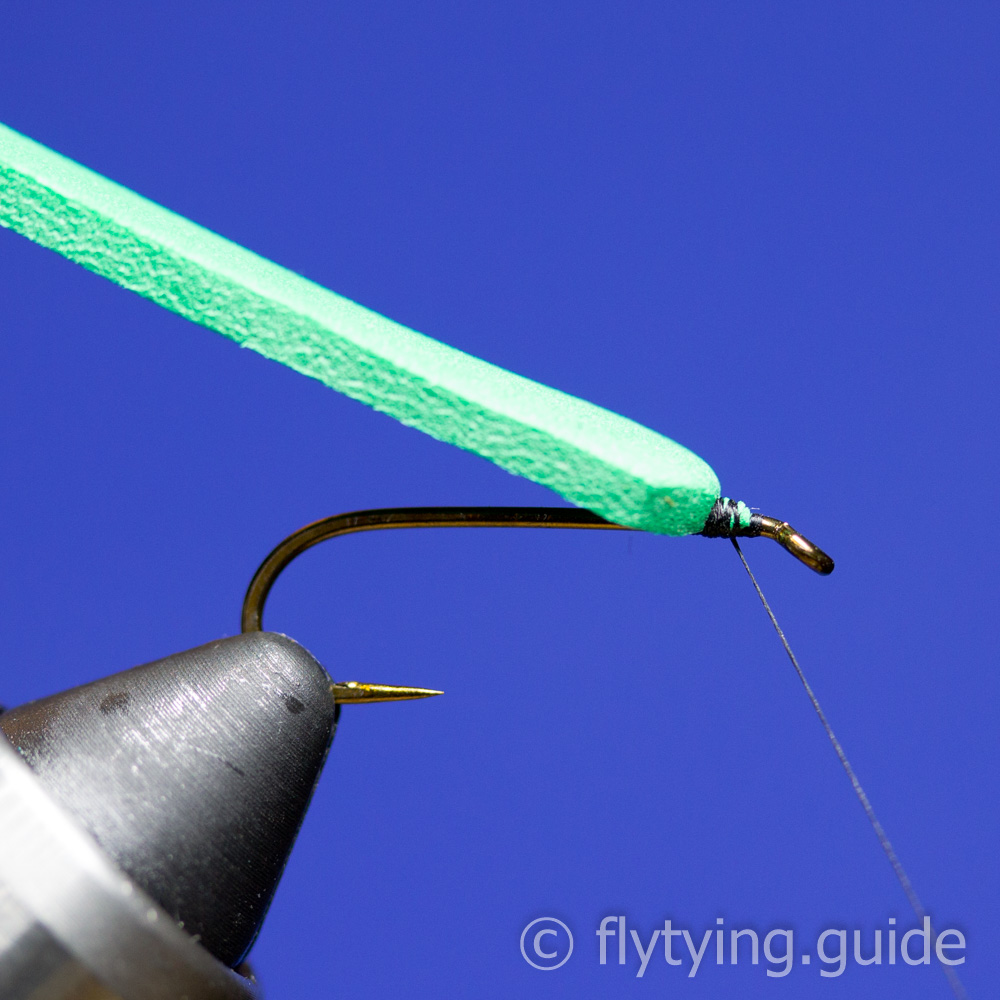
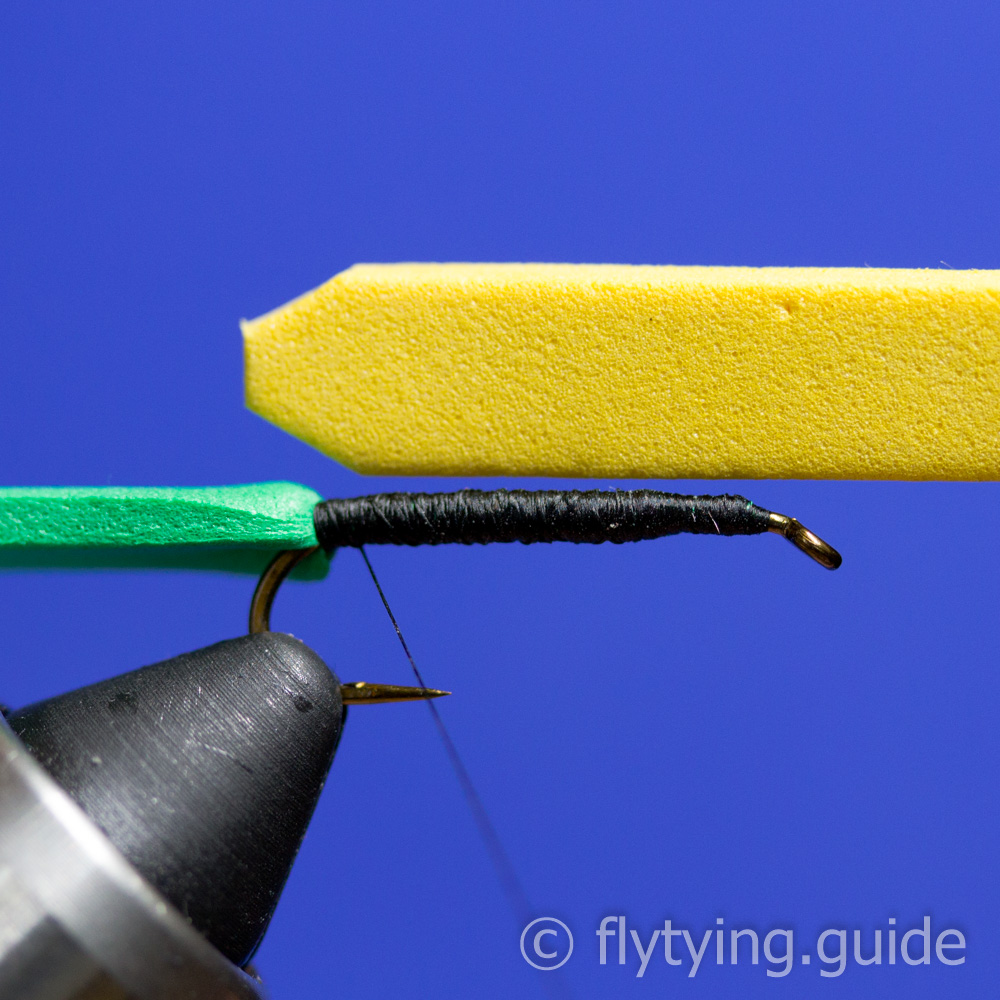
Place the hook in the vise and secure the thread behind the eye, prepare the green foam by snipping the corners off to make it easier to tie in and provide a small taper once tied in.
3
Catch in the tip of the foam and position it on top of the hook shank.
4
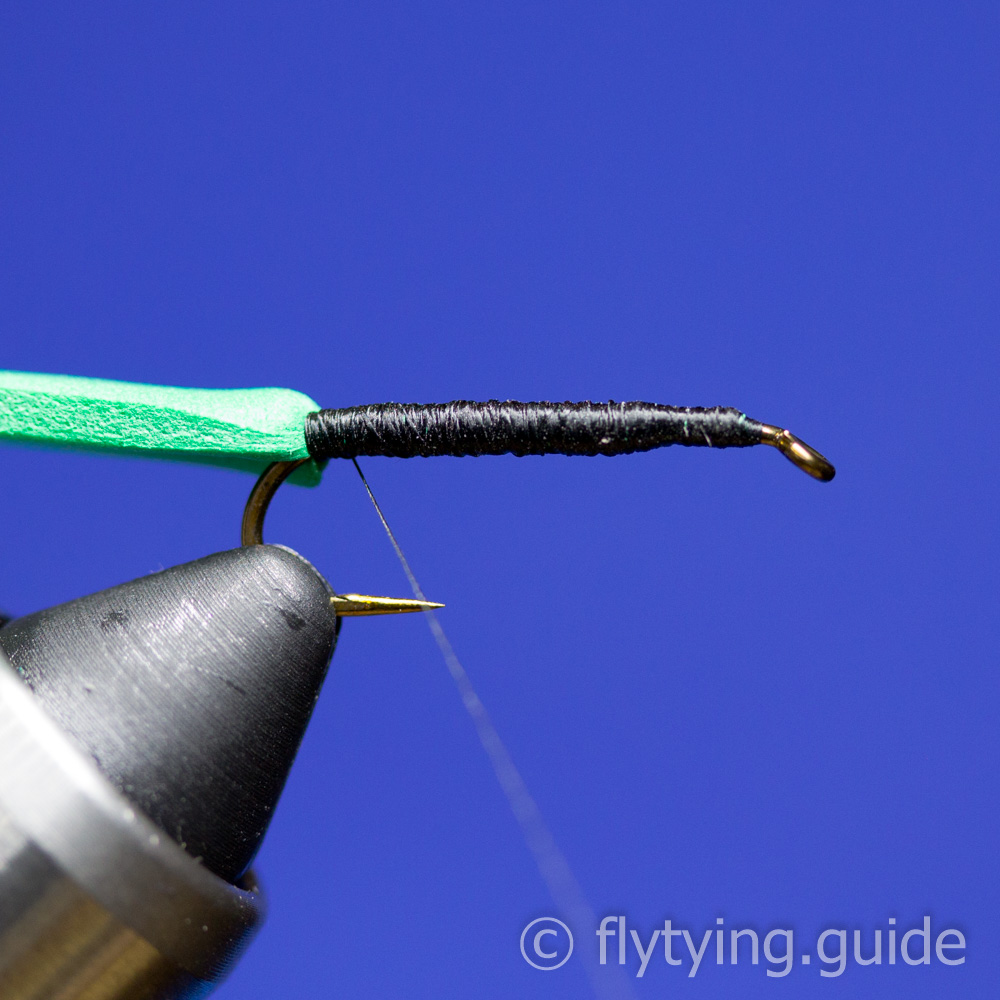
Flatten your thread and tie down the foam covering it completely, stop once the thread gets to the start of the bend.
5
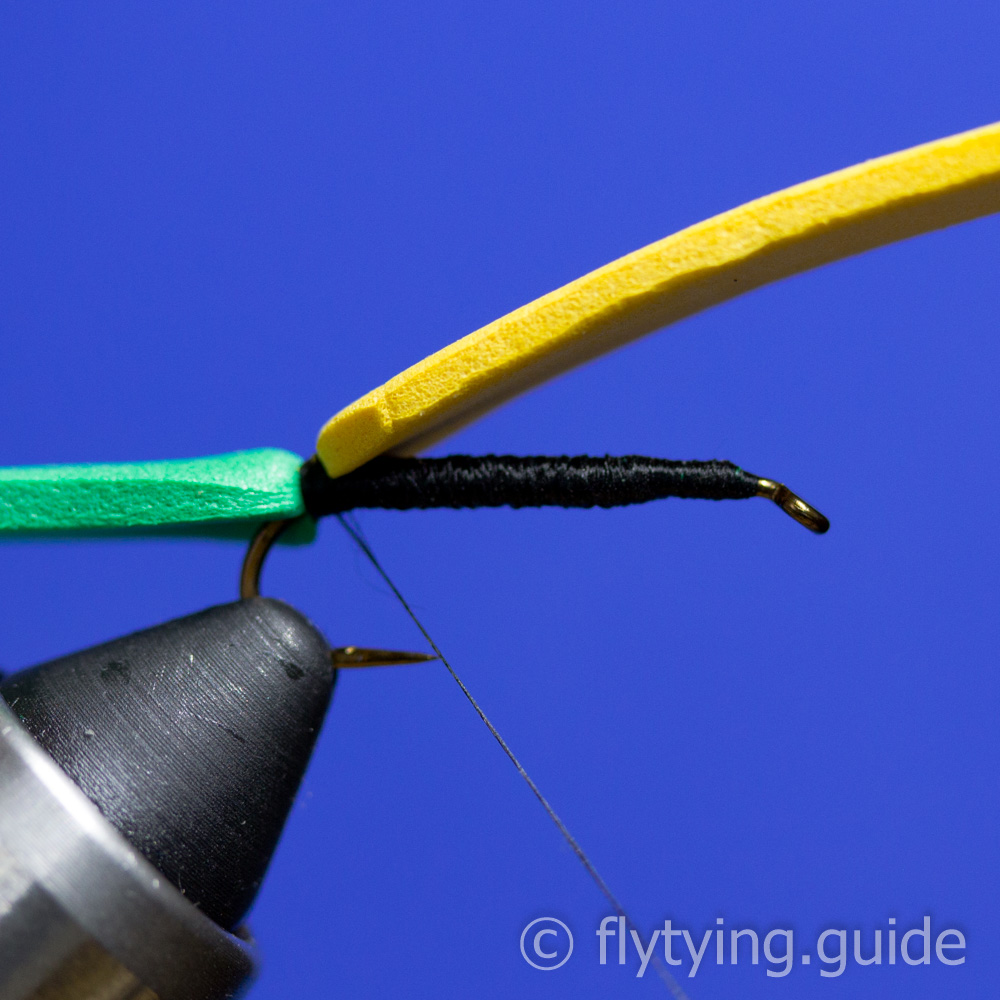
Prepare the yellow foam by snipping the corners, leave a flat on the end the same width of the fattened hook shank.
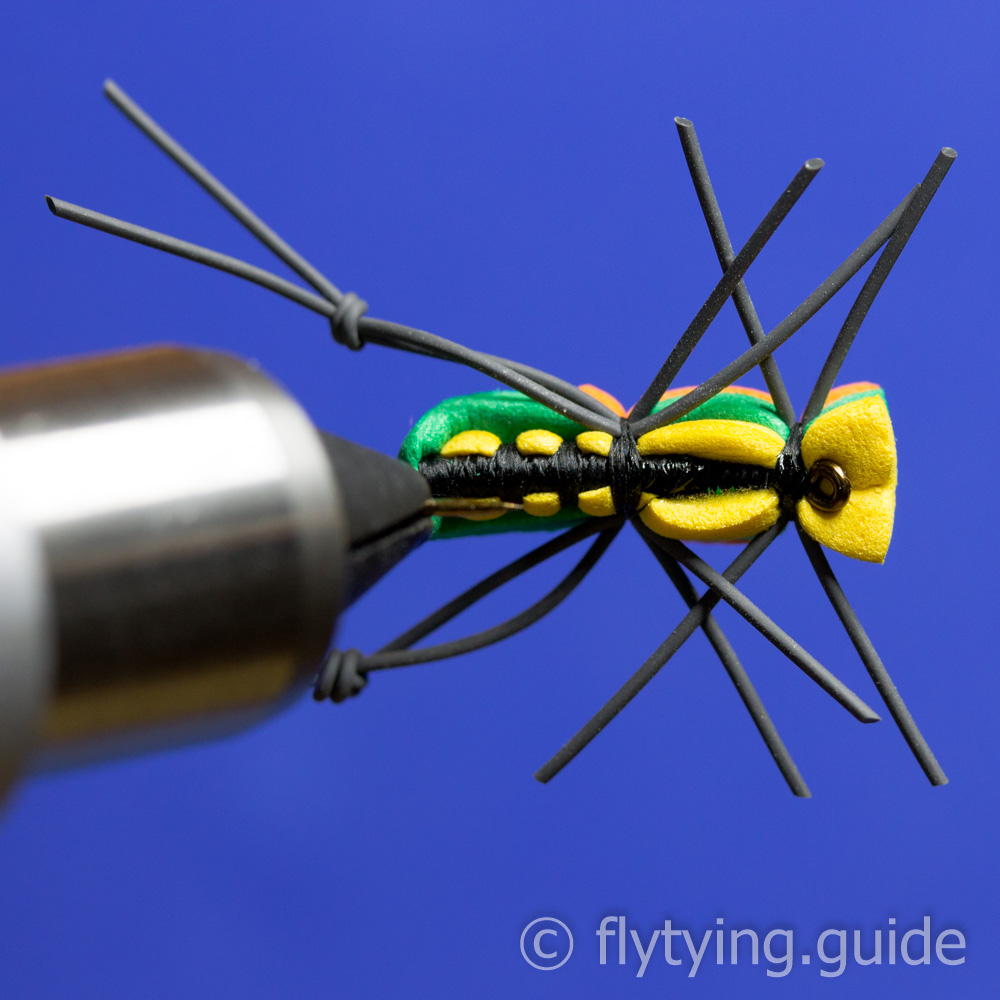
6
Catch in the tip of the yellow foam, secure with several tight wraps.
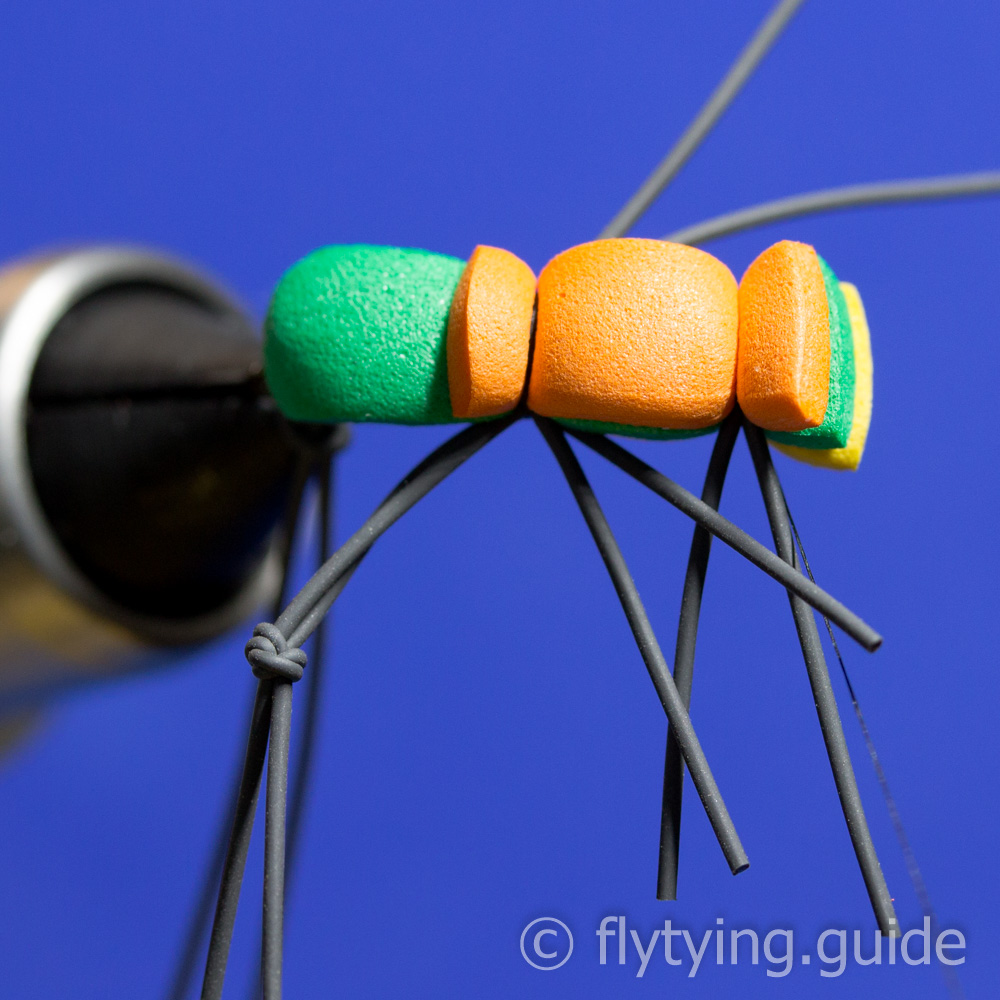
7
Lift the foam and advance the thread about 2mm, you can use the width of the foam to help position the thread. Flatten the thread and catch in the foam to create the first segment. Take enough wraps to form a prominent band the width of the flattened thread or slightly larger.
8
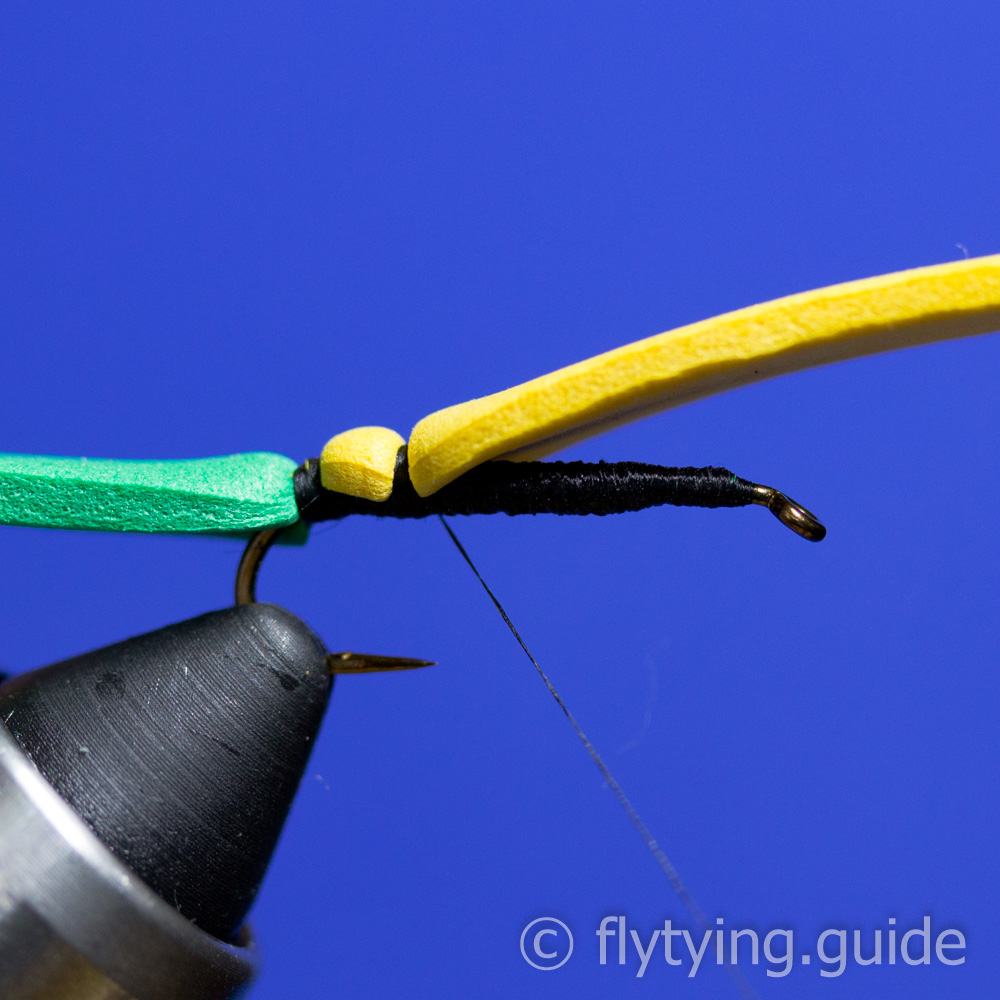
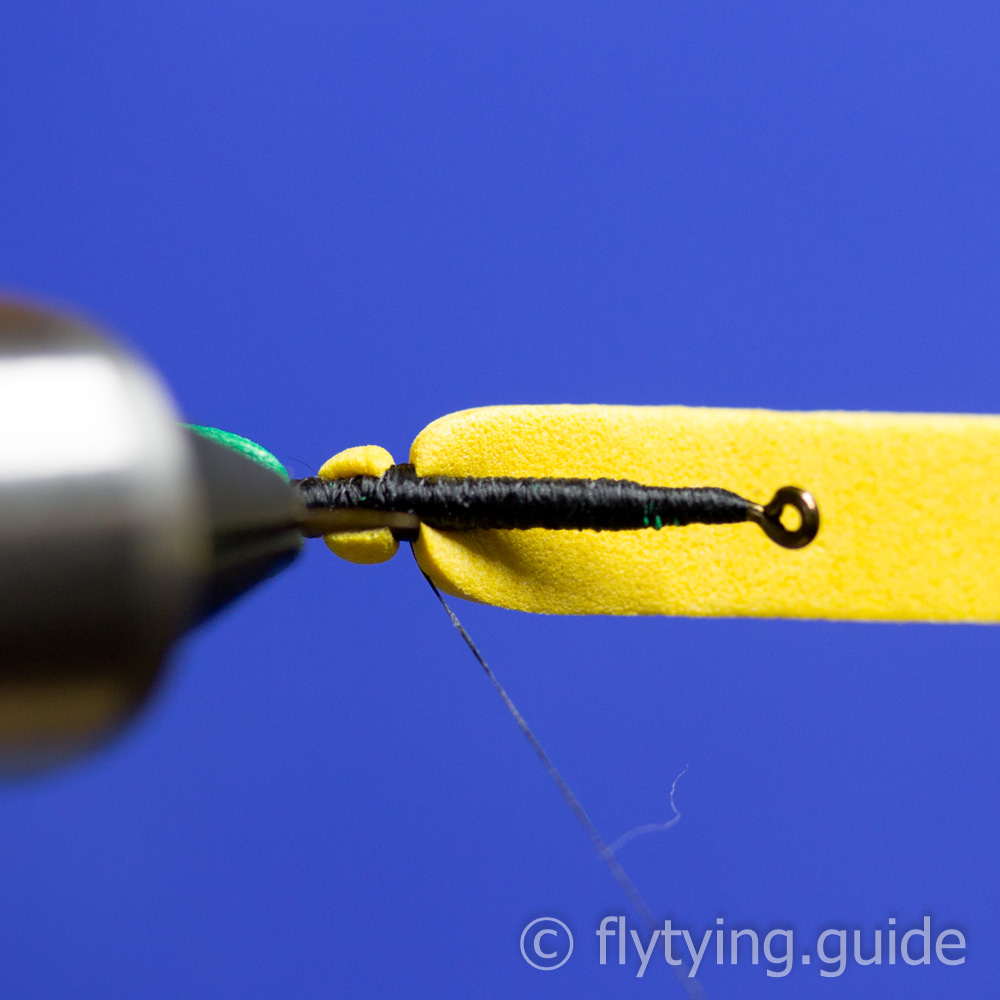
Viewed from below, the yellow foam should wrap about halfway down the hook shank.
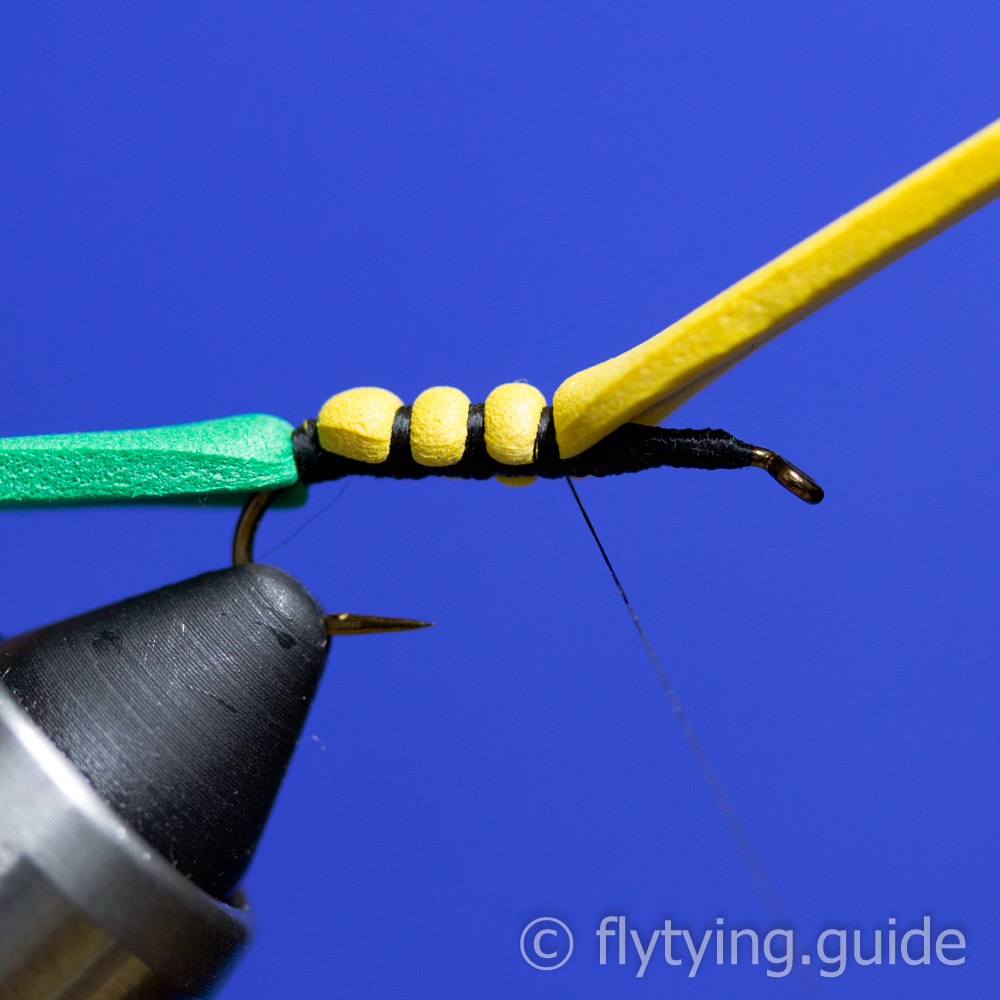
9
Lift the foam and advance the thread another 2mm, create the second segment at this point. Repeat one more time so you have three segments. You should be just beyond the midpoint of the hook.
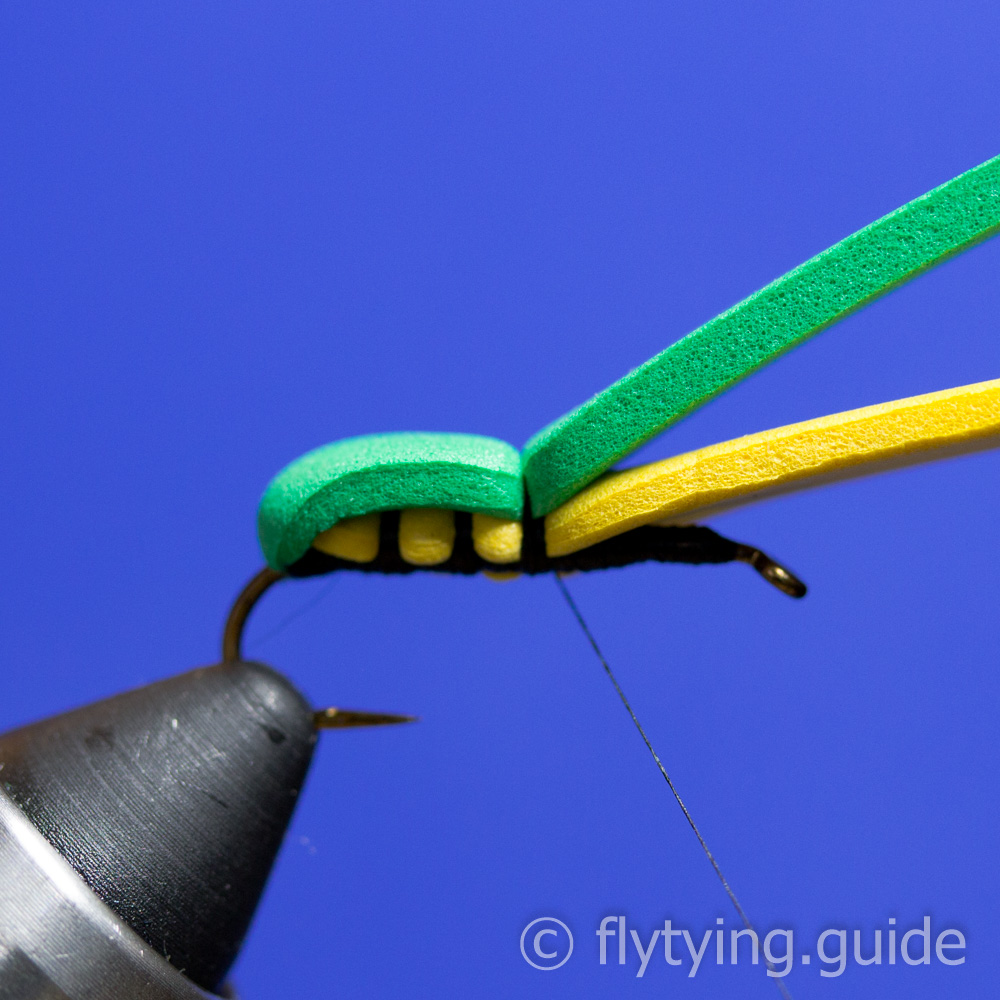
10
Pull the green foam forward and secure it. Use only enough thread to secure the foam.
11
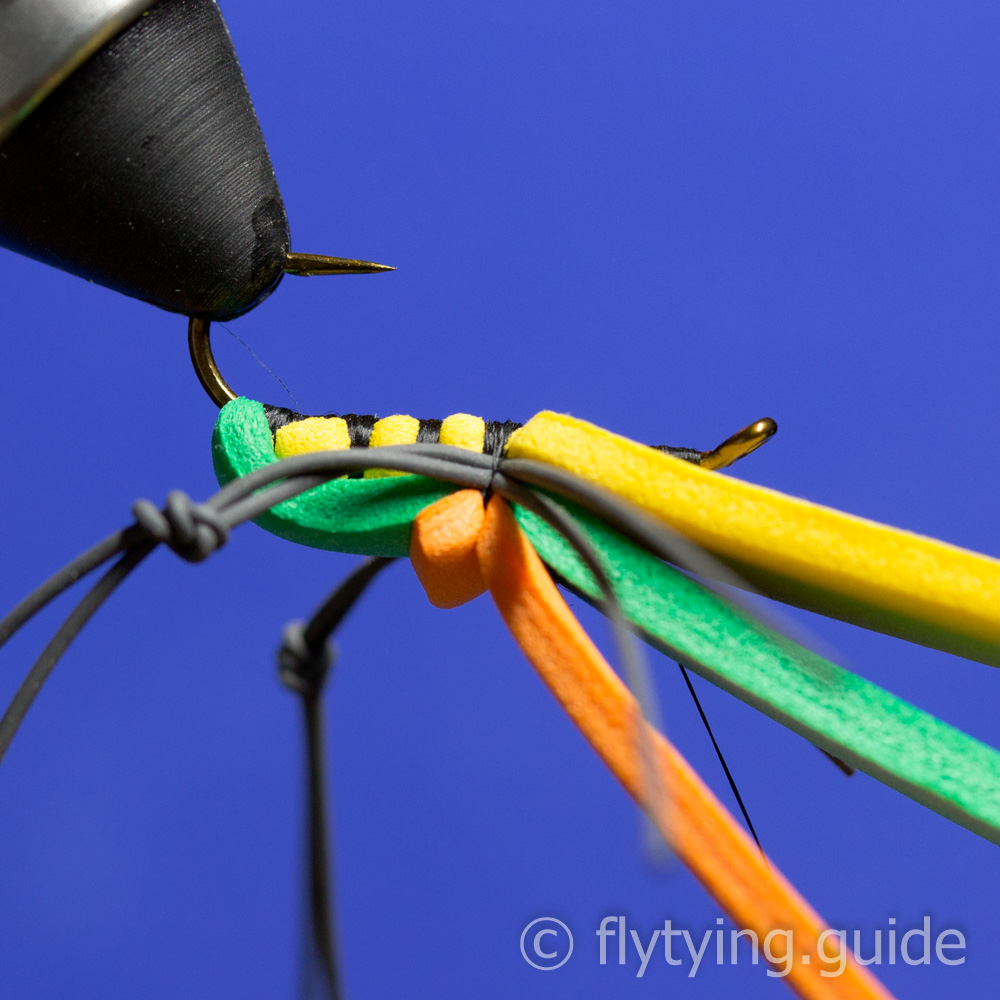
Position the orange foam so that it extends 3-4mm beyond the tie in point, secure with thread.
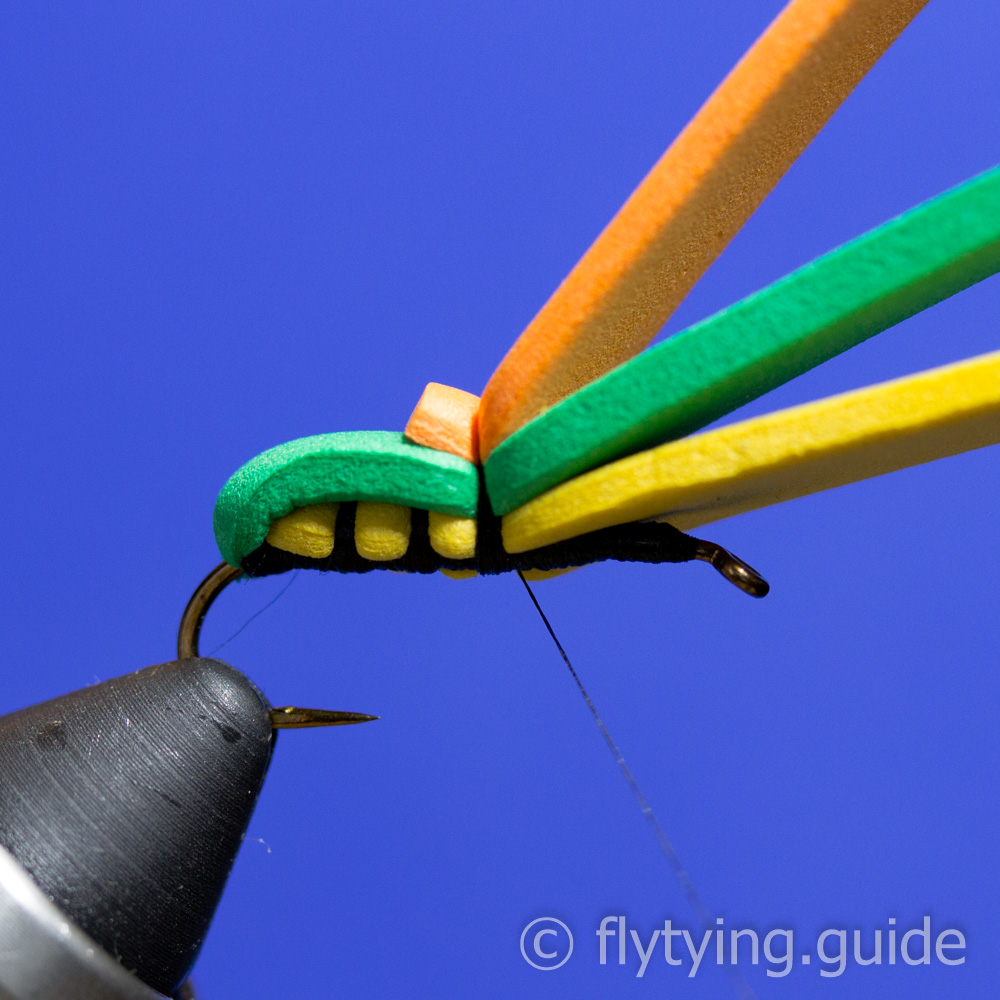
12
Prepare a rubber legs by taking two pieces of rubber and tying a knot in the midpoint. Tie in the legs on the near side so that the knot is positioned at the end of the body.
13
Repeat for the other side.

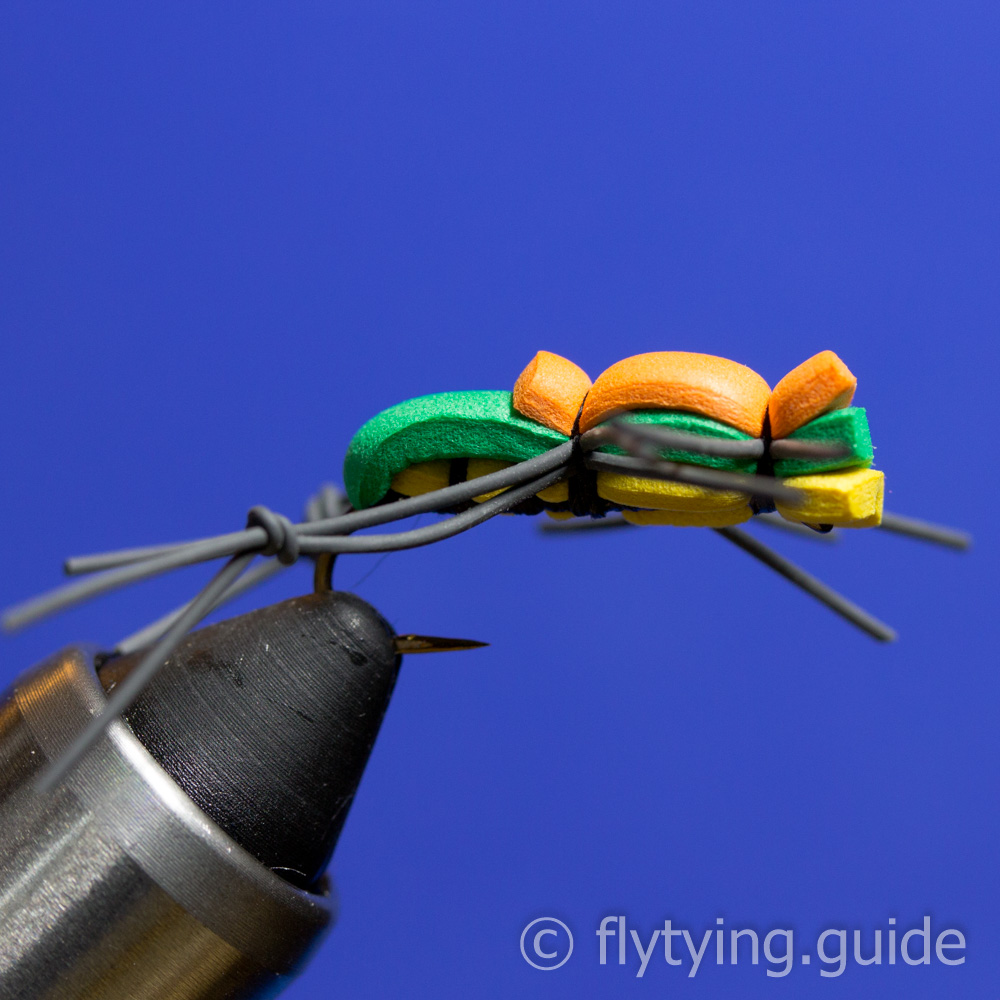
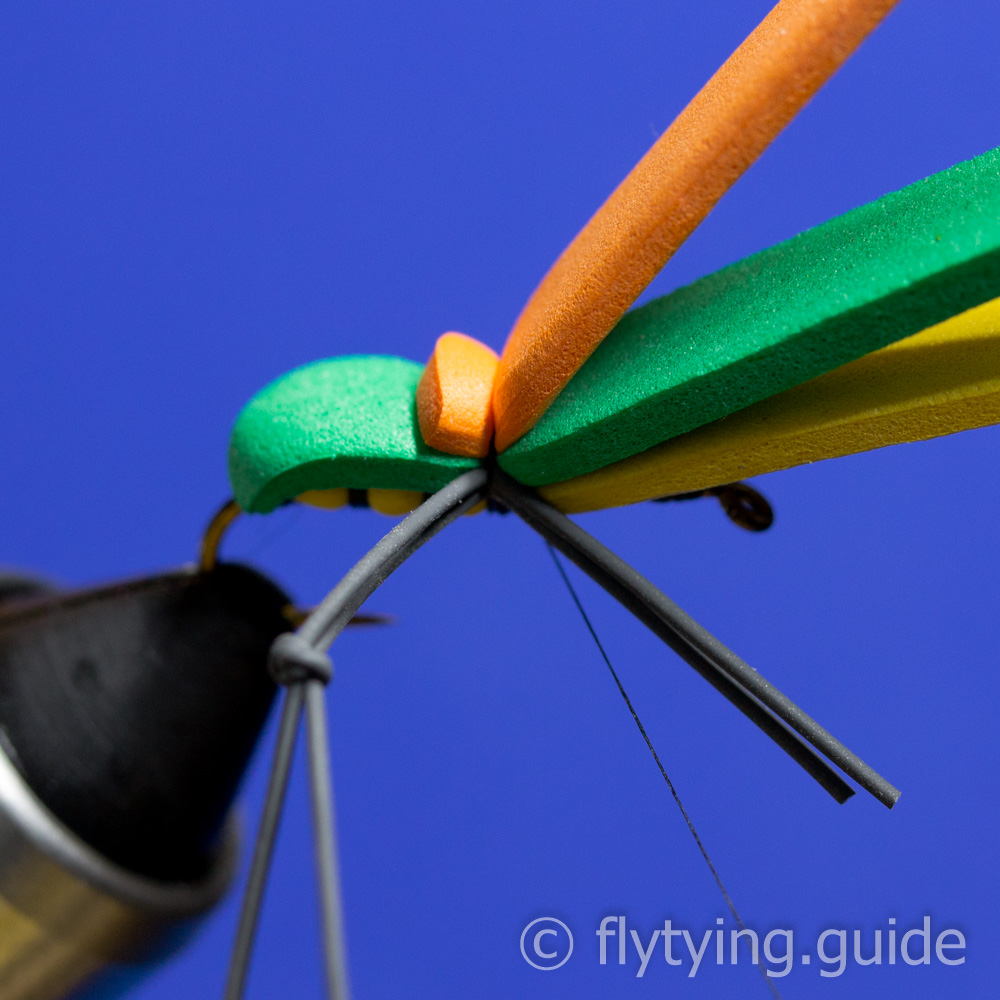
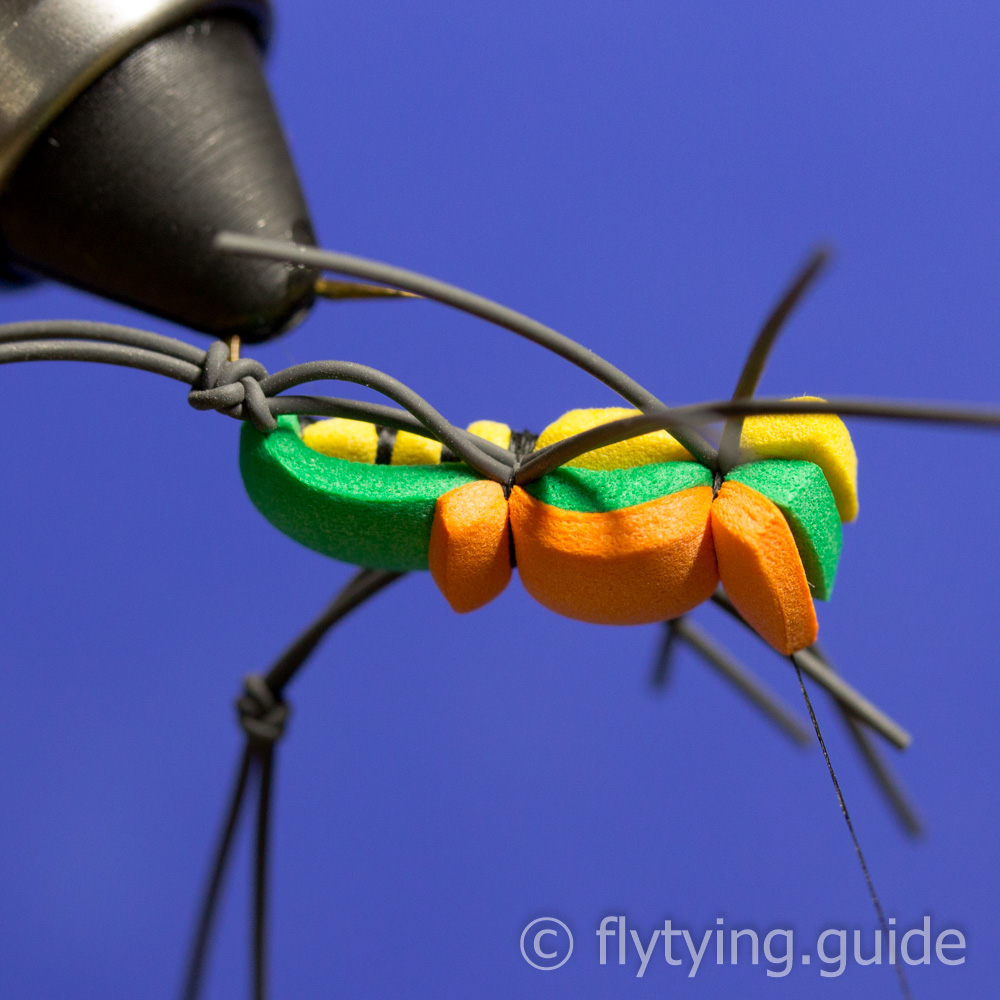
14
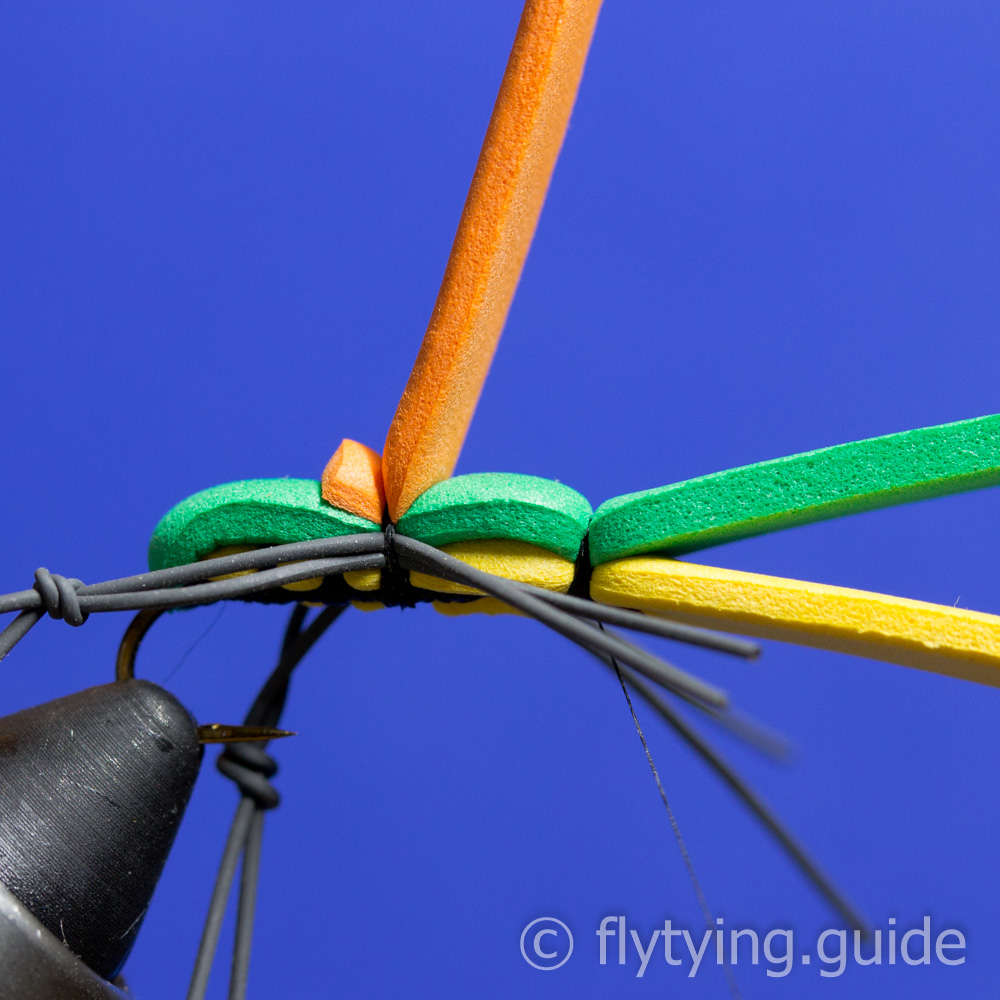
Lift all the foam and advance the thread to behind the hook eye. Tie in the Yellow foam using the large band technique. Viewed from below you should have three small segments in the rear and one segment in front when viewed from below.
15
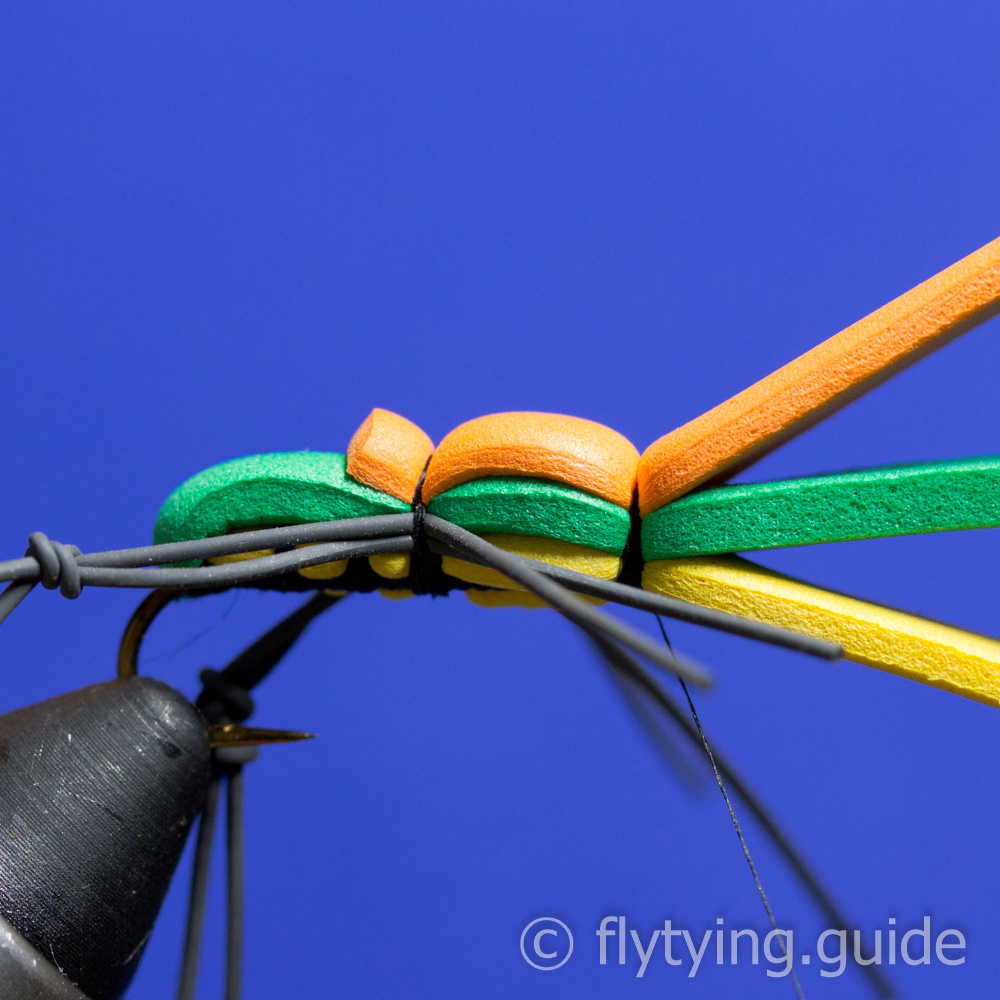
Pull forward the green foam and secure.
16
Pull forward the orange foam and secure.
17
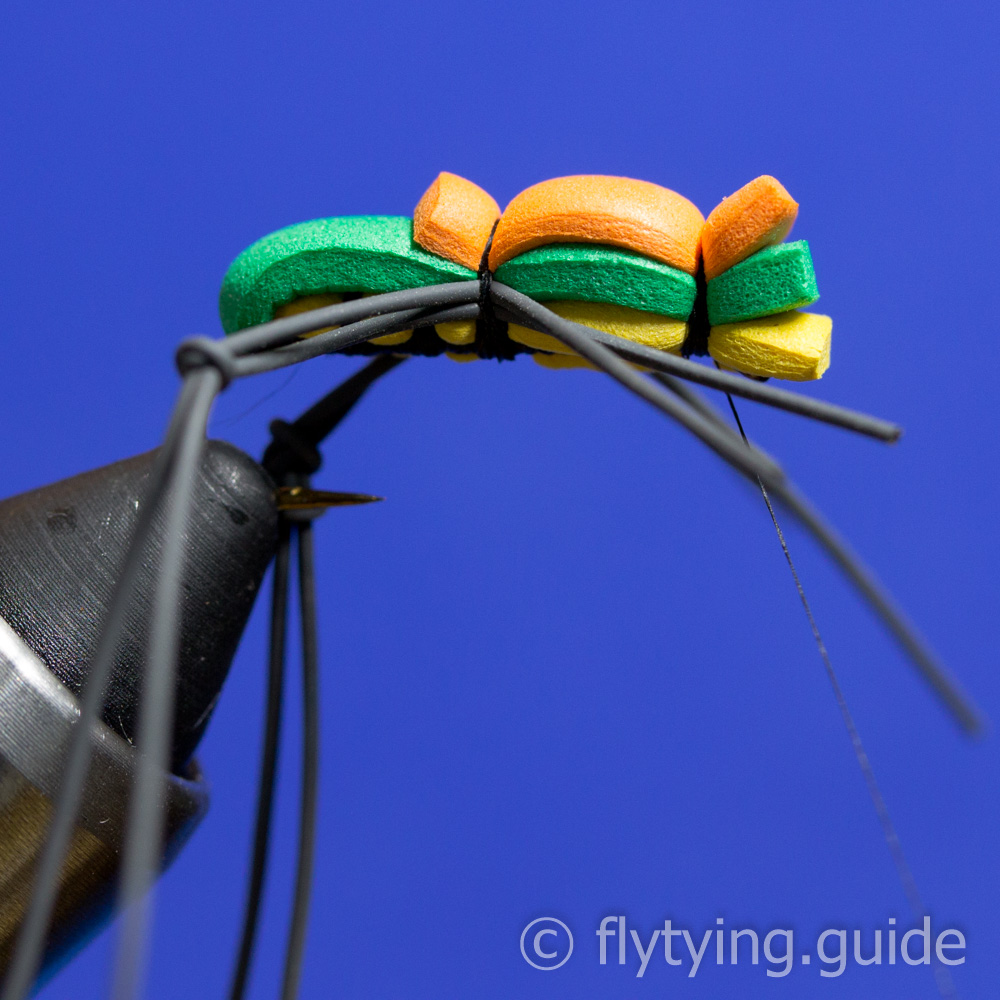
Pinch all three pieces of foam together and snip them even just beyond the hook eye.
18
Tie in a piece of rubber legging on the near side.
19
Repeat for the other side.
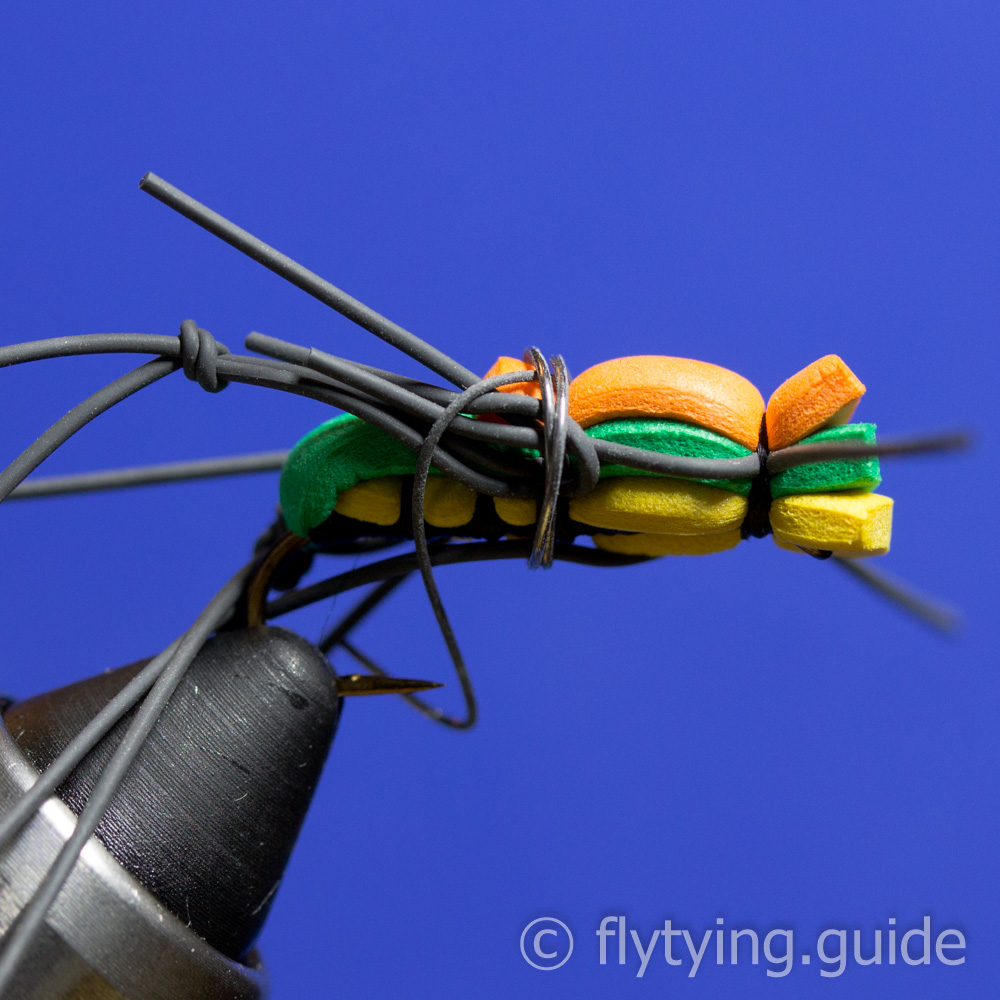
20
Whip finish the fly, holding the legs back out of the way with a piece of scrap wire makes this easier. Make sure the thread is position on the underside of the fly and then snip it.
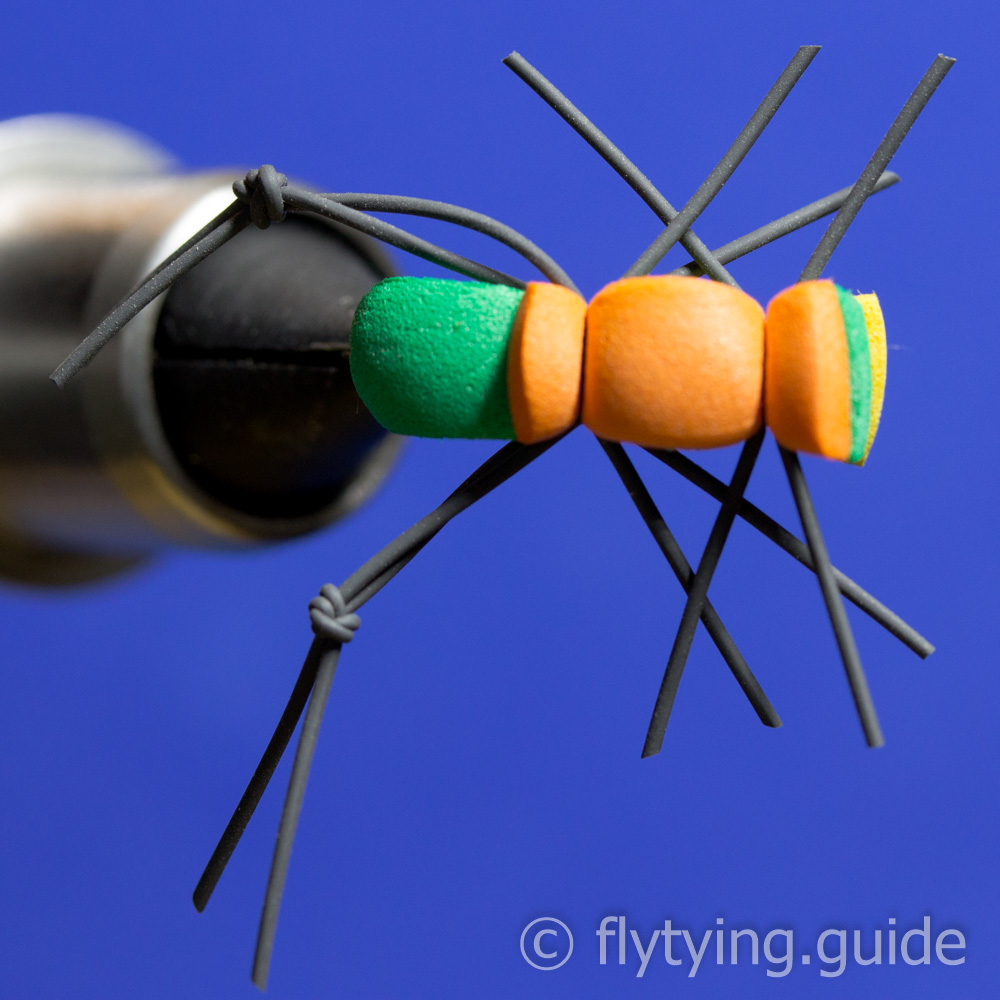
21
Trim the legs to the desired length.
22
Apply head cement to the thread tag end on the underside of the fly.