Foam Cricket
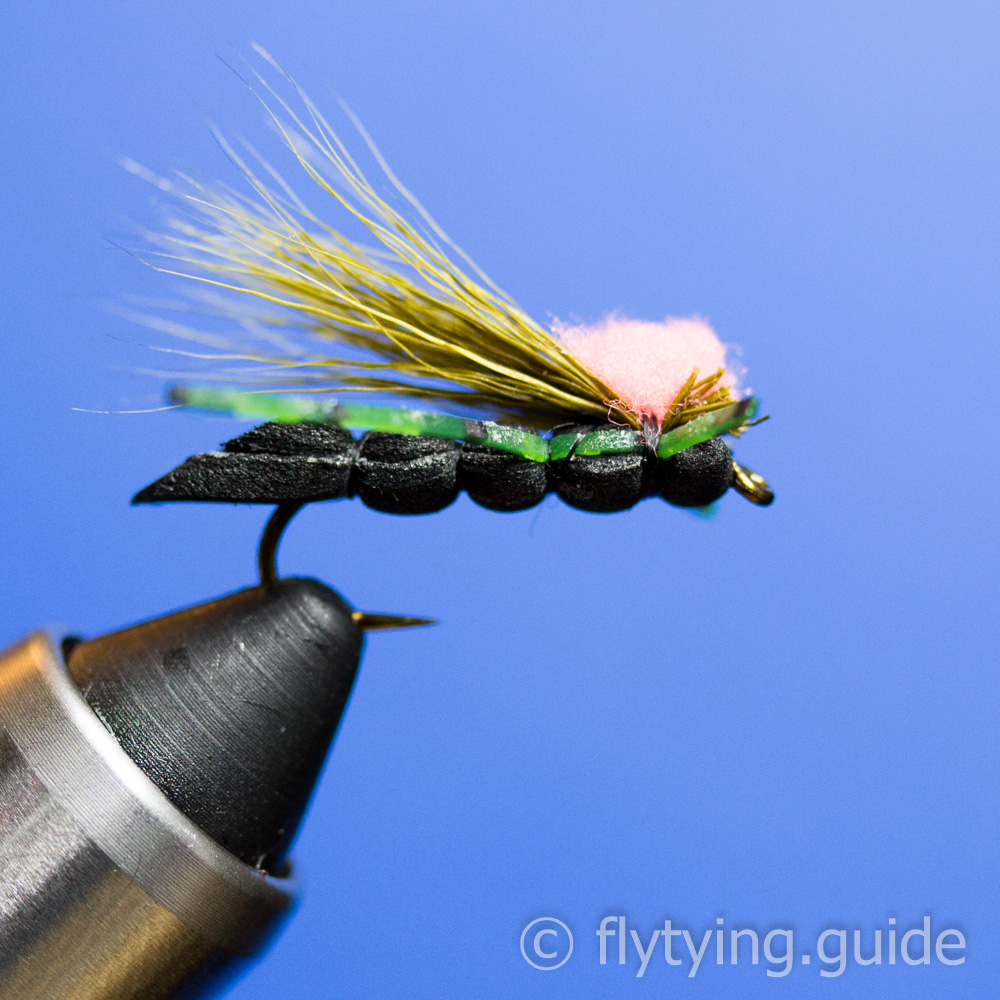
Made with a combination of synthetic and natural materials, this terrestrial pattern works great on a summer day when the wind is blowing and crickets or other large insects are being blown into the water. Consisting of a foam body and a deer hair wing, this fly will have no trouble staying afloat all day long.
- Source: Tightline Productions
- Submitted By: Fly Tying Guide
Materials
1
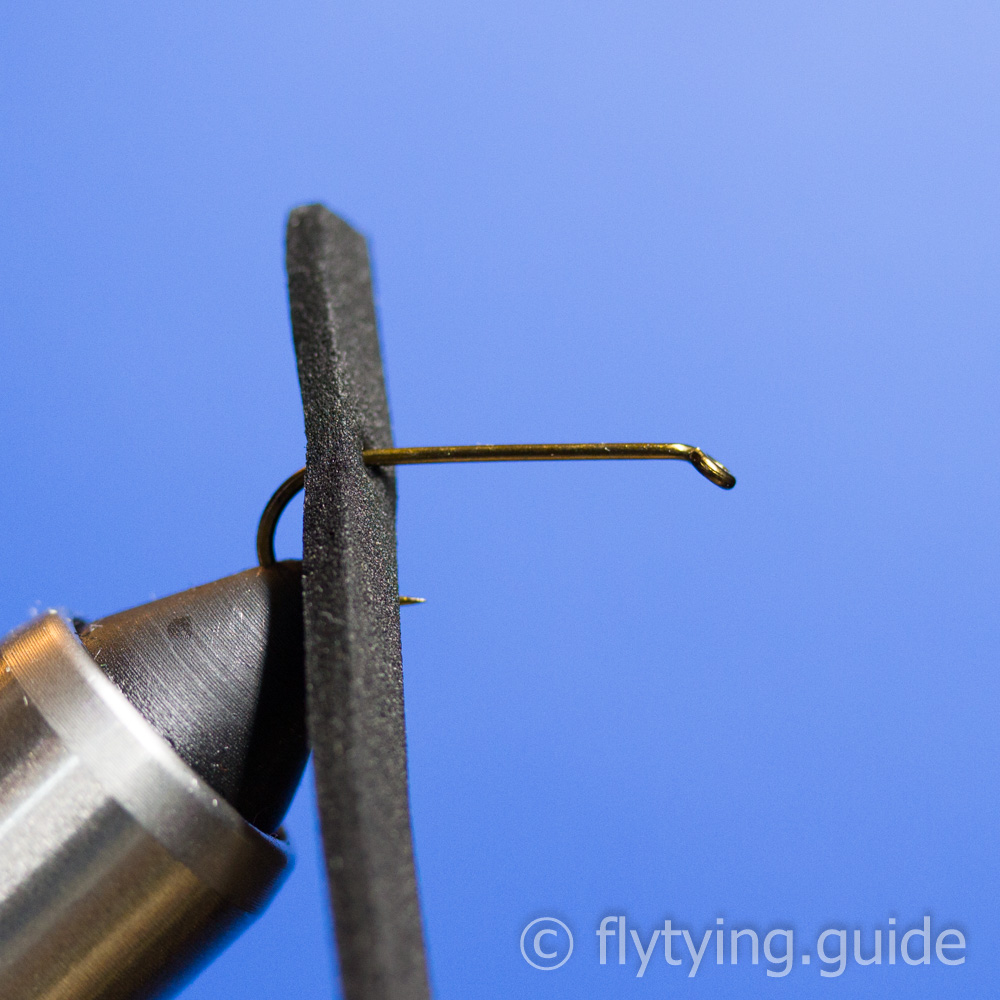
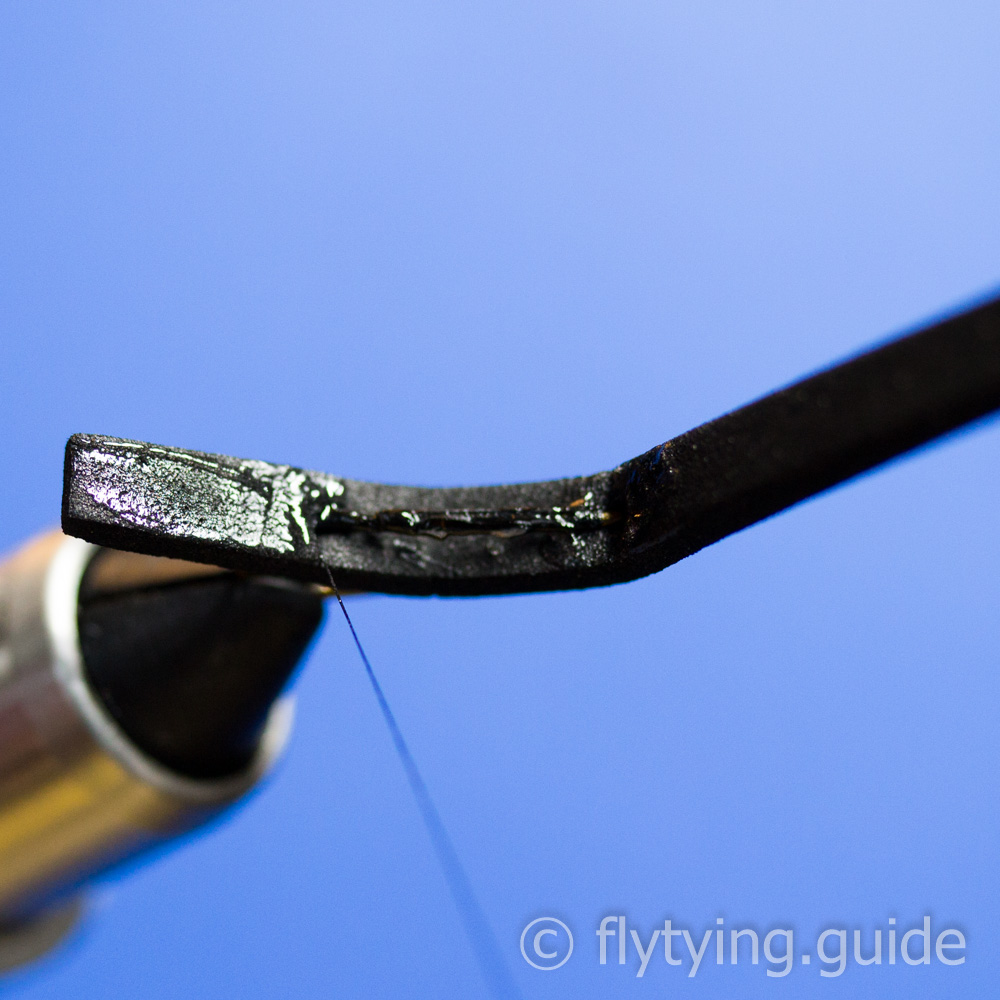
Prepare the black foam by cutting off strips equal to the hook gap in width. Using a bodkin, create a hole about a half inch from the end and feed the hook point through it. Place the hook in the vise.
2
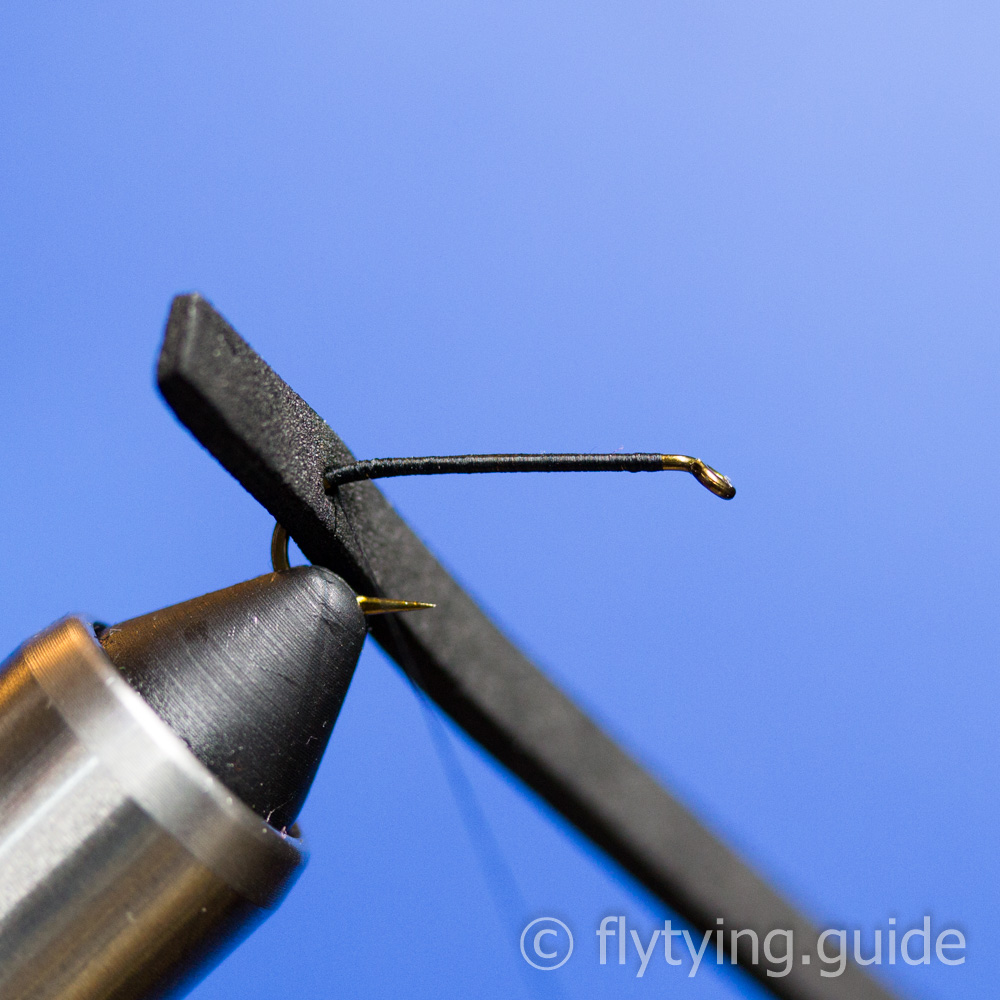
Secure the thread behind the eye, create a sparse underbody along the hook shank to slightly beyond the start of hook bend.
3
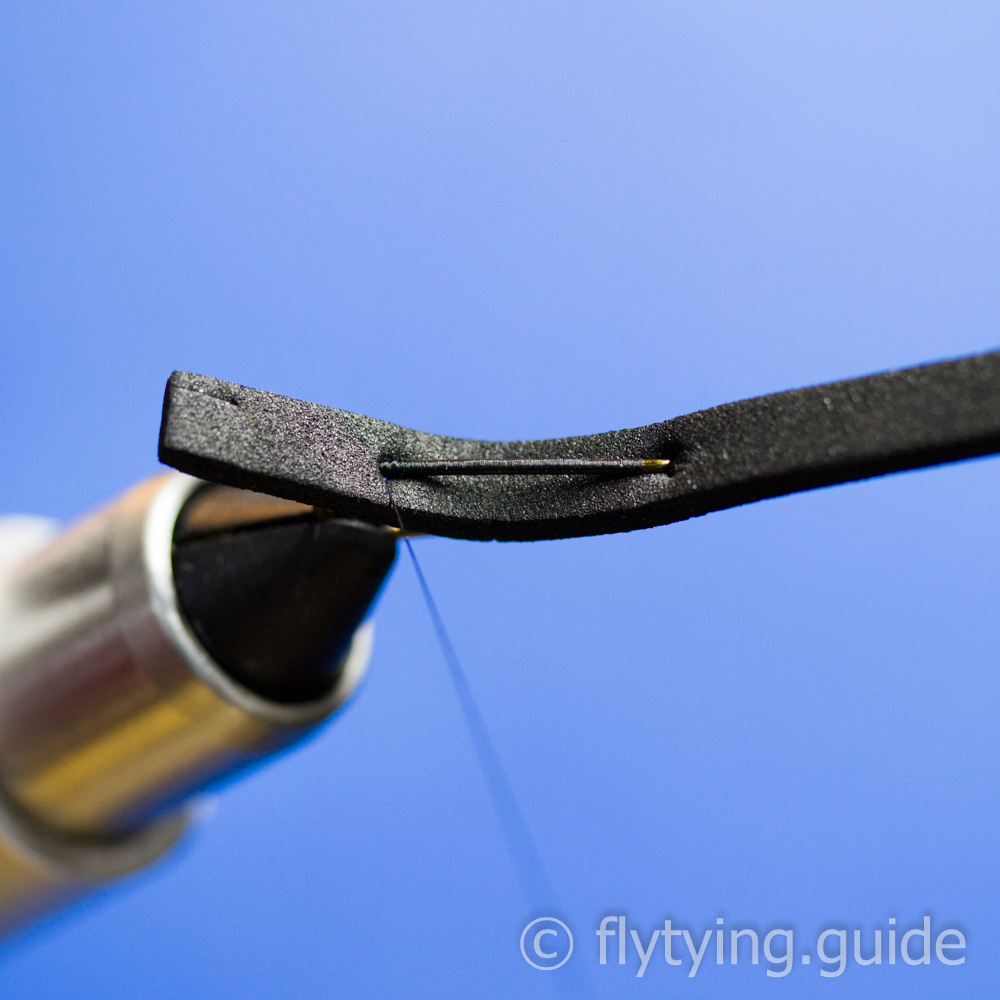
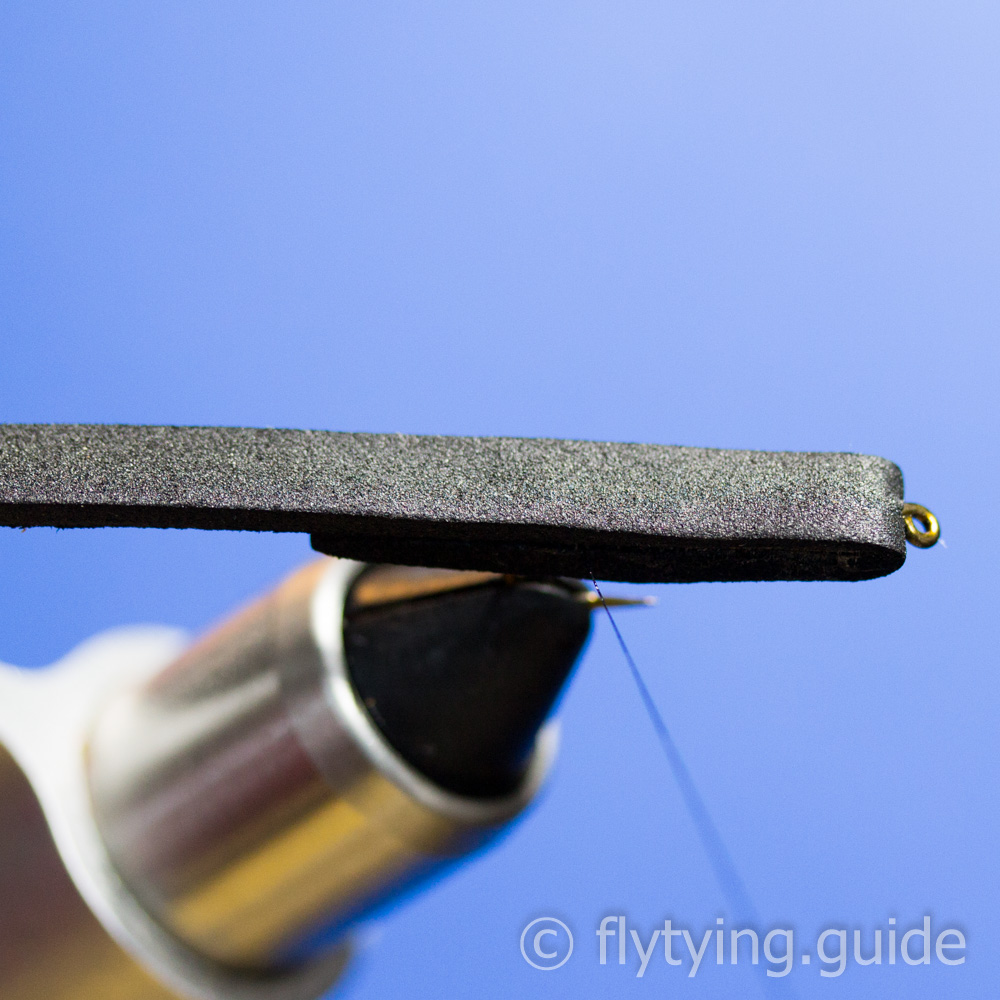
Pull the foam forward and use a bodkin to create a hole just behind the hook eye. Feed the hook eye through the hole to prepare for the next step.
4
Coat the top of the foam and the hook shank with Zap-A-Gap or some other CA adhesive.
5
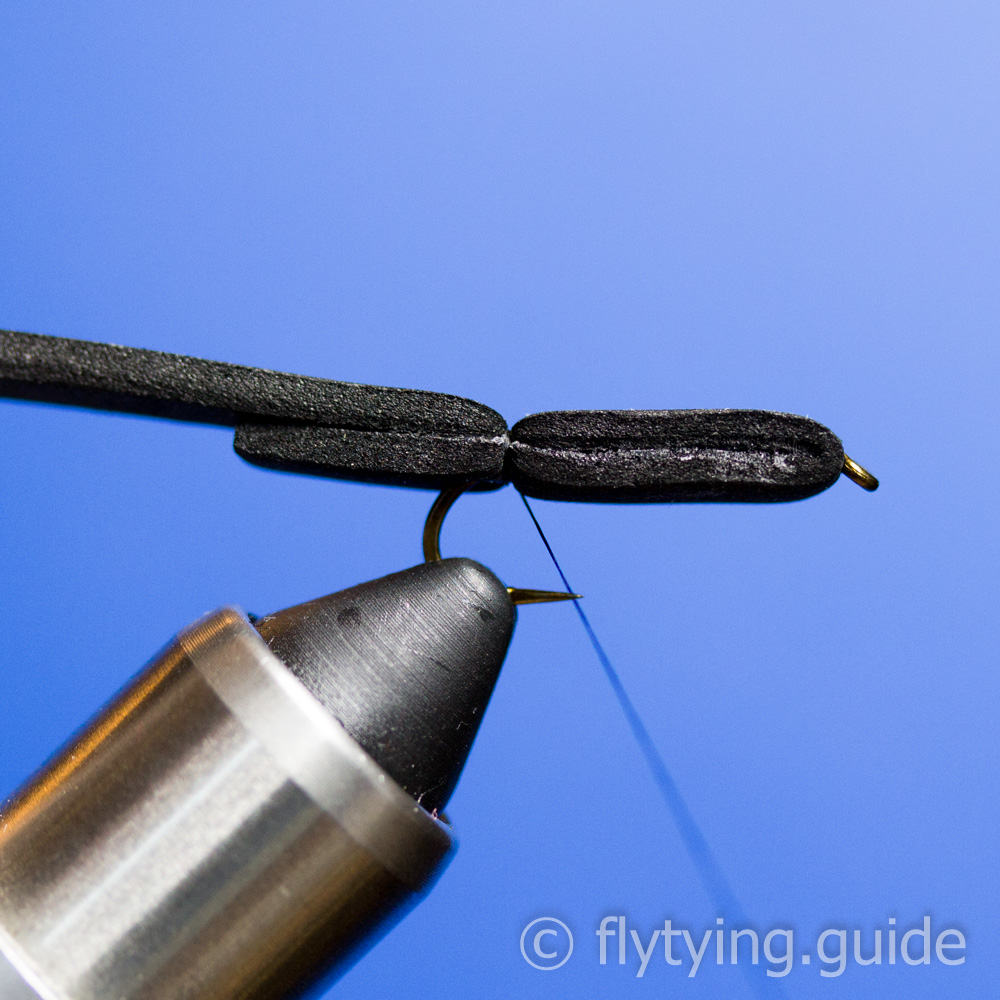
Fold the foam over and pinch it together for a few seconds allowing allowing the glue to set, make sure to keep the foam on the top of the shank. If you can rotate your vise, rotating it at an angle so the thread is not trying to twist the foam will make this easier.
6
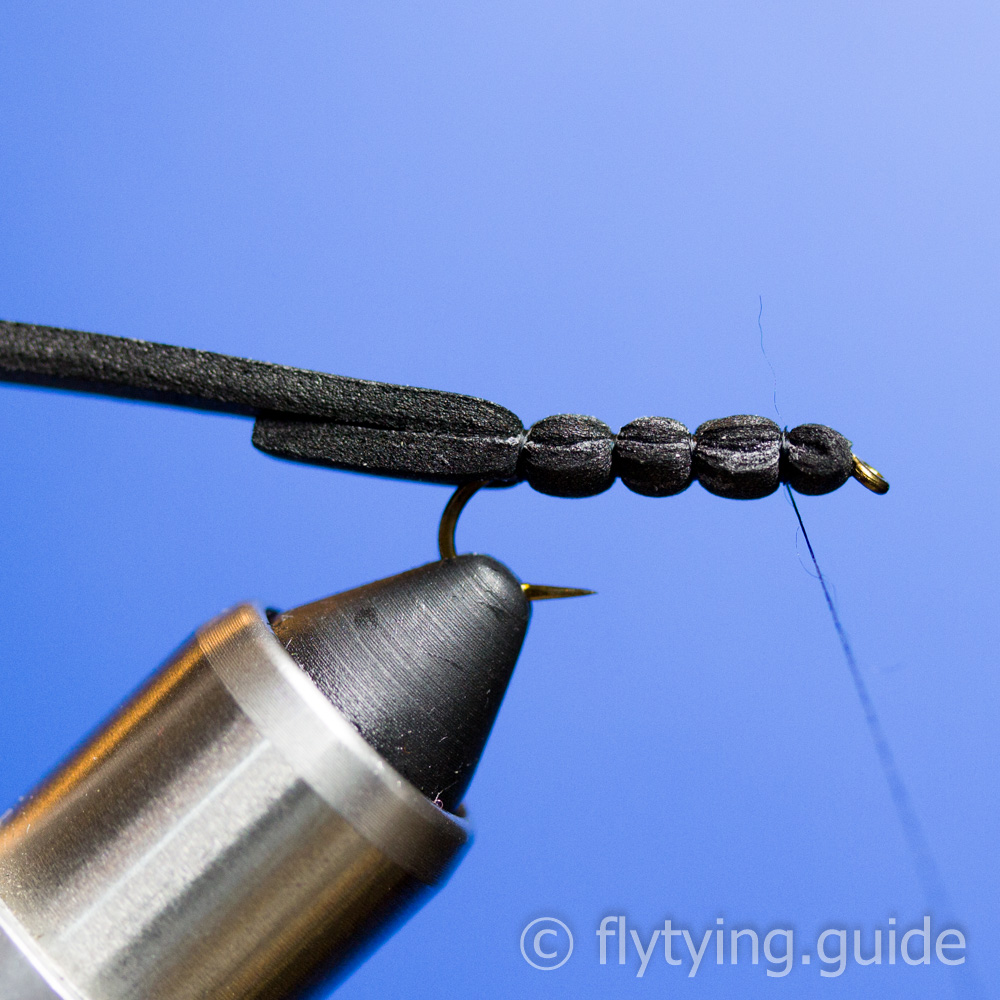
Begin making the body segments in the foam by taking wraps at the bend of the hook to compress the foam under the thread.
7
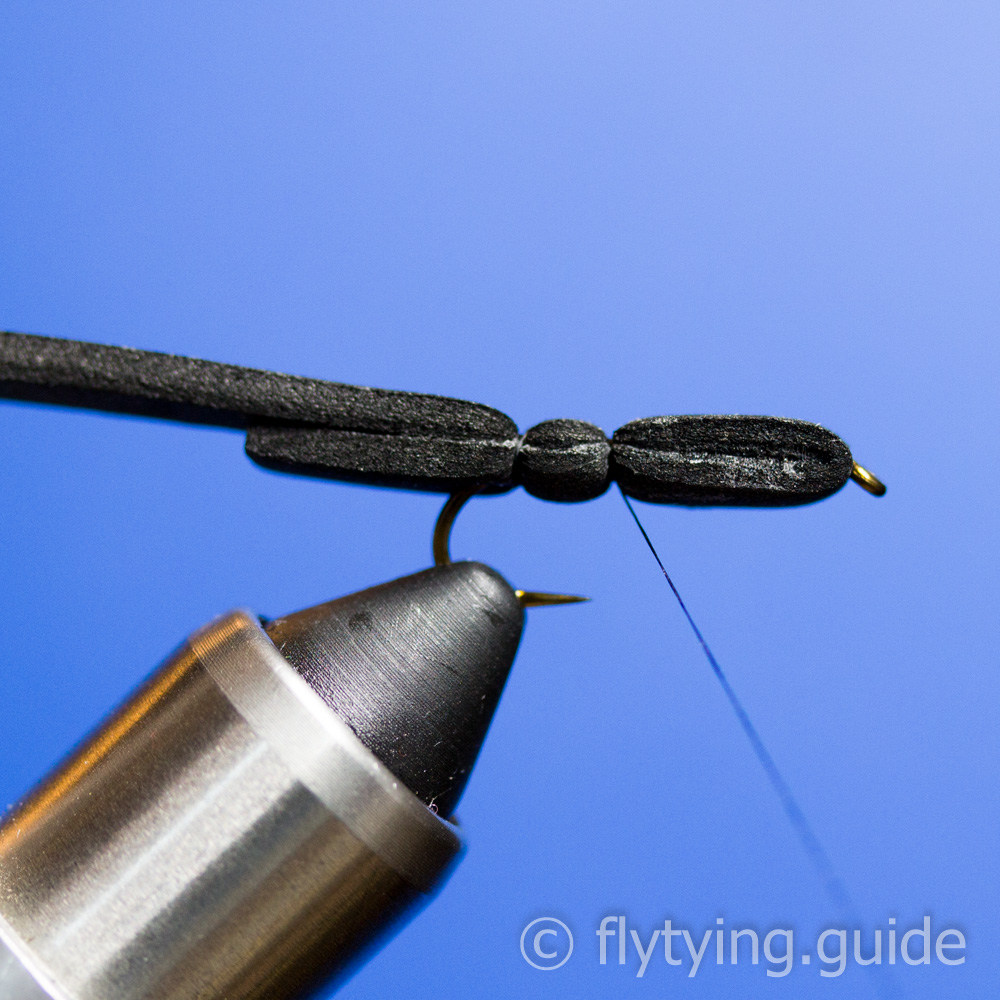
Advance the thread approximately a quarter of the way along the shank by taking an angled wrap on top of the foam. Create the next body segment by taking thread wraps.
8
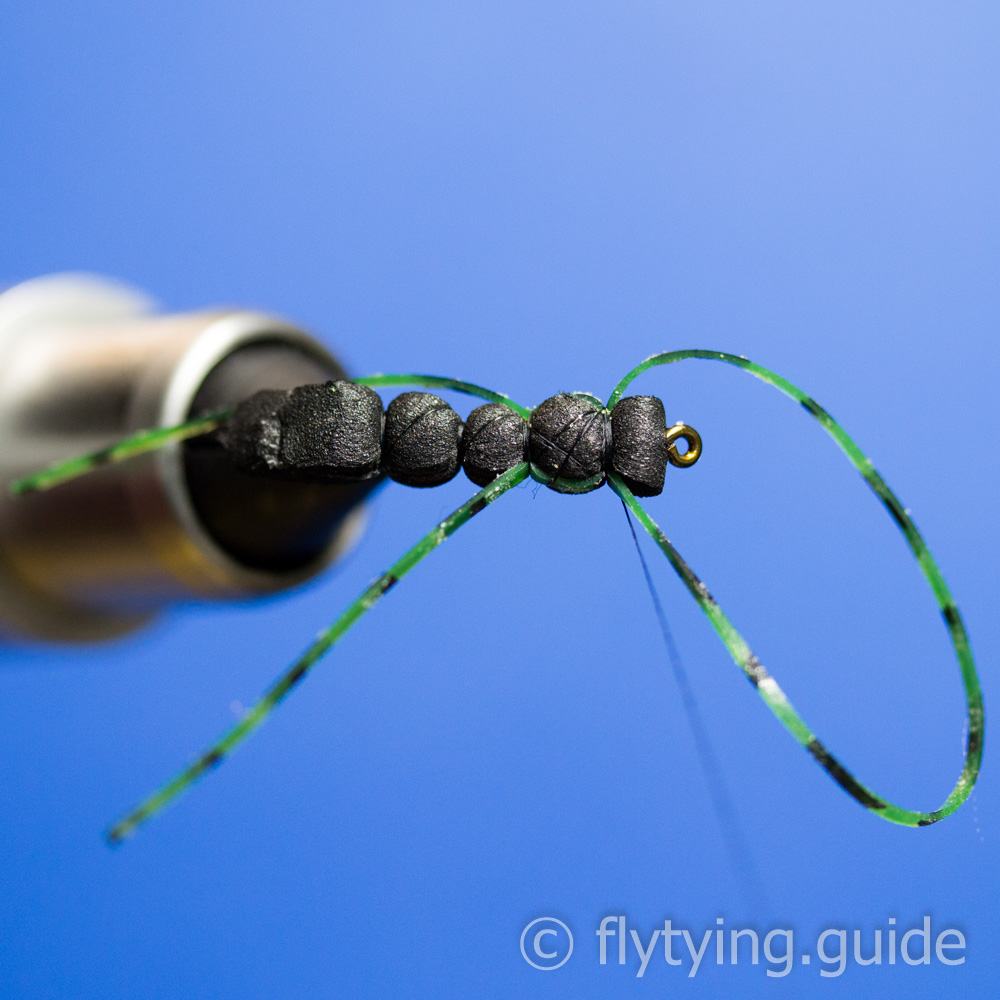
Repeat the previous step two more times until you have a total of four body segments plus the tail.
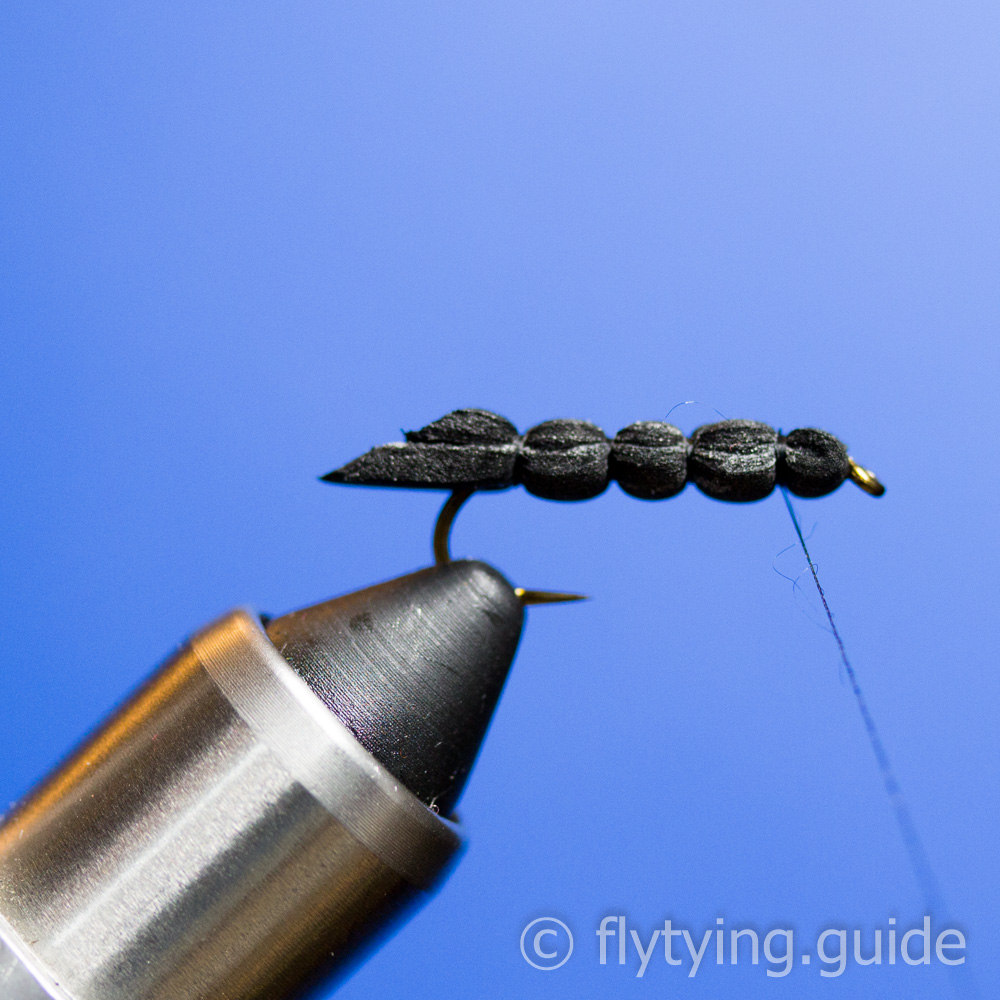
9
Trim the tail at an angle so that it extends about one hook gap beyond the bend.
10
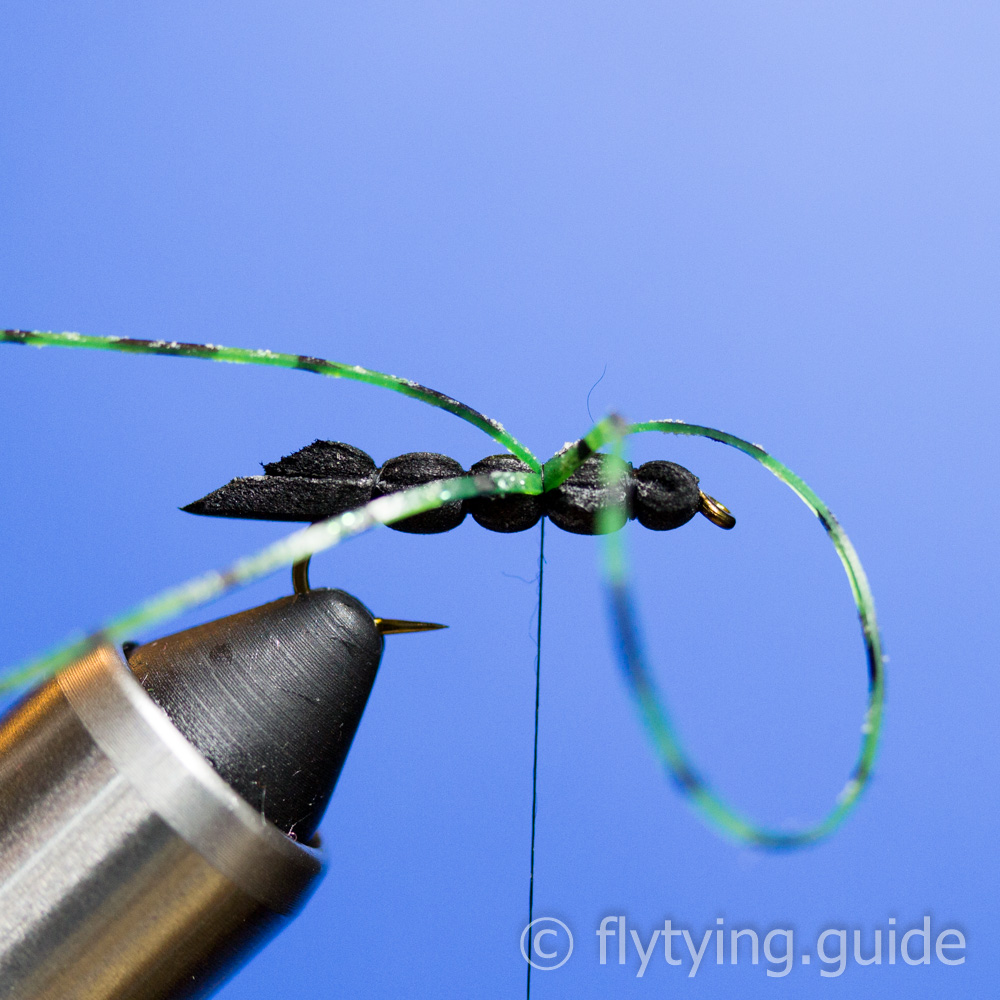
Position the thread at the second segment by taking a diagonal wrap on top of the foam. With a length of legging material about four inches long, fold it in half and secure it on the side facing you at the tie in point. Adjust the thread tension so that the legs flare to your liking.
11
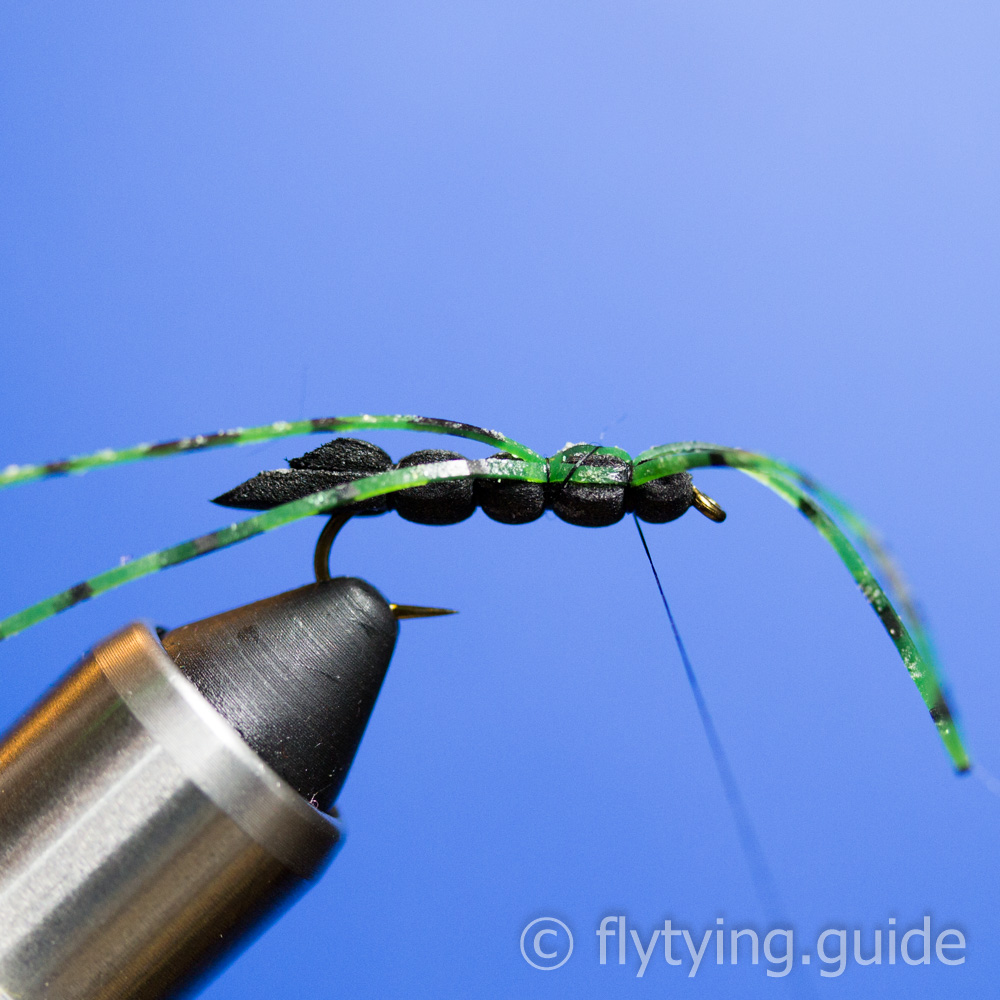
Advance the thread to the first segment behind the eye and tie in the legs a second time, adjusting the thread tension to flare the legs to your liking.
12
Pull one set of legs over the top of the foam and down along the opposite side, depending on the thread tension you might have to use a bodkin to help position them.

13
Prepare a pinch of deer hair by stacking it to align the ends, remove from the stacker and measure it so that it will be the same length as the body. Trim and tie in at the first segment to create a hair wing. Taking wraps through the ends of the hair after the first couple will help lock it in place.
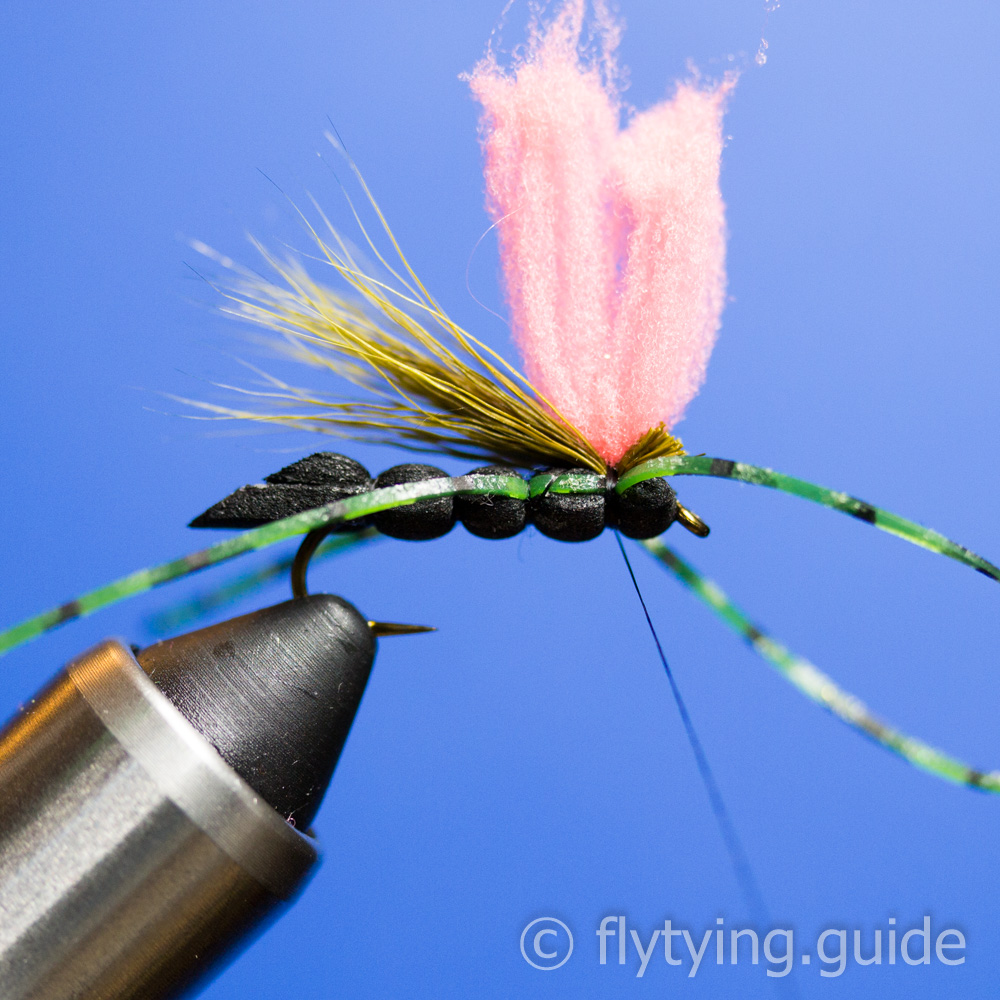
14
Prepare a short length of egg yarn to use as an indicator, antron yarn or any high visibility material can be used for this. Secure the material with one or two tight wraps, and then apply a whip finish, position the thread on the underside of the fly and snip it. Apply a small amount of head cement to the underside of the first segment.
15
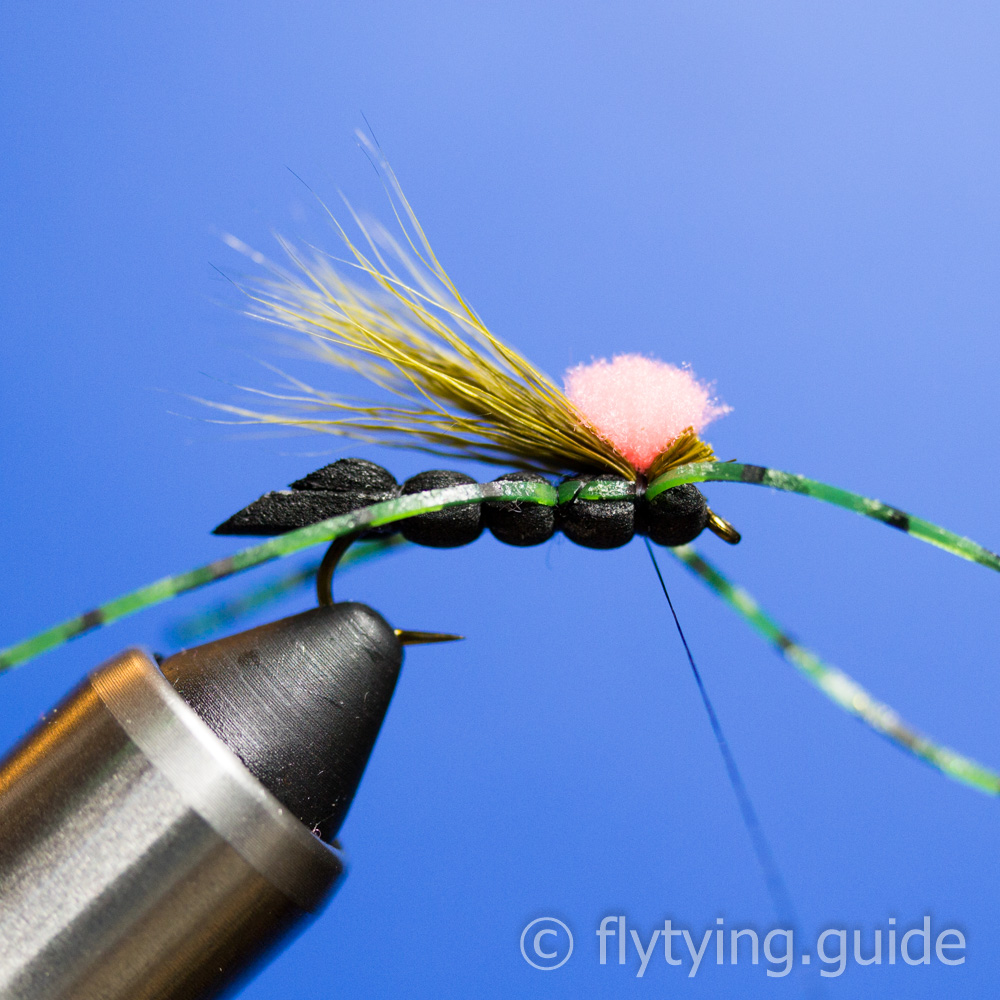
Trim the indicator material so that is forms a hot spot on top of the fly.
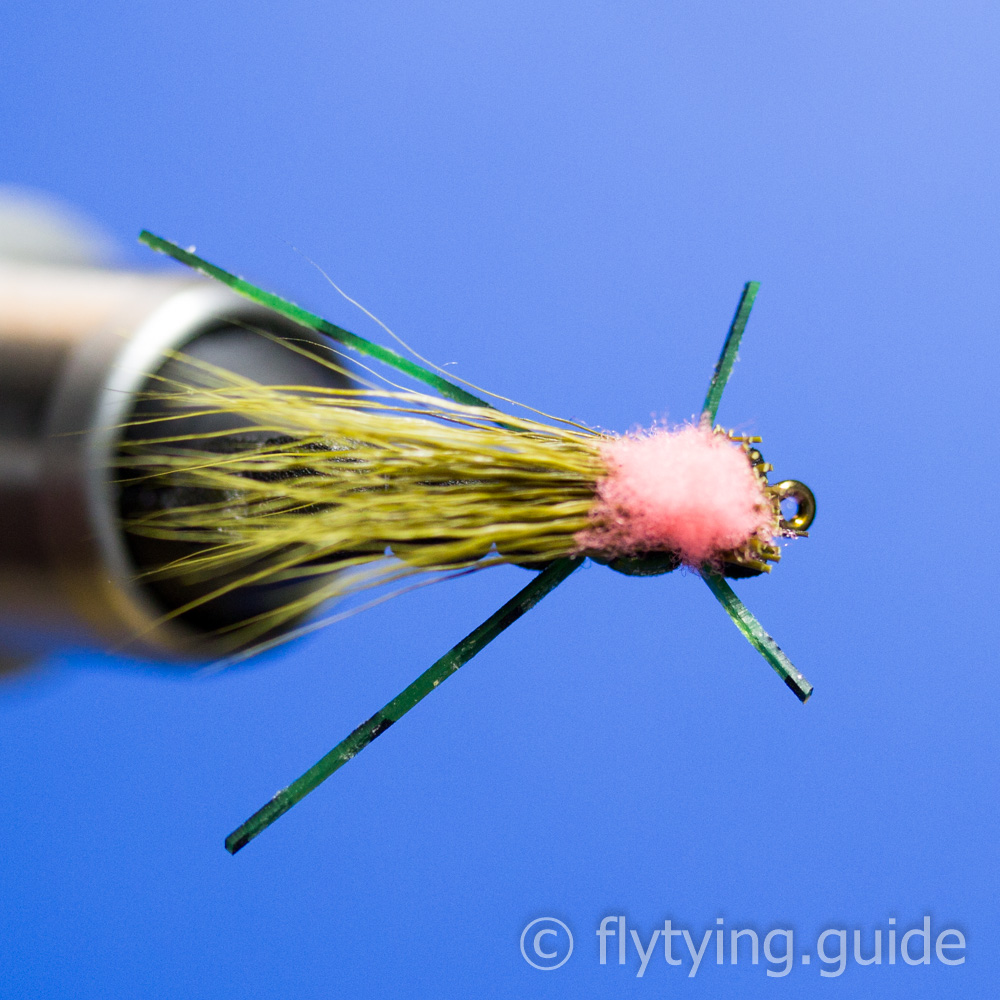
16
Snip the loop in the leg material and then trim the legs so that the front are slightly beyond the hook eye when pulled forward and the rear are slightly beyond the body when pulled back.