March Brown Nymph
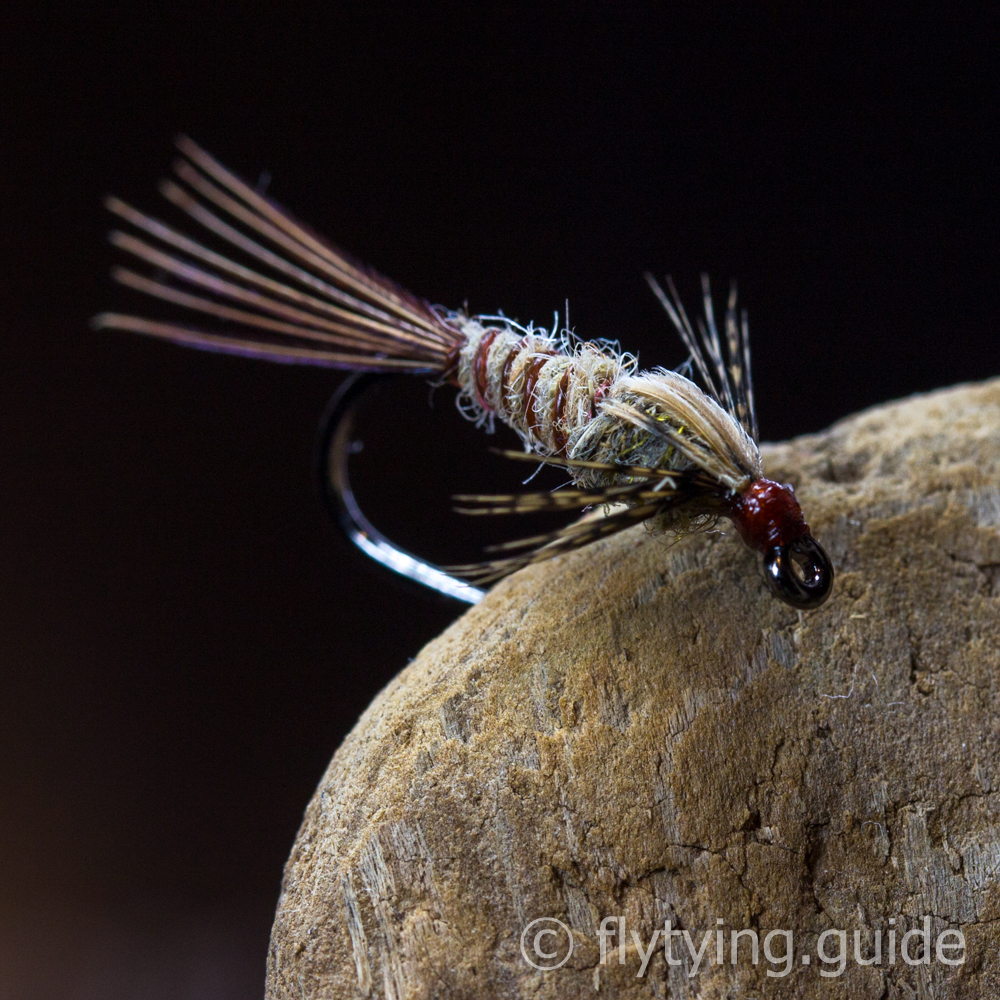
Nymph pattern tied using light colors to imitate the March Brown. A light tan dubbing is used on the body with a slightly darker one used for the thorax, pheasant tail fibers make up the tail and hungarian pheasant feather fibers are used for the legs.
- Submitted By: Fly Tying Guide
Materials
1
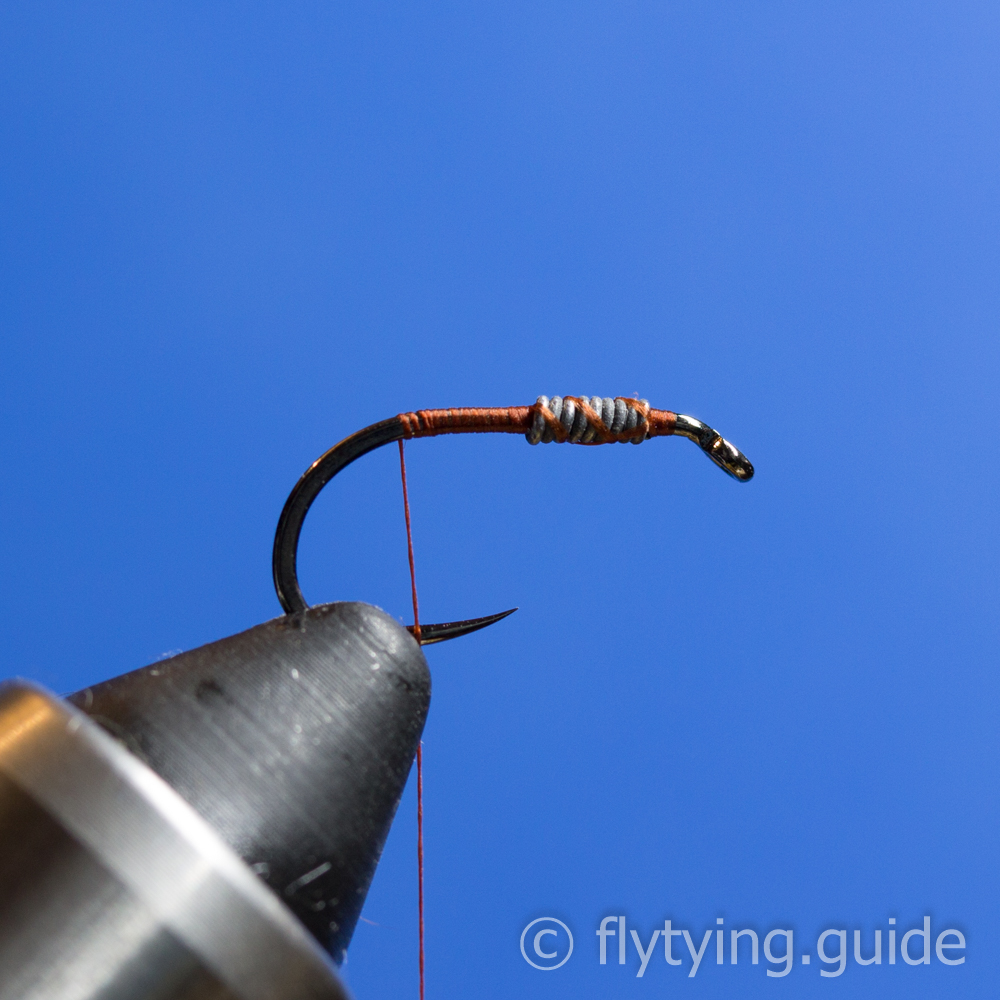
Place the hook in the vise and wind on close turns of lead wire to form the weighted under body. Secure the thread behind the eye and run the thread along the shank, over the lead wire to the start of the bend.
2
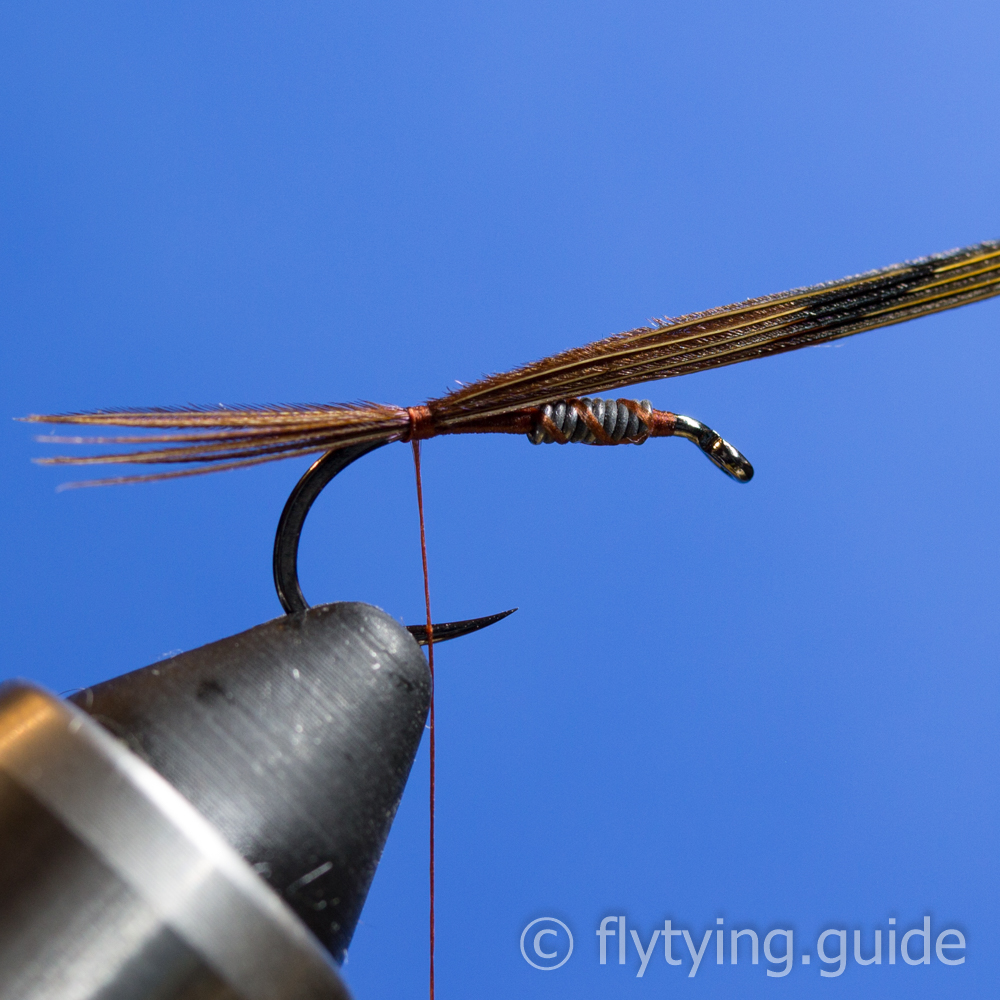
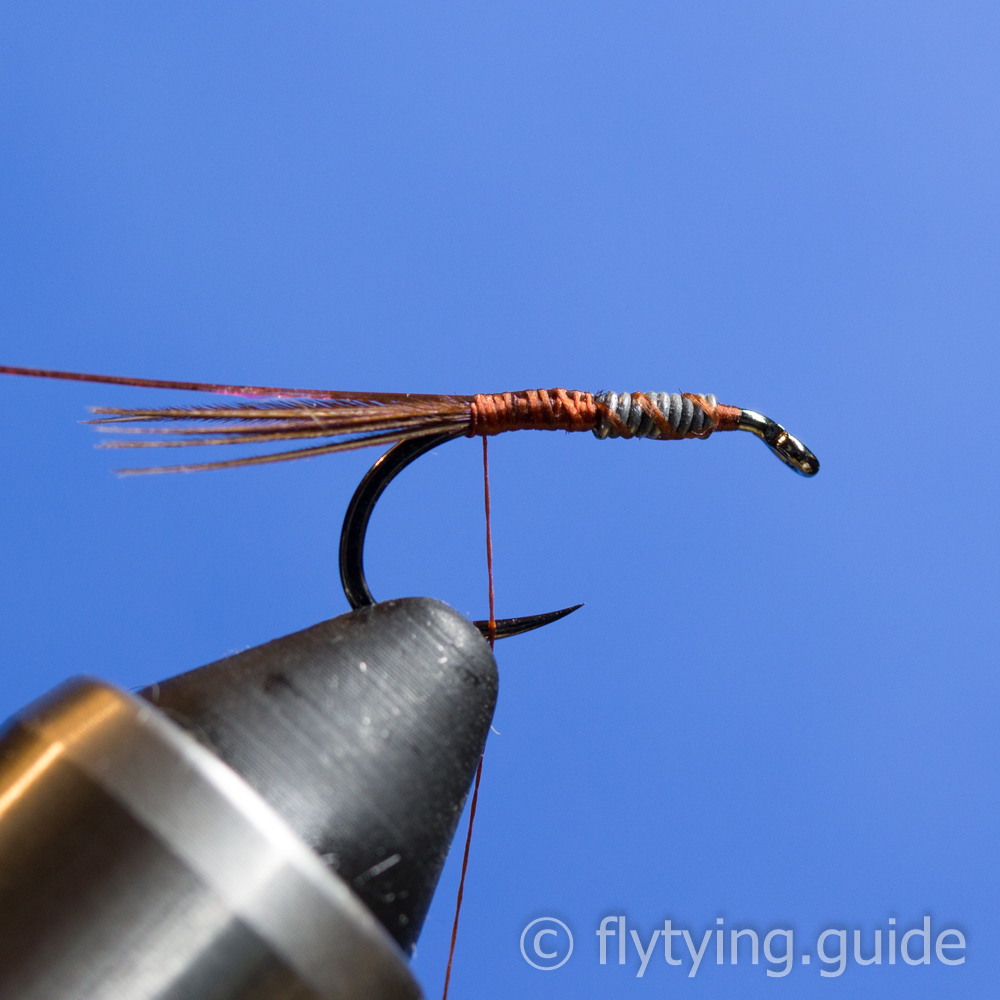
Align the tips of 6 to 8 pheasant tail fibers, measure so that they will extend beyond the start of the bend the same length as the body. Secure at the start of the bend of the hook.
3
Snip the excess off the tail fibers and cover the butt ends with thread.
4
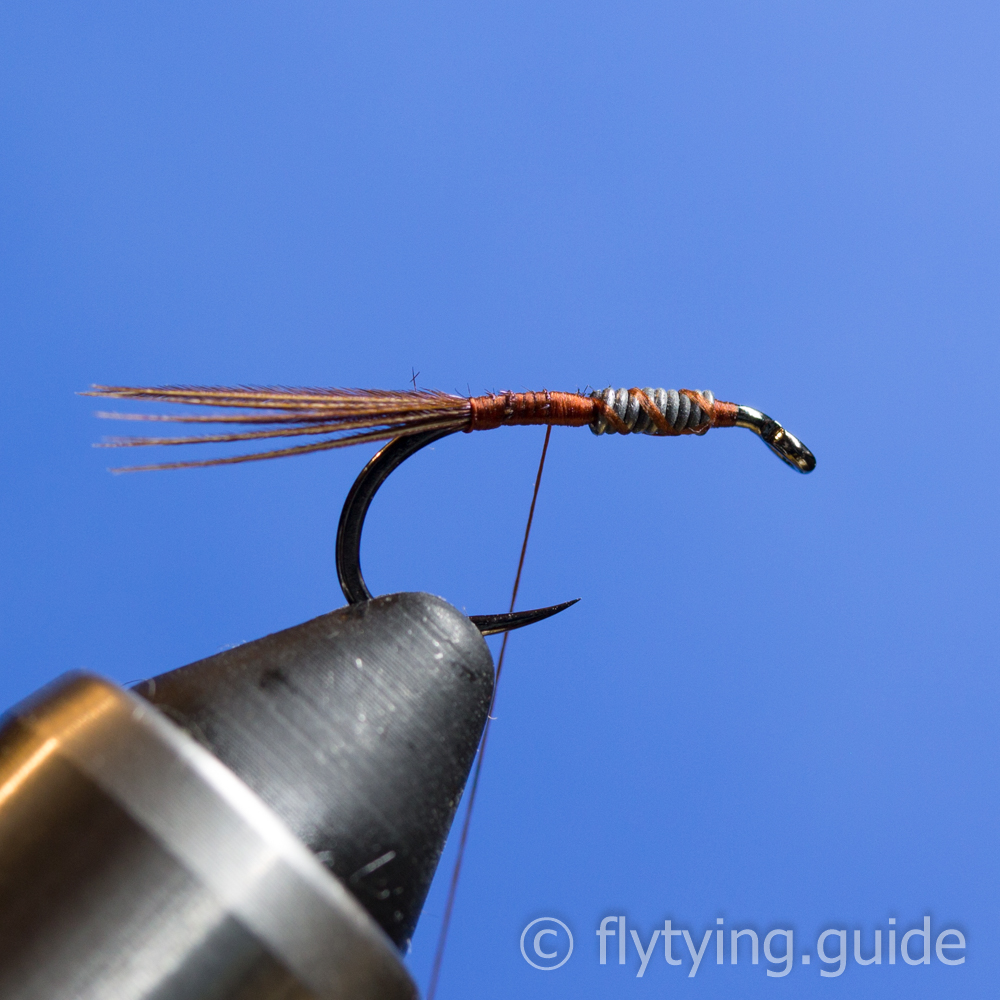
Prepare a length of tippet by coloring it brown with a sharpie, and catching it in on top of the shank. Return the thread to the start of the bend.
5
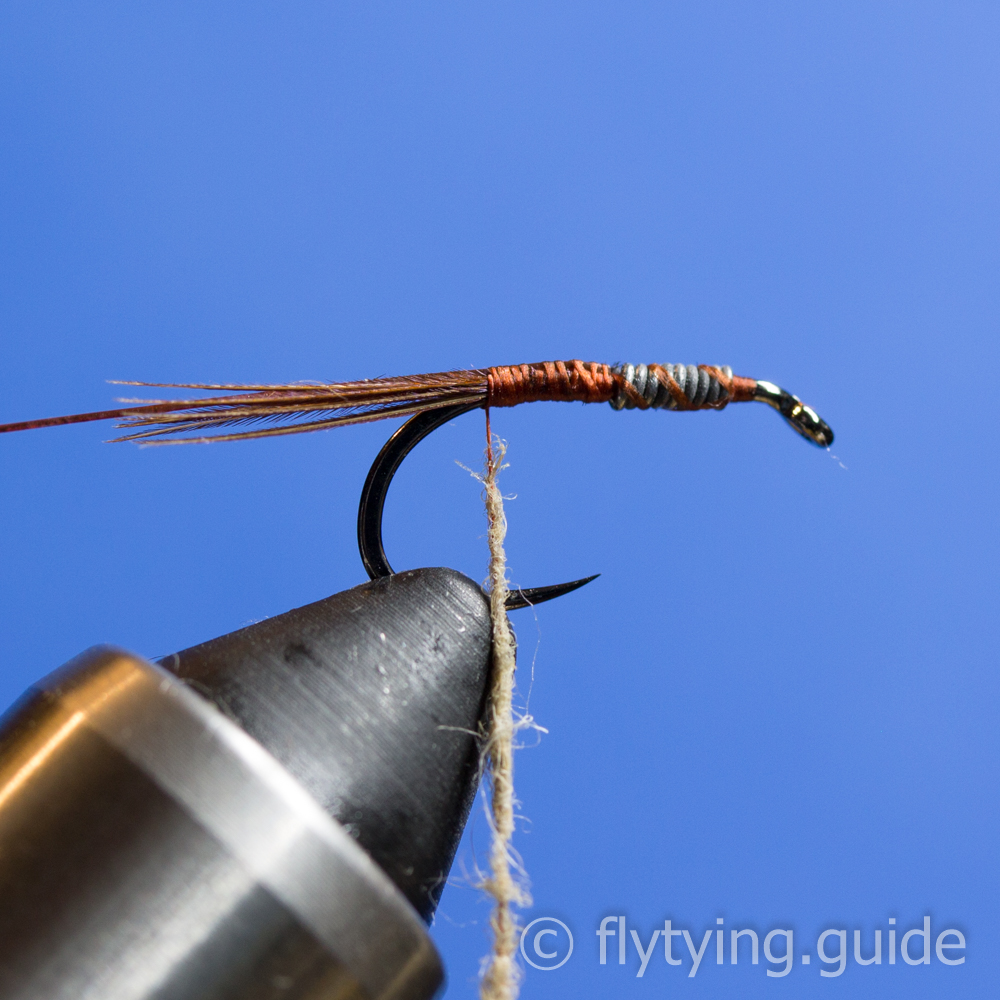
Apply a thin dubbing rope to the thread, use the light tan underfur from a hare's mask or red squirrel pelt for best results. Try to limit the number of guard hairs that are included so that the body will be smooth.
6
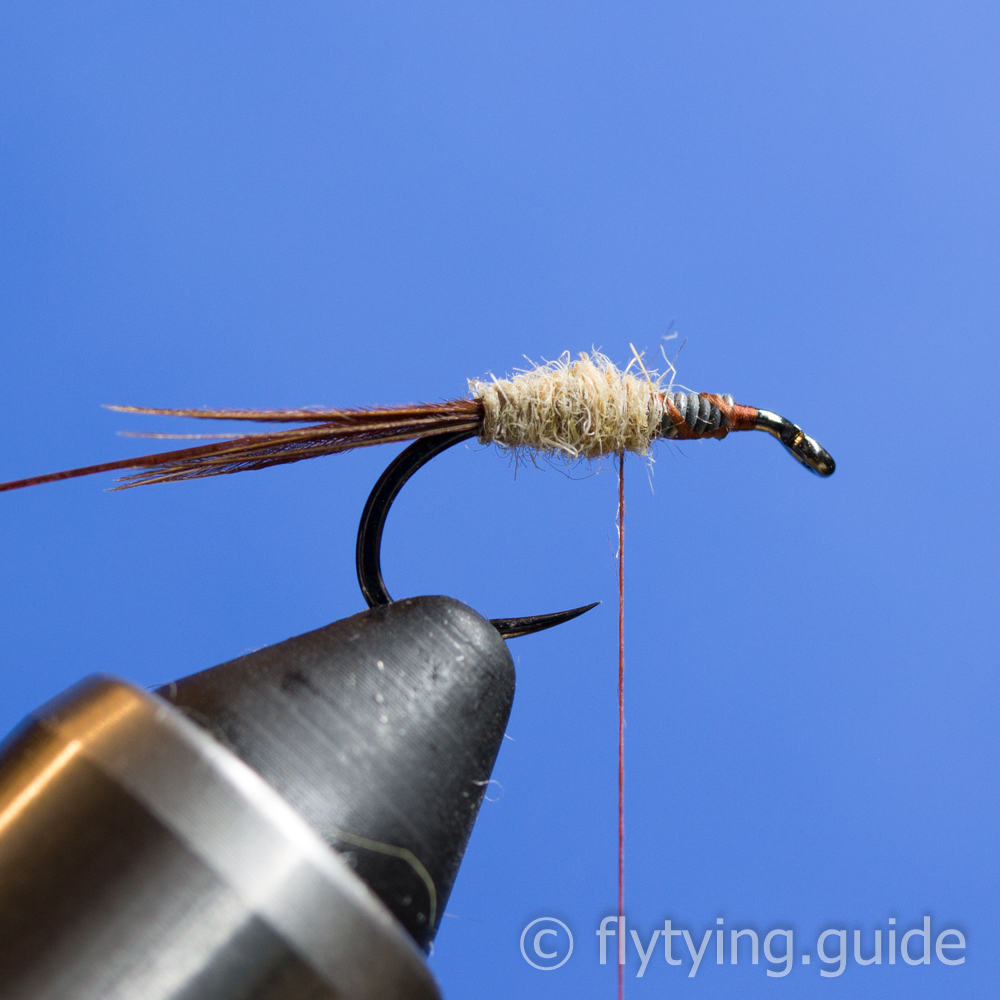
Form a tapered body to the midpoint of the shank.
7
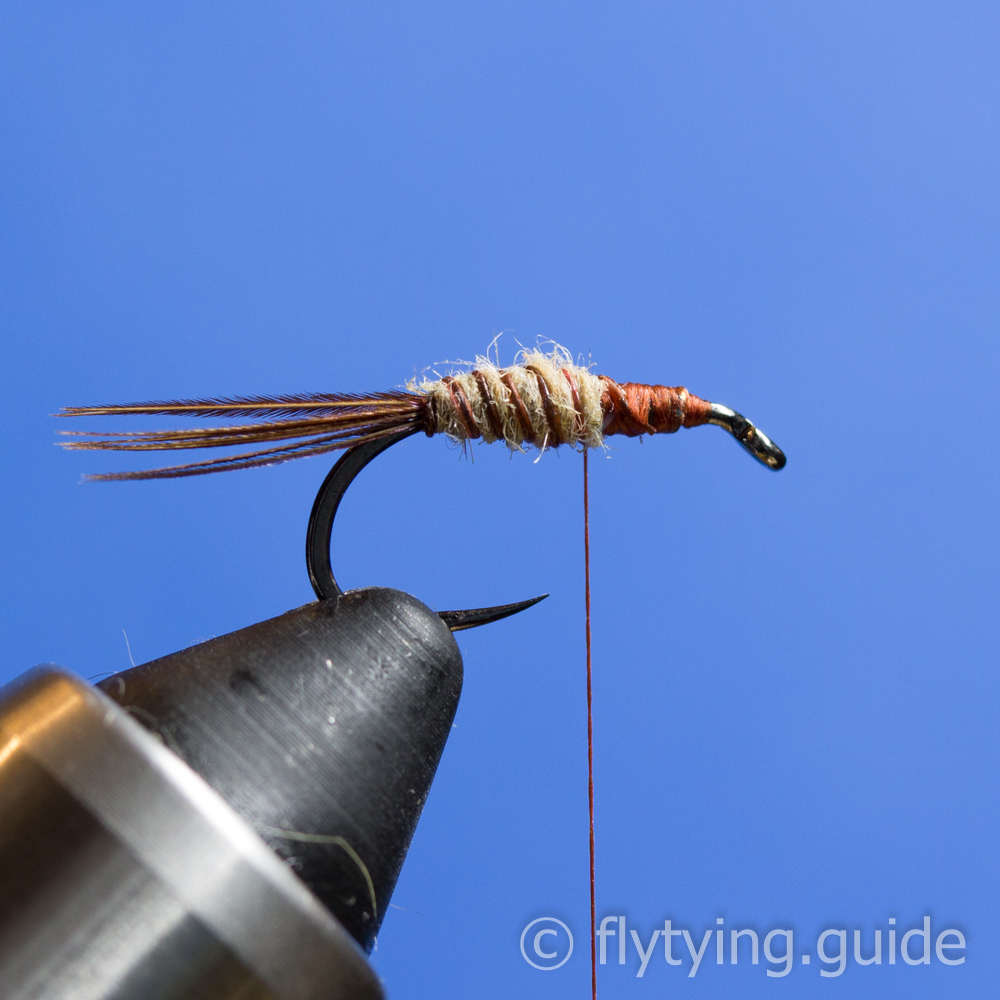
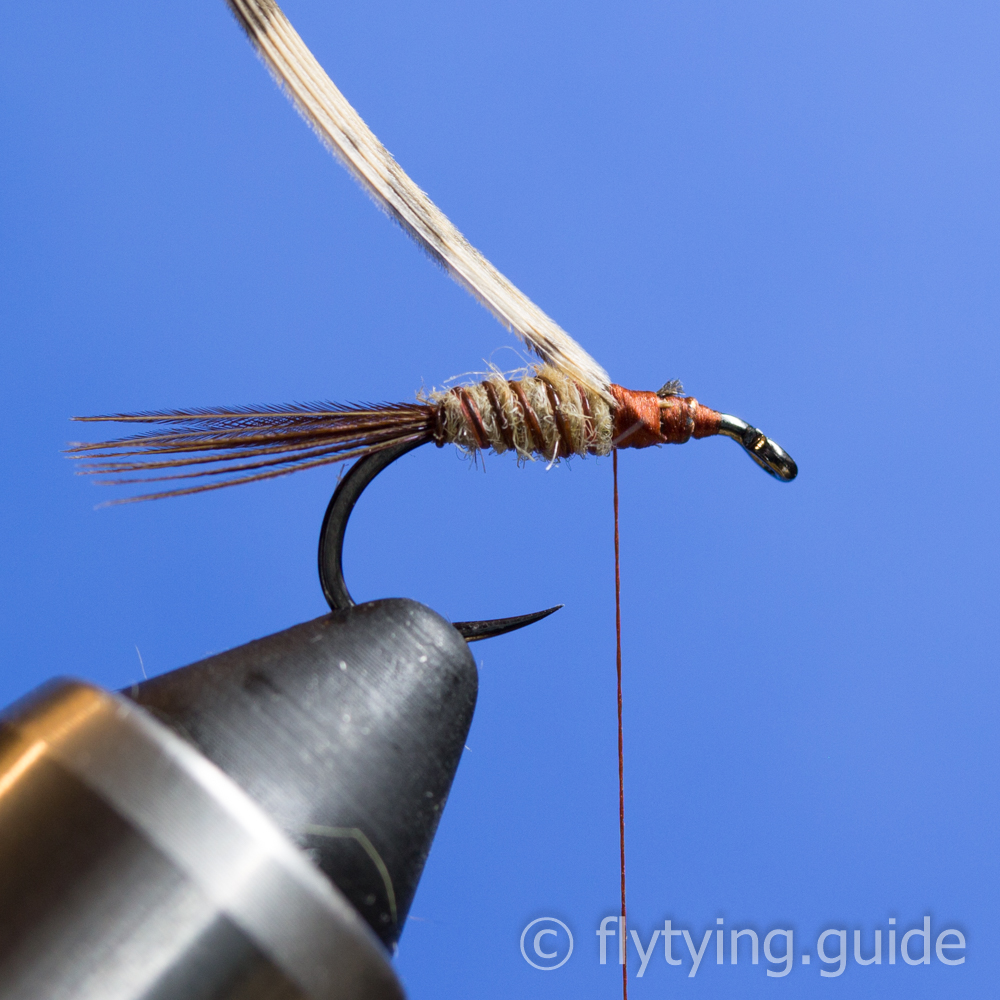
Counter wrap the ribbing material along the body to create a segmented look, tie off in front of body and cover the tag end with thread.
8
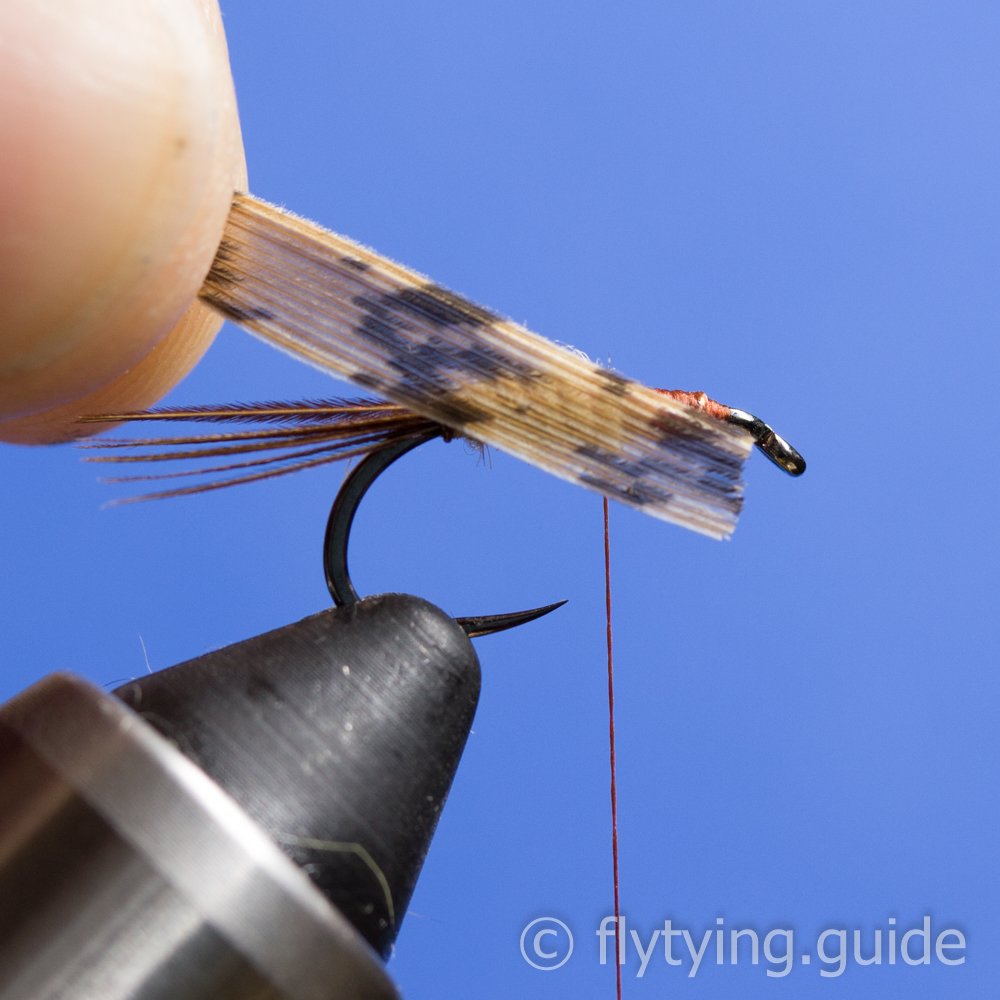
Prepare the wing case by snipping off a section of turkey feather fibers about the same width as the hook gap, I'm using a wide gap hook here so I've adjusted accordingly. Snip off the fragile tips of the feathers to prepare for securing.
9
Secure the turkey feather fibers on top of the shank, the dull side of the feather should be facing up so that it will be hidden once the wing case is pull forward and over the thorax.
10
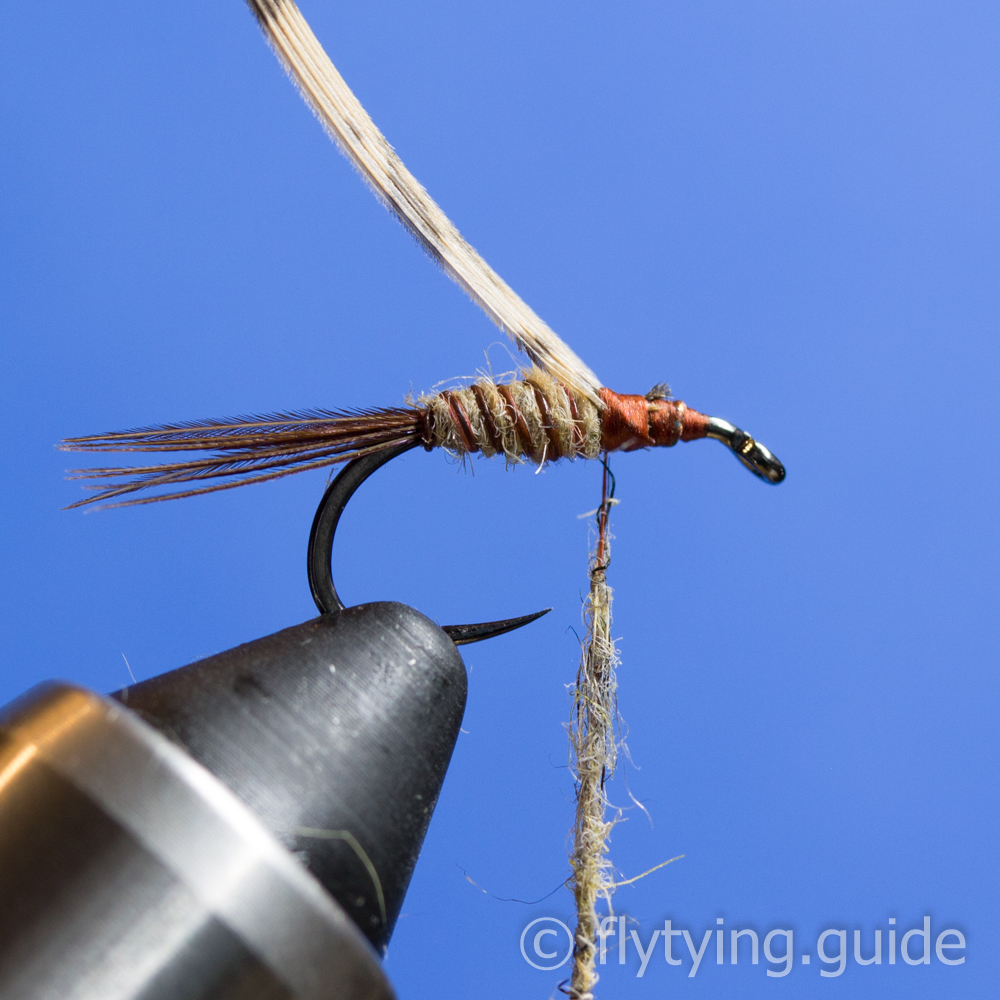
Apply a thin dubbing rope to the thread, use slightly darker fur than you used previously from a hare's mask or red squirrel pelt for best results. You can leave in the guard hairs for this step to give the thorax a rougher appearance.

11
Form the thorax so that it is slightly larger than the body, make sure you leave enough room behind the eye to tie in the legs and form a head.

12
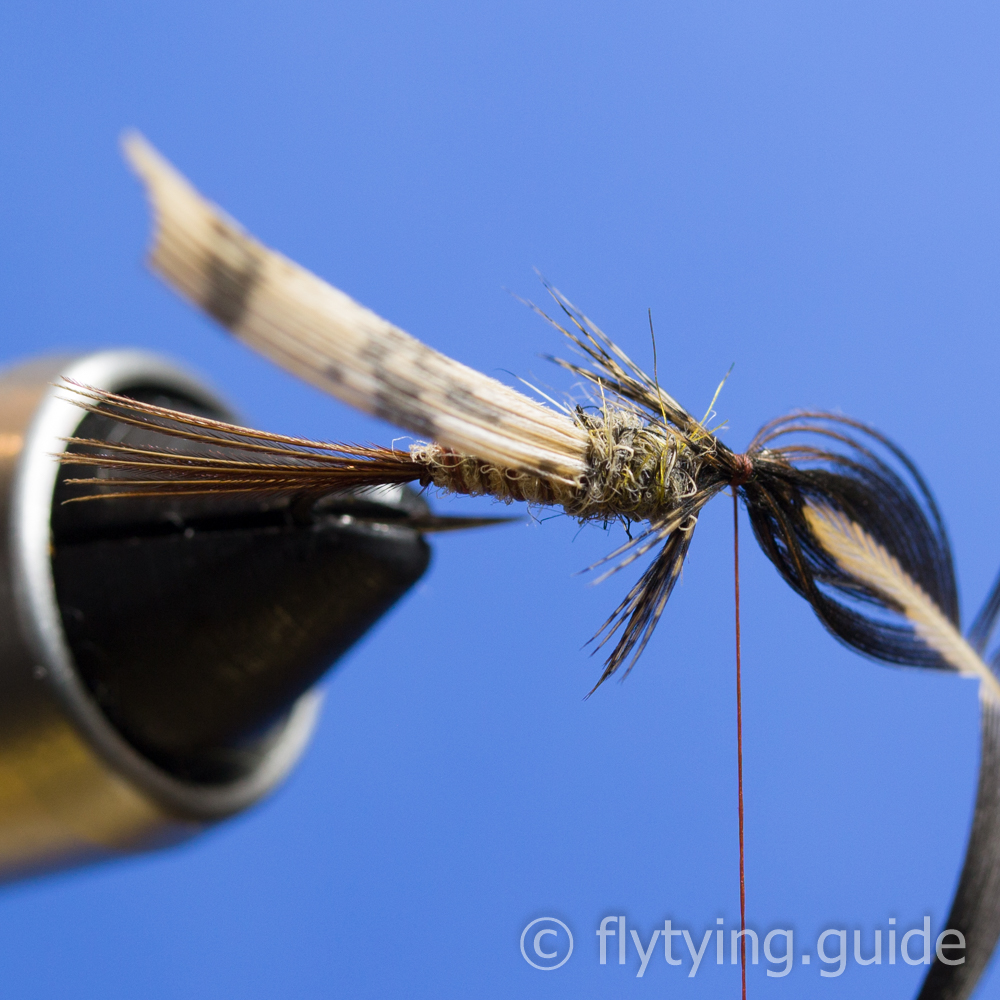
Use a dark colored partridge feather for the legs, prepare it by snipping the tip out of the feather to create a V shape. You could also use a hen feather for this step to achieve a similar result.
13
Position the feather so that the tips are just beyond the thorax, and then stroke the fibers back and pinch them against the side of the fly with your off hand. Take one loose wrap of thread to secure the legs and check for positioning. Adjust if needed and then take 2 to 3 tight wraps once satisfied.
14
Snip off the excess partridge feather once secured, we will cover up the butt ends in the next step.
15
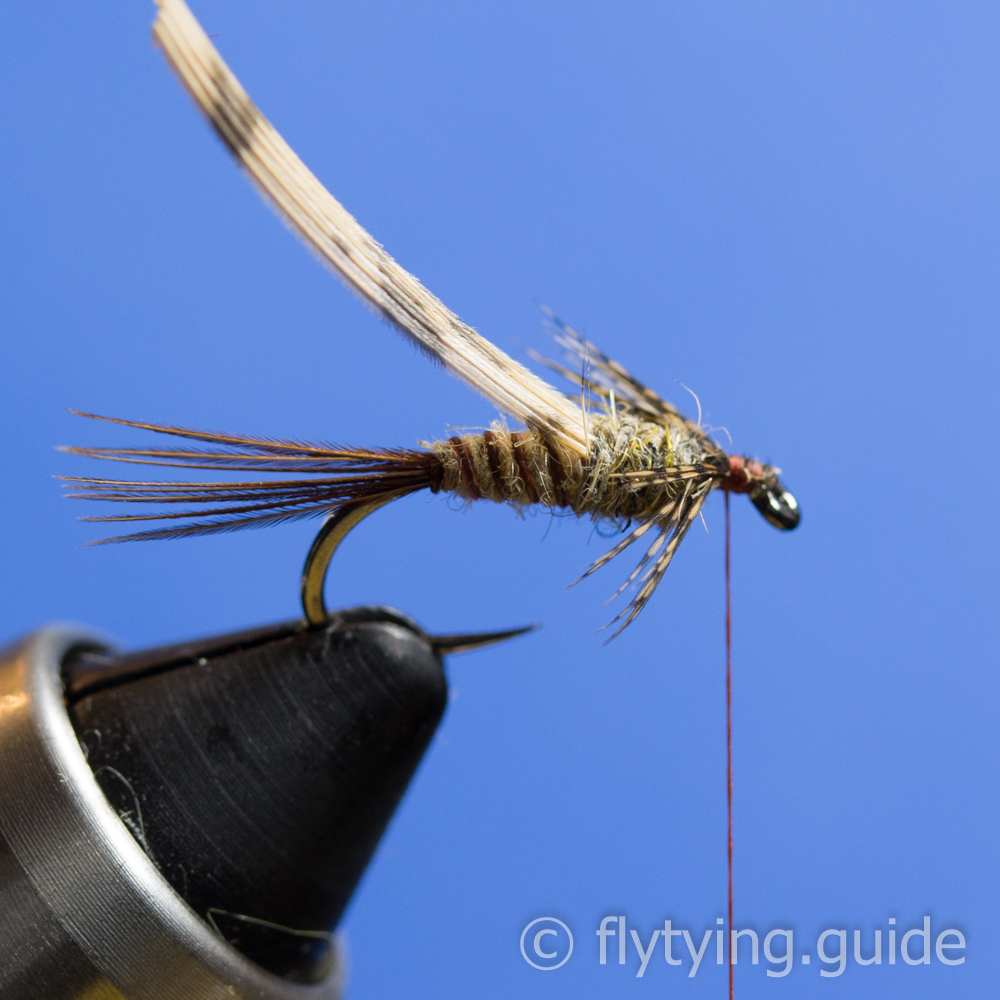
Pull the wing case over the thorax and secure it with a loose wrap, check for positioning and then secure with a tight wrap. Snip off the excess and then cover all the butt ends.

16
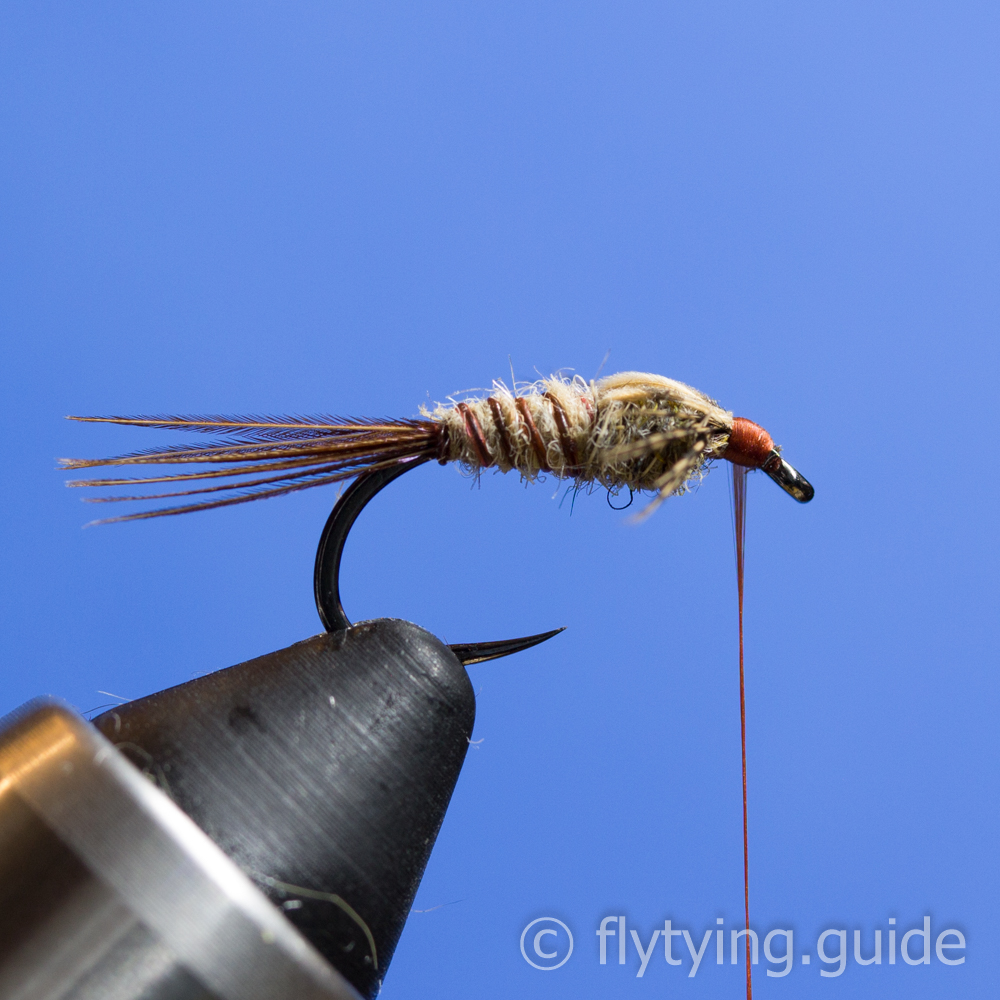
Form a small head with thread, whip finish and apply head cement.
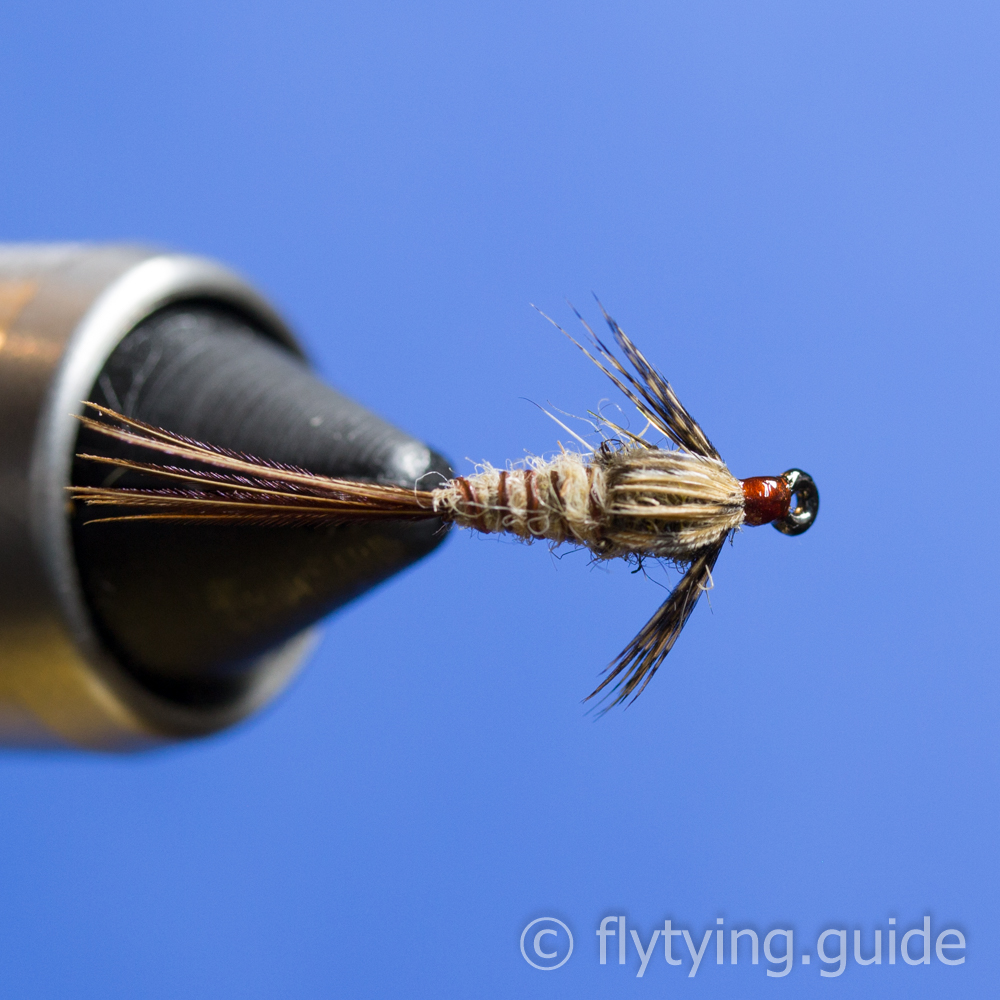
17
A view of the finished fly from the top.