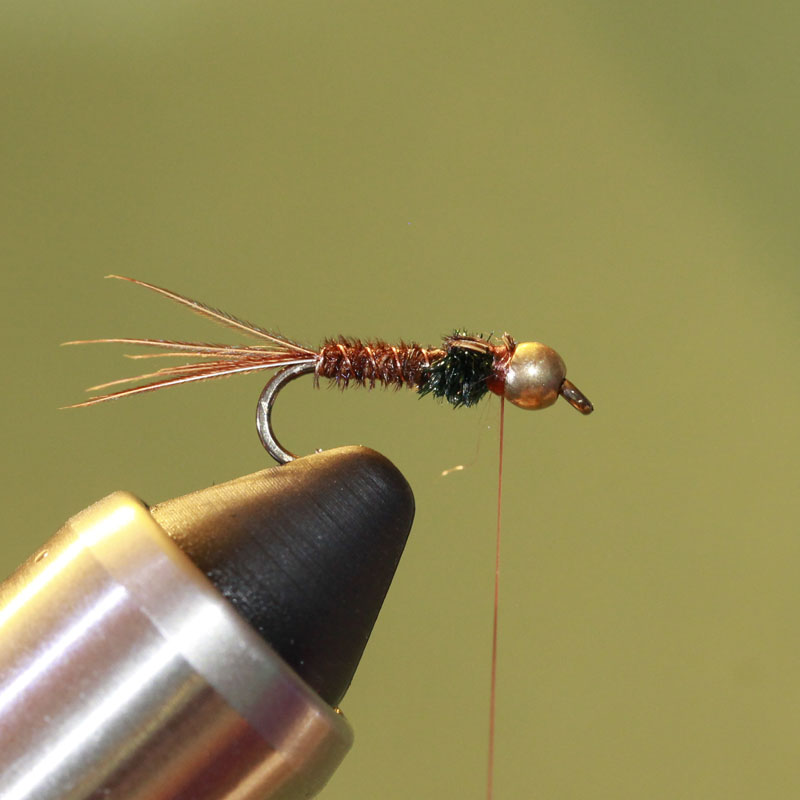
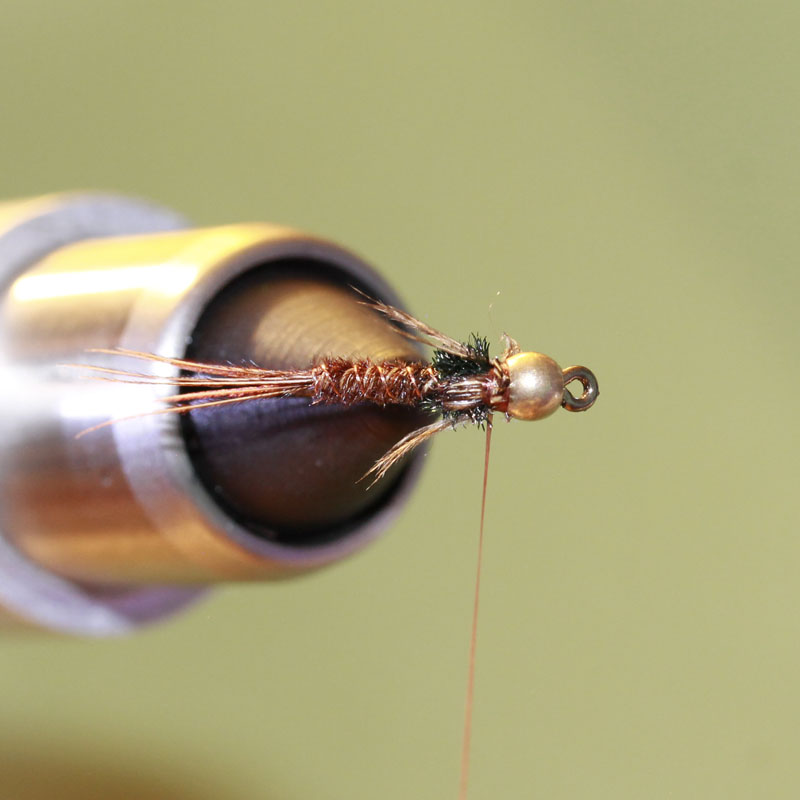
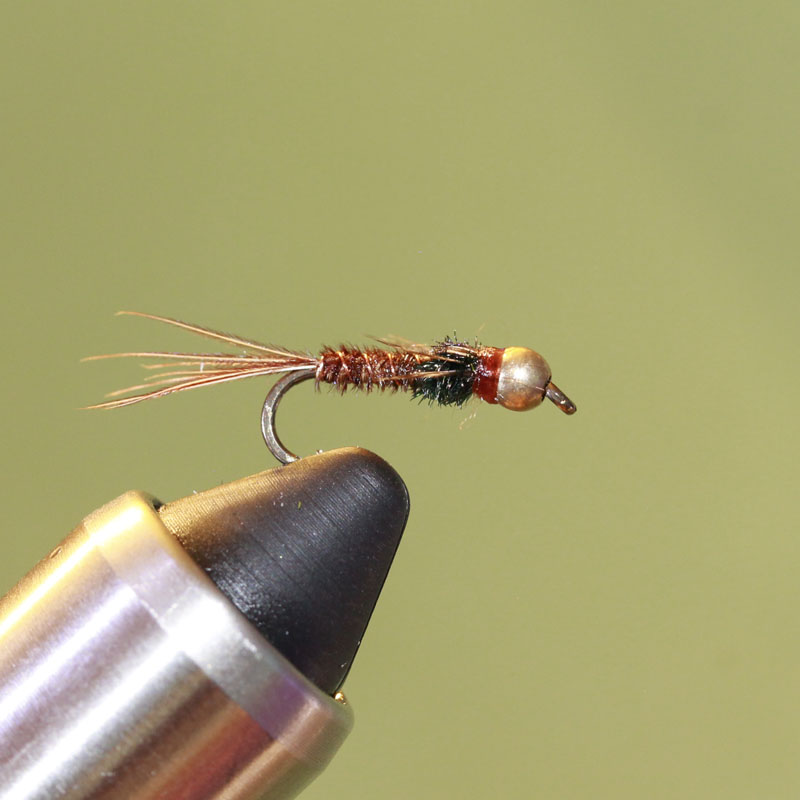
Pheasant Tail Nymph, Bead Head
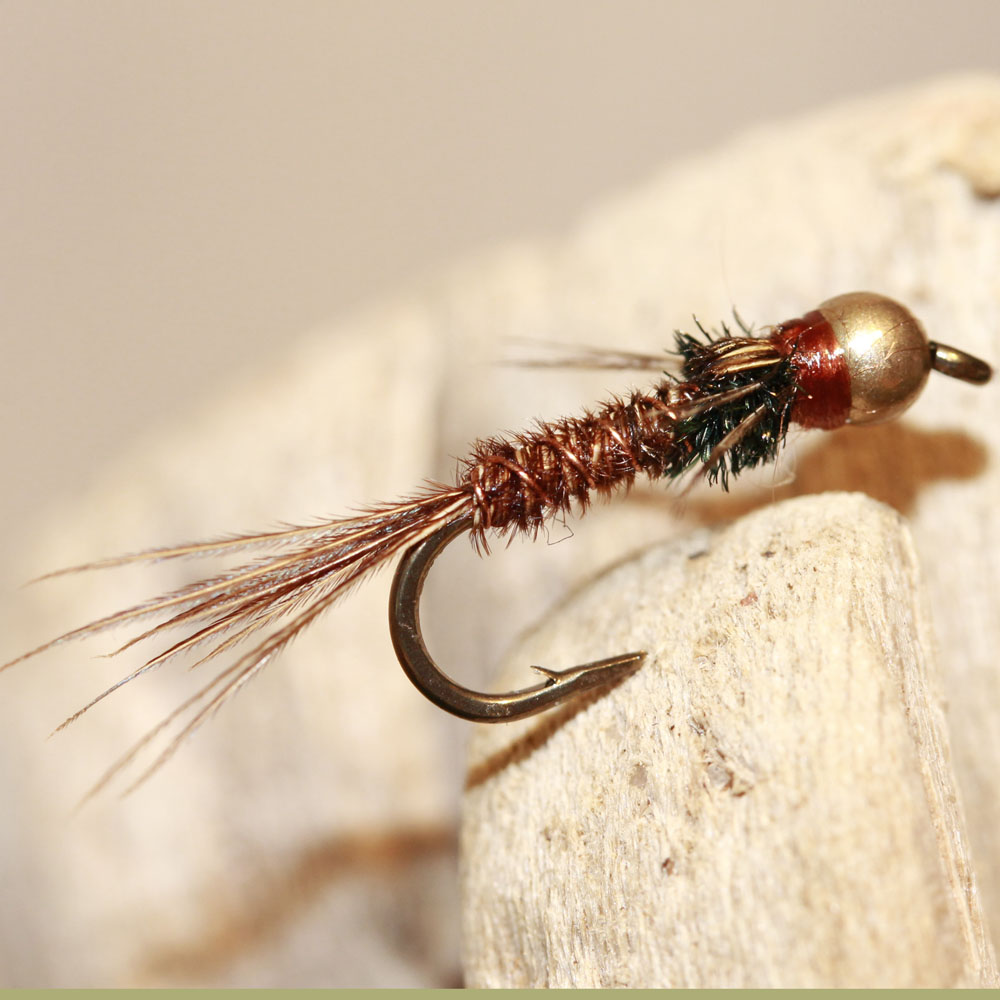
Variation of the Pheasant Tail Nymph pattern which adds a bead head for weight. It uses pheasant tail fibers to form its tailing, body, wing case, and legs. Gold ribbing helps to simulate a segmented body while adding a little flash. Pearlescent peacock herl finishes out the fly.
- Submitted By: Fly Tying Guide
Materials
1
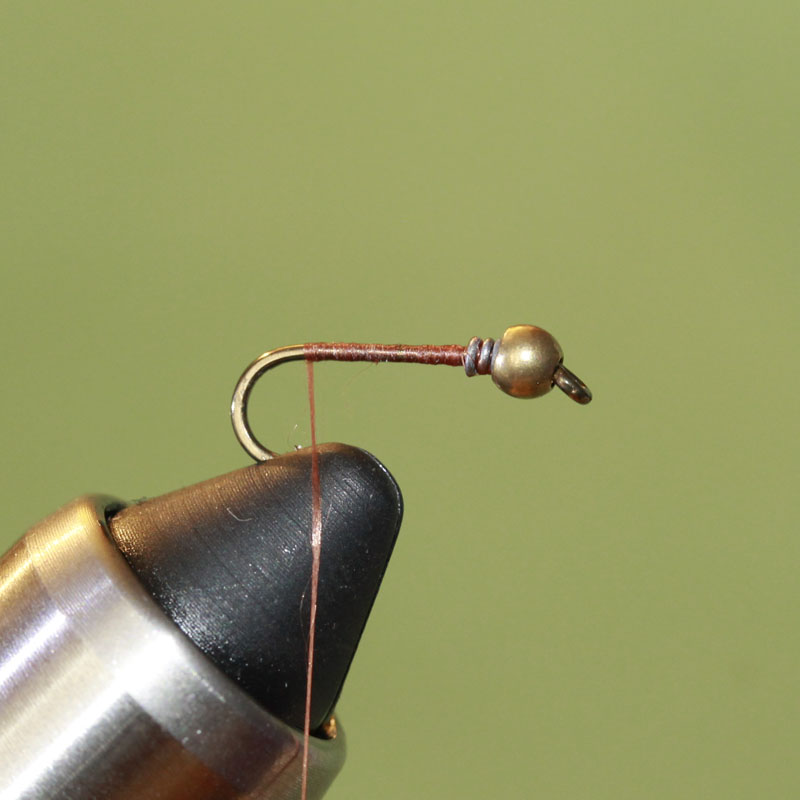
Slide a bead on the hook and then place it in the vise. Secure bead with 3-4 wraps of lead pushed into the cavity and then start the thread behind the bead. Form a even under body along the shank of the hook, position the thread at the start of the bend.
2
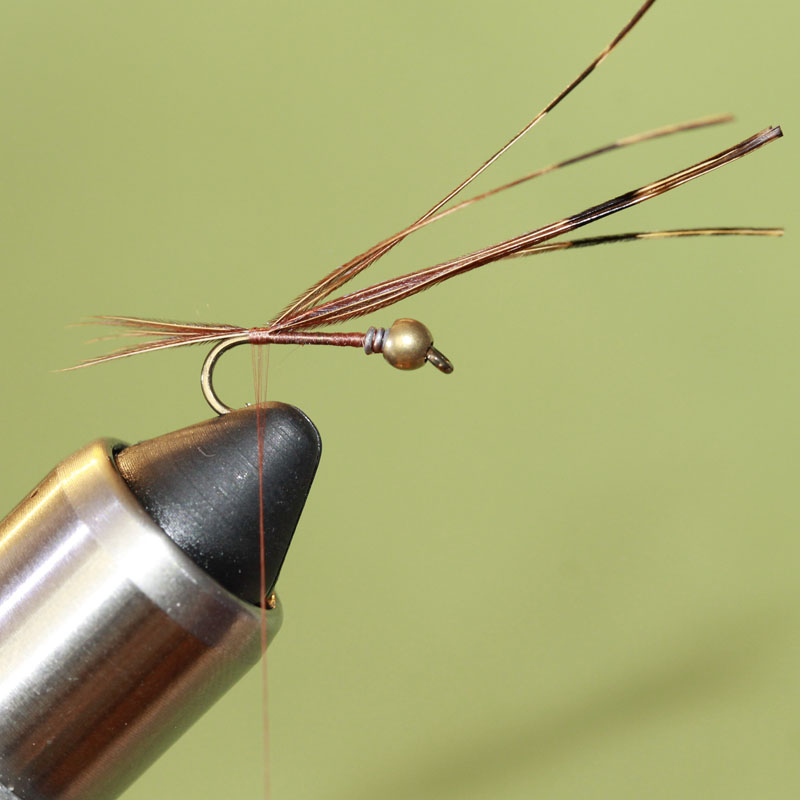
Snip 5 to 8 pheasant tail fibers and align the fiber tips. Secure the fibers to form a tail the length of one hook gap with 2-3 wraps but do not advance the thread.
3
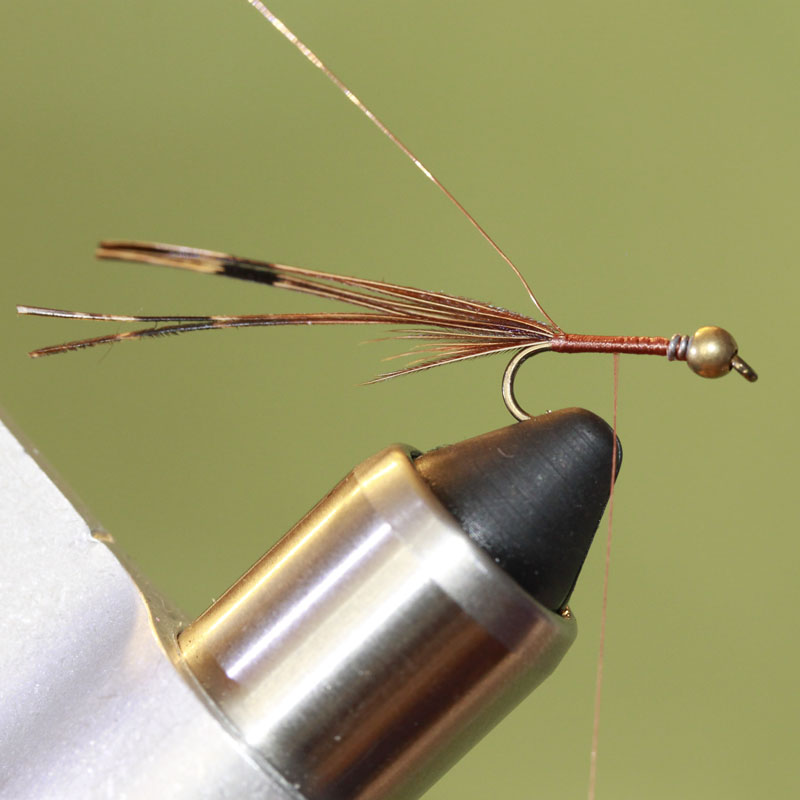
Fold the fibers back and secure by wrapping in the same location. Tie in the ribbing material at the start of the bend and cover its tag end with thread to the midpoint of the shank. If the ribbing material extends beyond the midpoint of the shank, trim the excess.
4
Wrap the pheasant tail fibers along the shank to form the body, secure at the midpoint of the shank. Wrap the ribbing material forward in the opposite direction that the feather fibers were wrapped. Secure the ribbing material and trim any excess.
5
If the remaining feather fibers are too short to form the wing case, snip 5 to 8 pheasant tail fibers and tie in directly in front of the body, otherwise fold back the feather fibers and secure similar to how the tail was done.
6
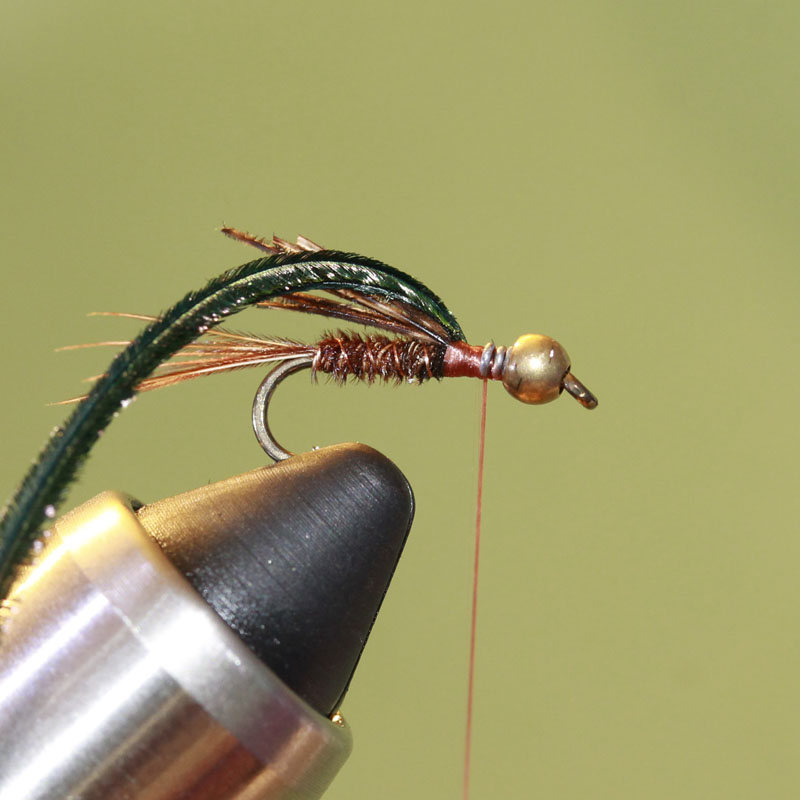
Tie in 2 or 3 strands of peacock herl in front of the body for the thorax. You can also tie in a length of thread if you have issues with the herl breaking while trying to wrap.
7
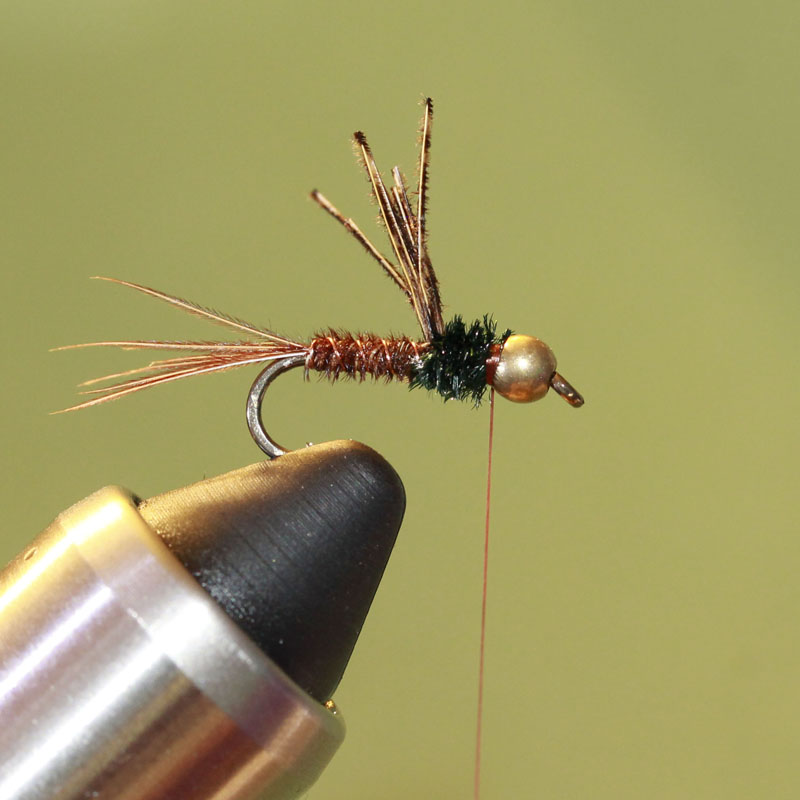
Twist the herl to form a rope and then form a thorax to directly behind the bead. Secure and trim any excess herl.
8
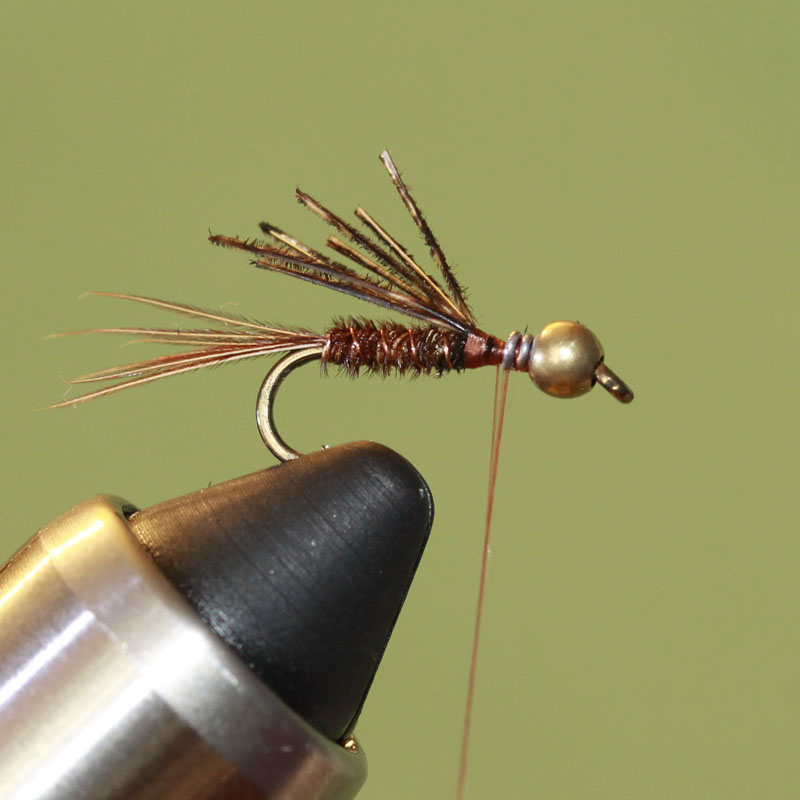
Fold the wing case over the thorax and secure it directly behind the bead, clip off the excess.
9
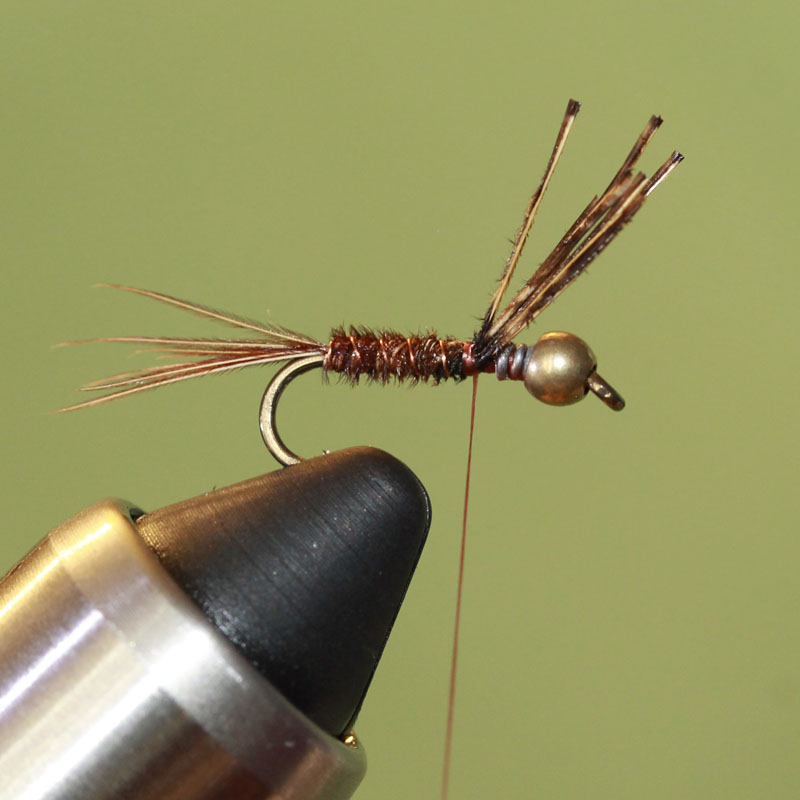
Tie in 3 pheasant tail barbs on each side of the thorax to form the legs, the tips of the barbs should extend just past the thorax. Snip off the excess.
10
Using flattened thread form a thin band directly behind the bead covering any tag ends while building up the thread until it is almost even with the bead. Whip finish and apply head cement.